
News
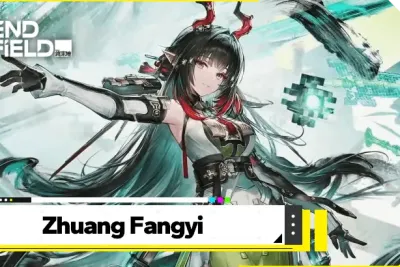
Arknights: Endfield
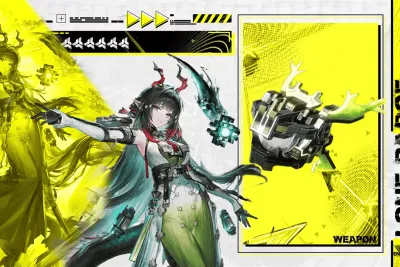
Ultimate Arknights: Endfield Zhuang Fangyi Build Guide
Master the Electric hypercarry in Arknights: Endfield with our definitive Zhuang Fangyi build guide! Learn her best...

Goddess of Victory: Nikke
Nikke 3.5 Anniversary Walkthrough: "Your Cheers, Their Path" 🌠
The stars have aligned for Goddess of Victory: Nikke’s 3.5th Anniversary! Relive the massive April 18 livestream reveal...
Etheria: Restart
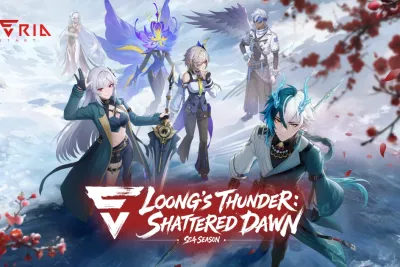
Etheria: Restart SS4 Update Guide
Step into the digital future with the Etheria: Restart SS4: Loong's Thunder – Shattered Dawn update! Discover the...
Honor of Kings
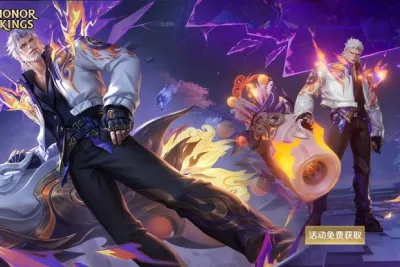
Honor of Kings April 2026: Get the Mask Spirit Huang Zhong Epic Skin for Free 🏹
The Gorge undergoes a massive visual overhaul in April 2026! Honor of Kings brings the "Mask Spirit" series to the...
Arknights: Endfield
Ultimate Arknights: Endfield "At the Wake of Spring" Guide
Dive into our exhaustively detailed Arknights: Endfield "At the Wake of Spring" guide! Explore the precise mechanics of...
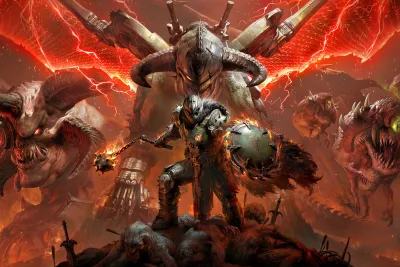
Diablo Immortal
Master the Slayer's Reign: Diablo Immortal Update
Prepare for the ultimate slaughter! The Diablo Immortal "Where the Slayer Reigns, Hell Follows" update officially...
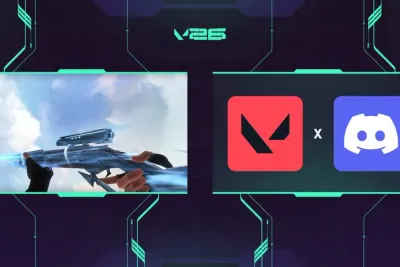
Valorant
VALORANT Patch 12.07: Discord Integration & Settings Menu Revamp 🎮
Join the squad faster with VALORANT Patch 12.07! Riot’s new Discord partnership introduces seamless in-game invites and...

Clash Royale
New Ruler Grand Warden: Best Abilities & Skins in Merge Tactics
The grandest season of Clash Royale Merge Tactics is live! Master Season 8 with the new Ruler, Grand Warden, and his...
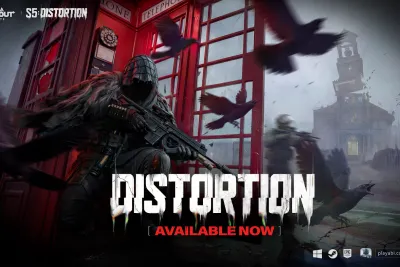
Arena Breakout: Infinite
Complete Season 5 Distortion Update Patch Notes
Dive into the massive Arena Breakout: Infinite Season 5: Distortion update! Explore the anomaly-themed Distorted...
Arknights: Endfield
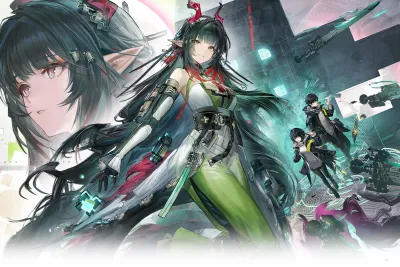
Arknights Endfield 1.2 Banner Guide: Zhuang Fangyi & Li Zhiyan ⚡
Step into the Wuling crisis with Arknights: Endfield Version 1.2, "At the Wake of Spring"! Our comprehensive guide...
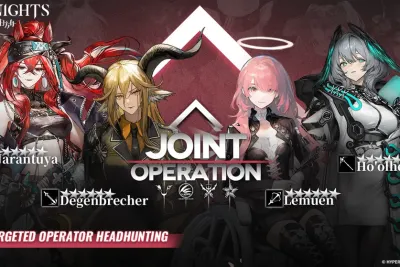
Arknights
Best Operators to Pull: Arknights Joint Operation April 2026 Meta
Dominate the Karlan trade and Laterano sniping with the Arknights April 2026 Joint Banner! Featuring powerhouse 6★...

Where Winds Meet
Comprehensive Where Winds Meet Paper Moon Walkthrough
Dive into our most exhaustively detailed Where Winds Meet Paper Moon guide! This breakdown focuses on the intricate...
Genshin Impact
Genshin Impact Lohen Build: Best Artifacts and Weapons Guide ❄️
Freeze the battlefield with Lohen, the new 5-star Cryo Main DPS in Genshin Impact 6.6! Our comprehensive build guide...
Genshin Impact
Prune Build Guide: Artifacts, Weapons & Teams
Master the new 4-star Anemo Catalyst with our comprehensive Genshin Impact Prune build guide! Learn how to optimize her...
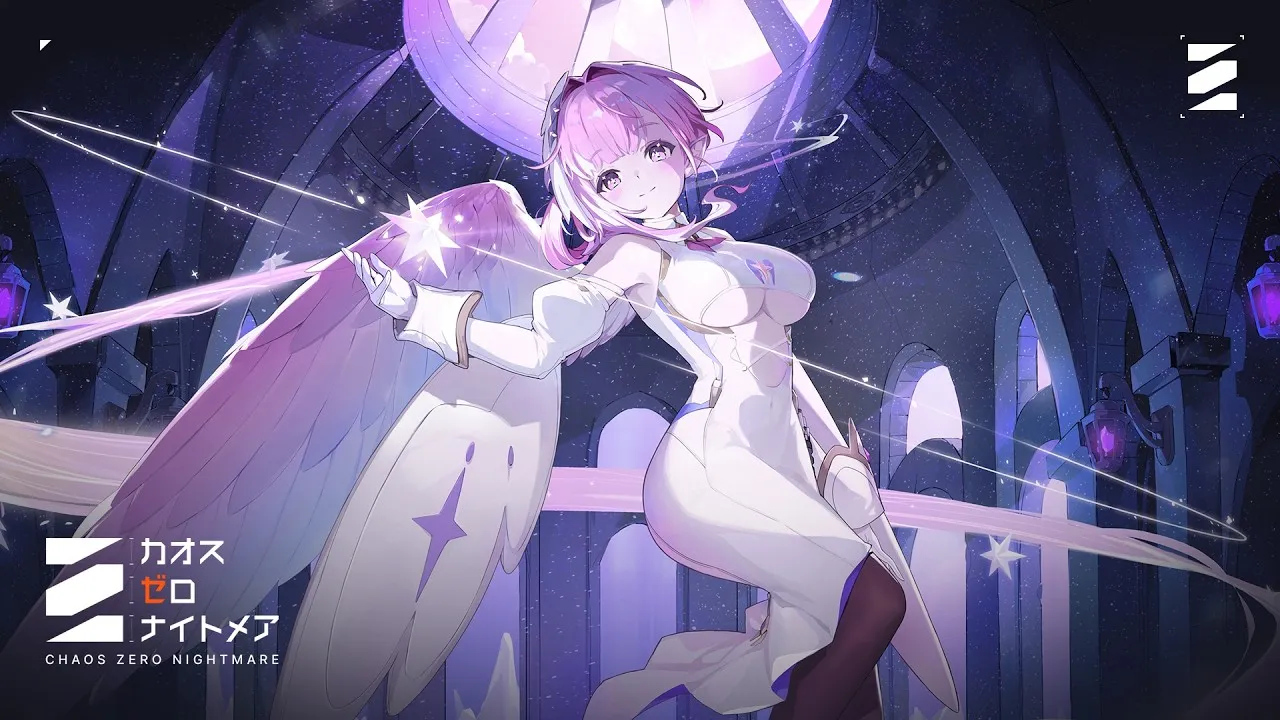
Chaos Zero Nightmare
Chaos Zero Nightmare Diana Build: Master the Discard Loop Meta 🔫
Stop fighting your deck! Master the 5-Star Passion Hunter Diana with our definitive April 2026 guide for Chaos Zero...
Showing 451 of 465 from 923 Results