
News
Mobile Legends: Bang Bang
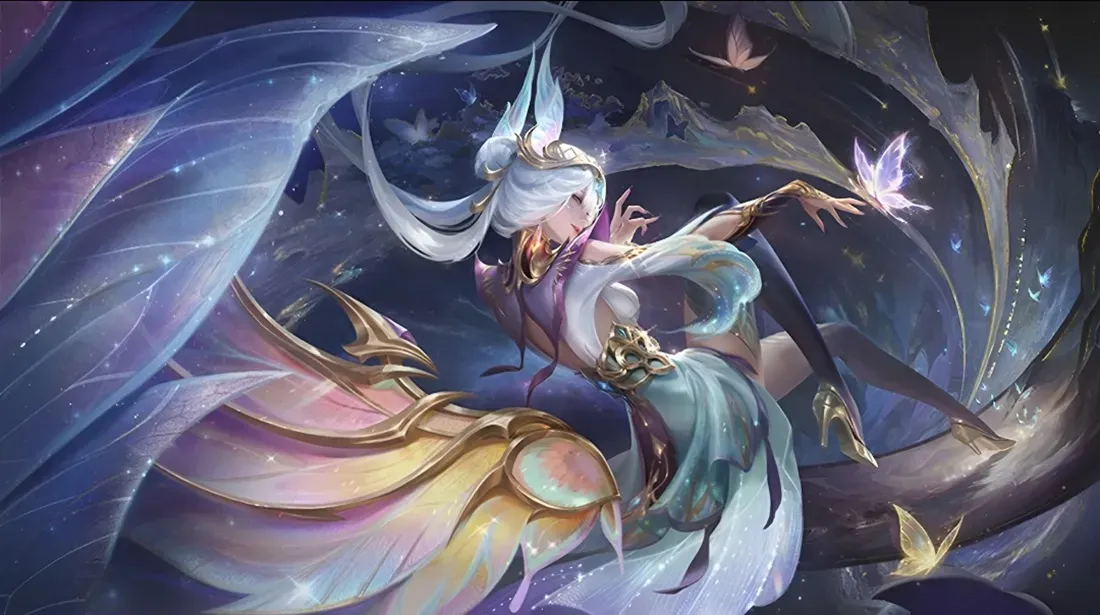
How to Get Alice Dreaming Monarch: Exquisite Collector Mechanics
The Queen of the Abyss ascends! Master the new MLBB May 2026 Collector skin for Alice, "Dreaming Monarch." Our...

Honkai Star Rail
Honkai Star Rail Redeem Code List April 2026
Unlock massive rewards with our comprehensive Honkai Star Rail Redeem Code guide! Discover the latest working codes for...
Mobile Legends: Bang Bang
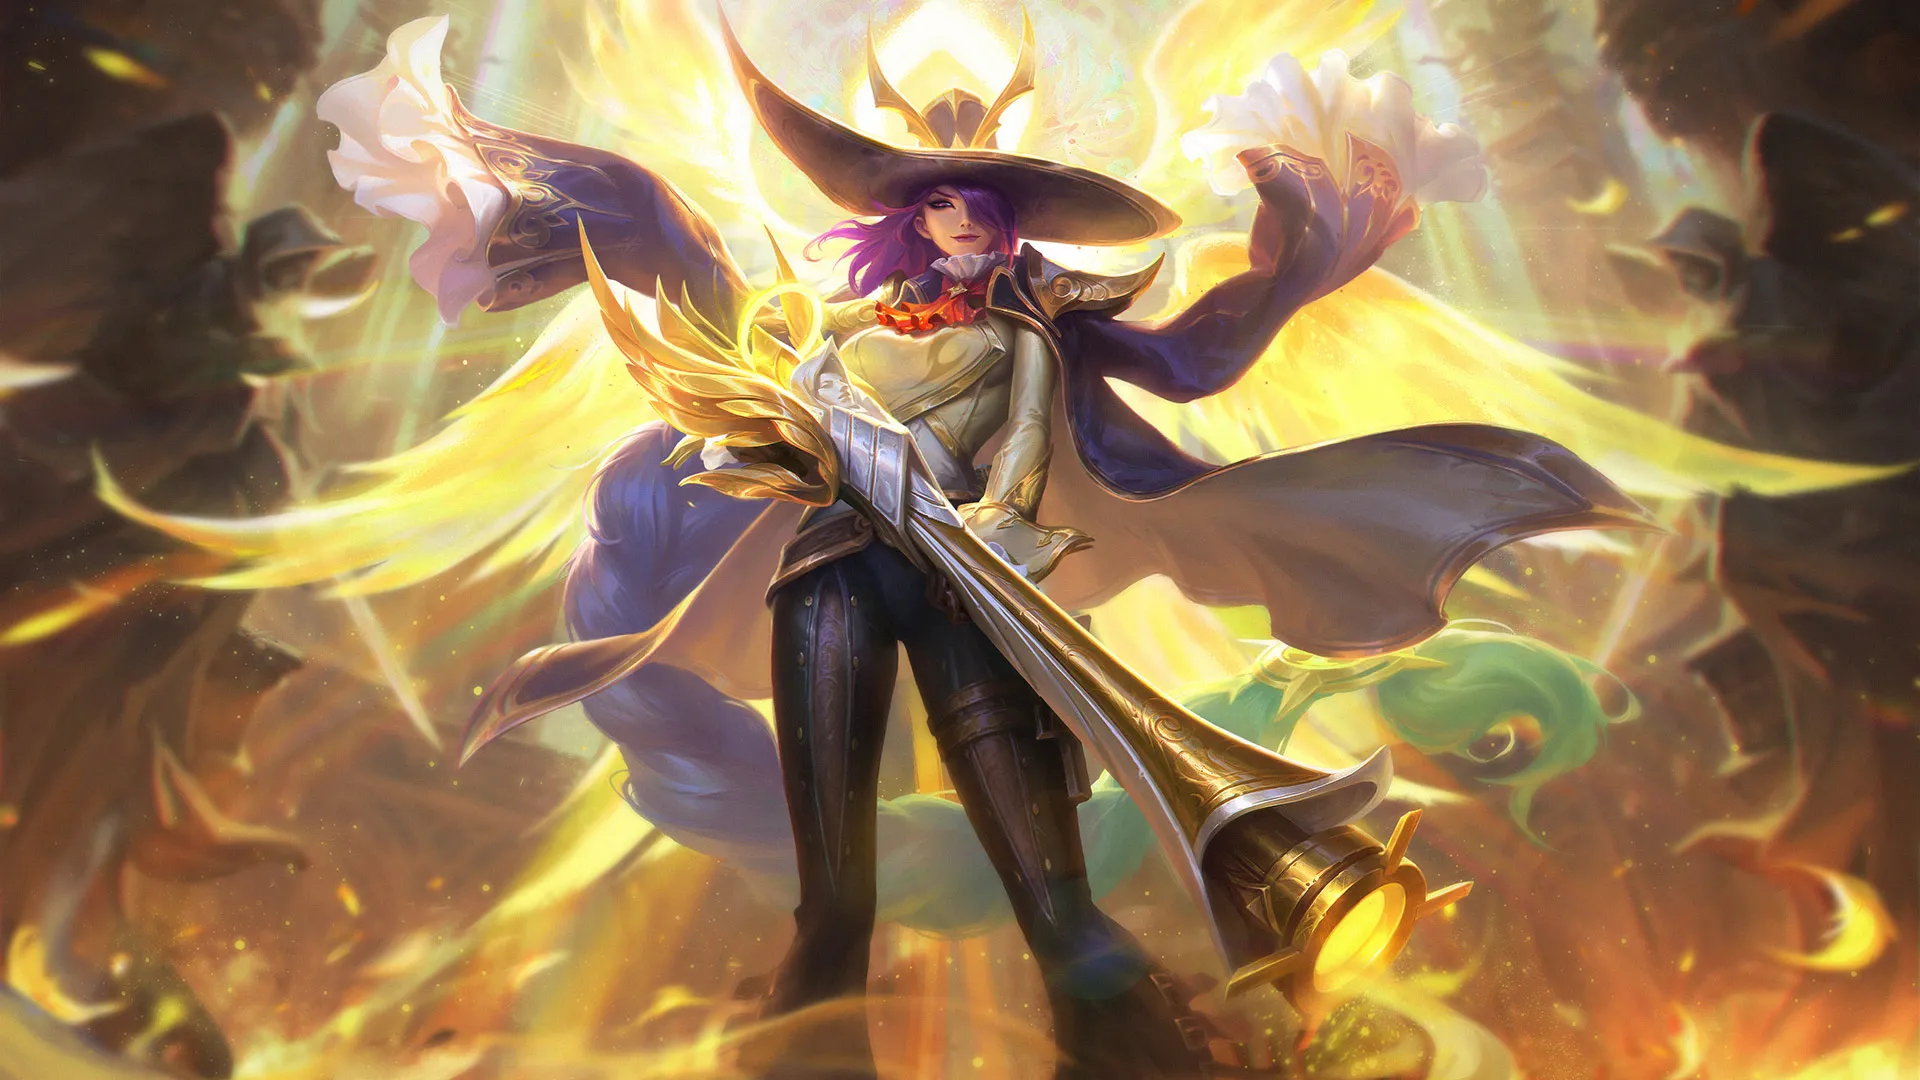
How to Get the Revamped Lesley Legend Skin: Event Mechanics
The Queen of Snipers reaches cosmic heights! Master the revamped Lesley Legend Skin "Angelic Agent" in Mobile Legends....
Genshin Impact
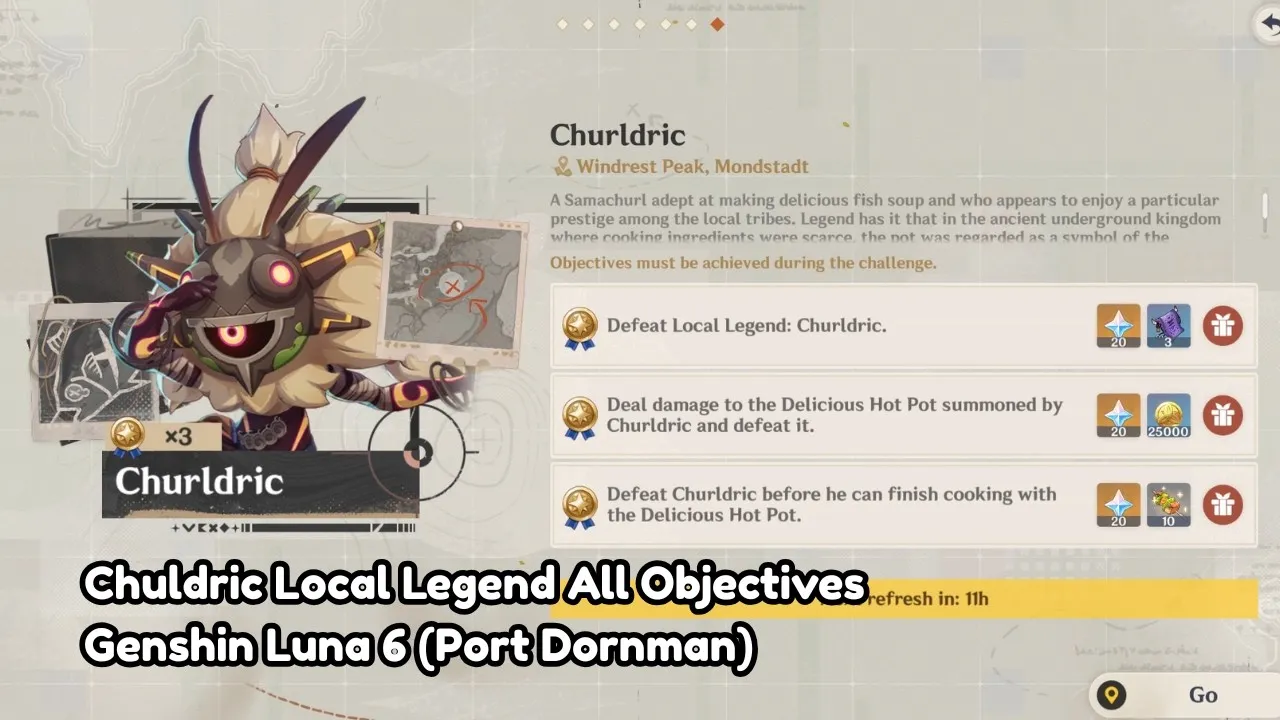
Churldric Valiant Chronicle Boss Guide
Master the new Mondstadt Local Legend with our comprehensive Churldric Valiant Chronicle guide! Learn the exact...
Mobile Legends: Bang Bang
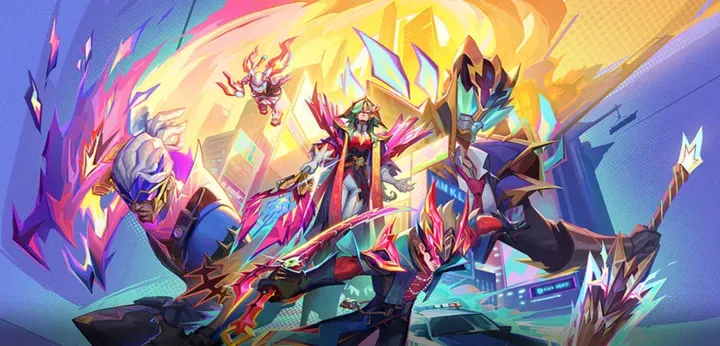
Neobeast Resale April 2026: How to Get Ling & Fredrinn Skins
The neon jungle returns! Master the MLBB Neobeast Resale event running from April 10 to May 10, 2026. Our guide covers...
Genshin Impact
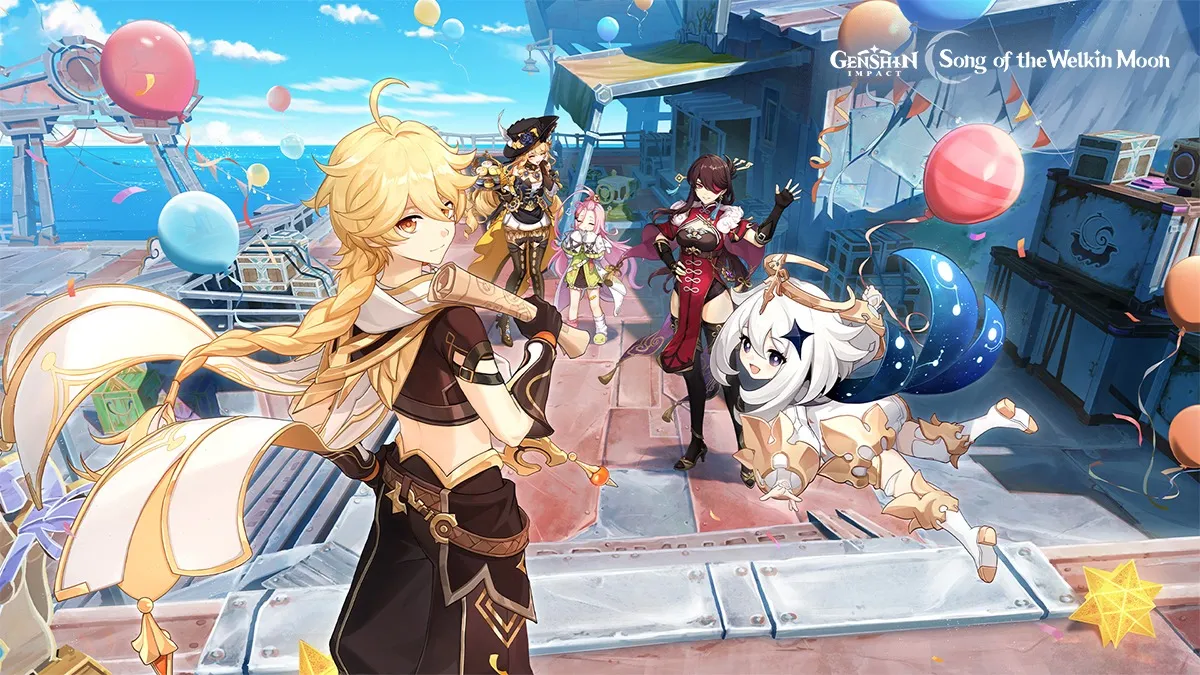
Ultimate Genshin Impact Luna VI Update Guide
Dive into the most comprehensive Genshin Impact Luna VI update breakdown! Explore Linnea's exact skill multipliers,...
Clash Royale
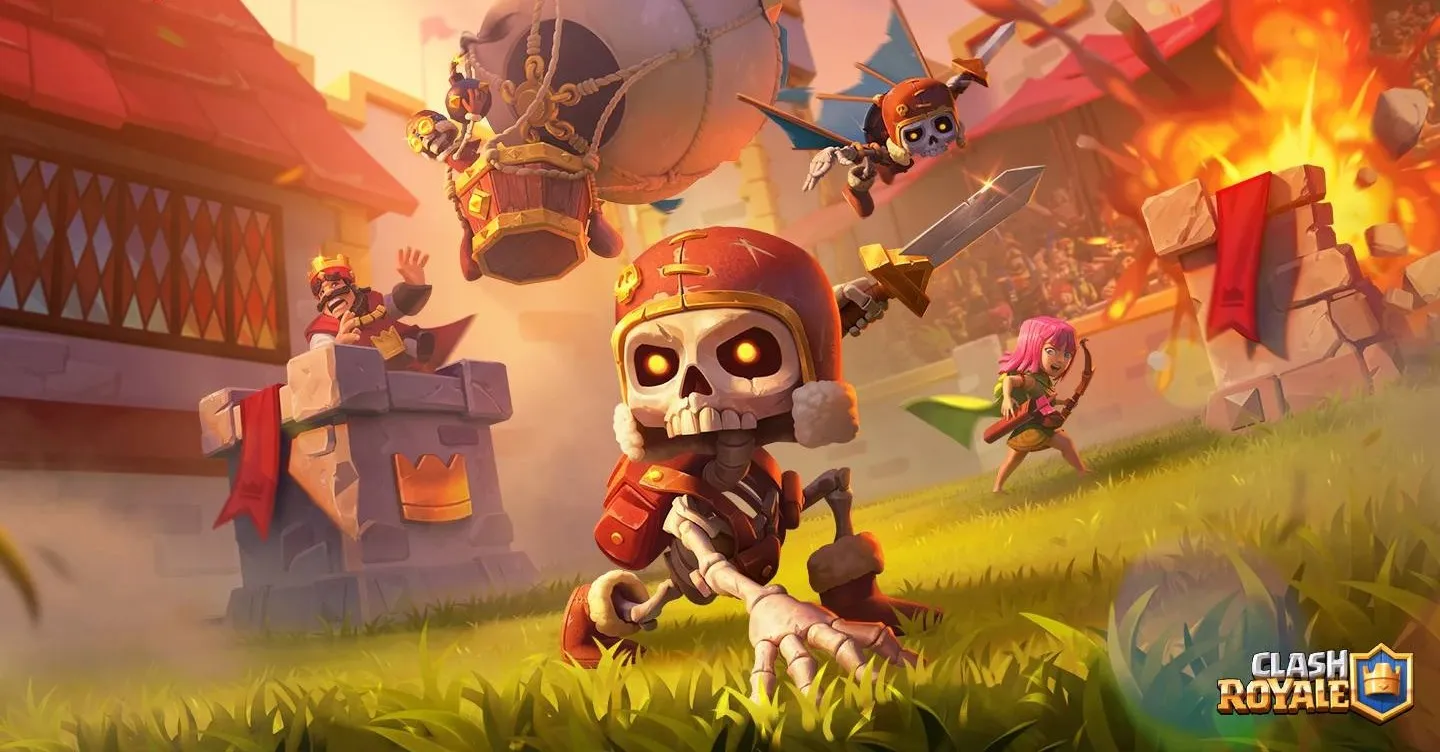
Clash Royale Season 82 Guide: Hero Balloon & Minion Evo 🎈
Take to the skies in Clash Royale Season 82: Balloon Festival! Our comprehensive April 2026 guide covers the new Hero...
Genshin Impact
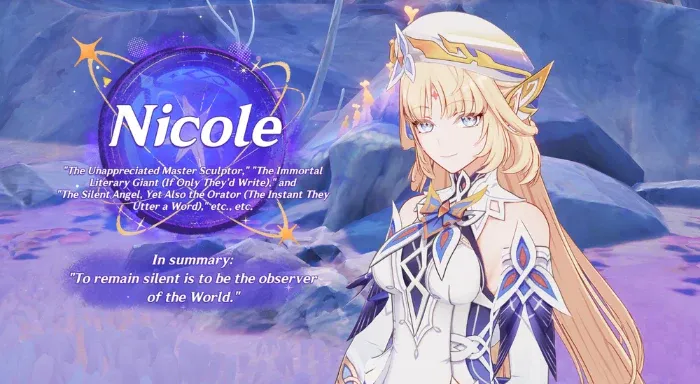
Nicole Kit Reveal: The Hexenzirkel Observer Support Guide
Master the Hexenzirkel’s finest with our definitive Nicole Build Guide! Arriving in Genshin Impact 6.6, Nicole Reeyn...
Duet Night Abyss
Best Demon Wedges for Su Yi: Maximize Lumino DMG in Duet Night Abyss
Soar through the Huaxu skies with our definitive Duet Night Abyss Su Yi Build Guide! Master the newest Lumino engineer...
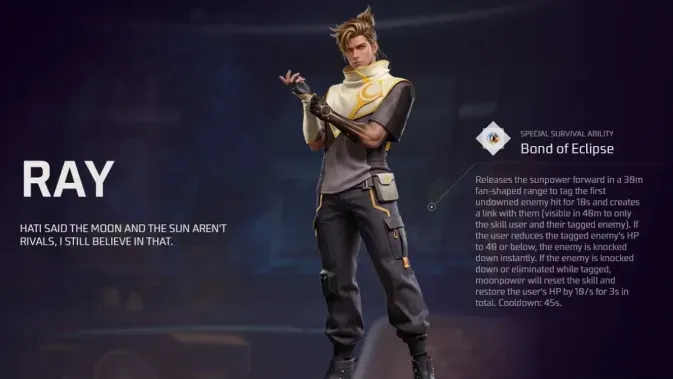
Free Fire
Ray "The Watchman" Info: Everything About the New OB53 Hero
Dominate the battlefield with Ray, the newest entry fragger in Free Fire's OB53 update! Our comprehensive guide covers...

Where Winds Meet
Ultimate Where Winds Meet Snowparting Blade Guide
Dive into our exhaustively detailed Where Winds Meet Snowparting Blade guide! Learn every precise skill mechanic, the...
Mobile Legends: Bang Bang
Zetian Sunset Luminance Review: The Imperial Mage’s Newest Look
Step into the twilight with the MLBB April 2026 Starlight Pass! Our comprehensive guide features the elegant "Sunset...
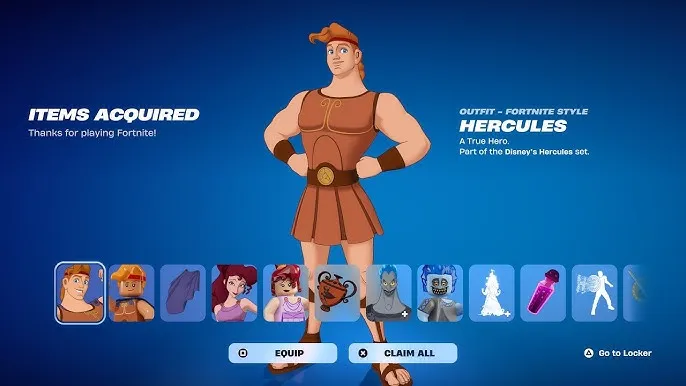
Fortnite
Zero to Hero: Fortnite Hercules Bundle vs Individual Costs
Go the distance with the official Fortnite Hercules collaboration! Our comprehensive 2026 guide covers the legendary...
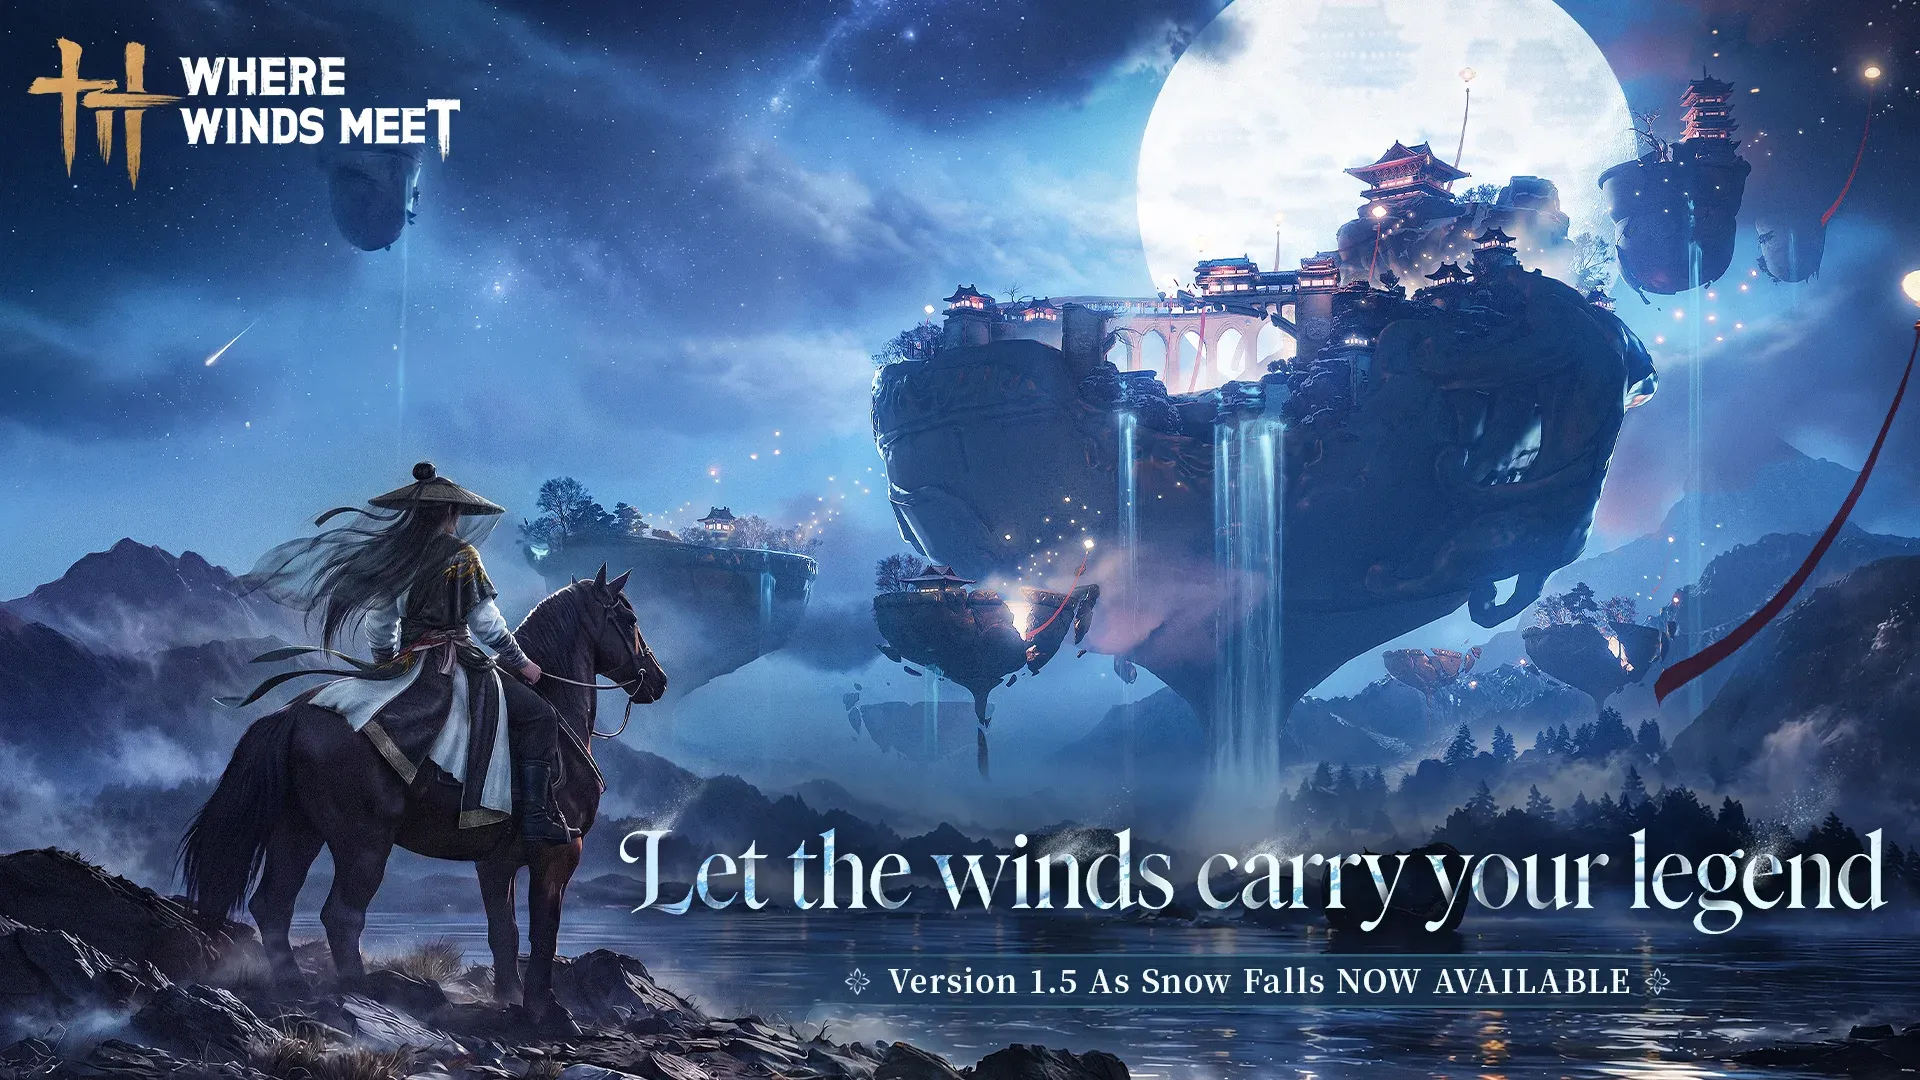
Where Winds Meet
Where Winds Meet Update:As Snow Falls Breakdown
Dive deep into the massive Where Winds Meet Version 1.5 As Snow Falls Update! Explore exact unlock requirements for...
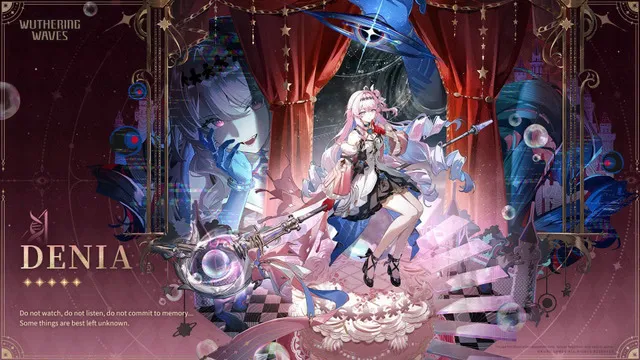
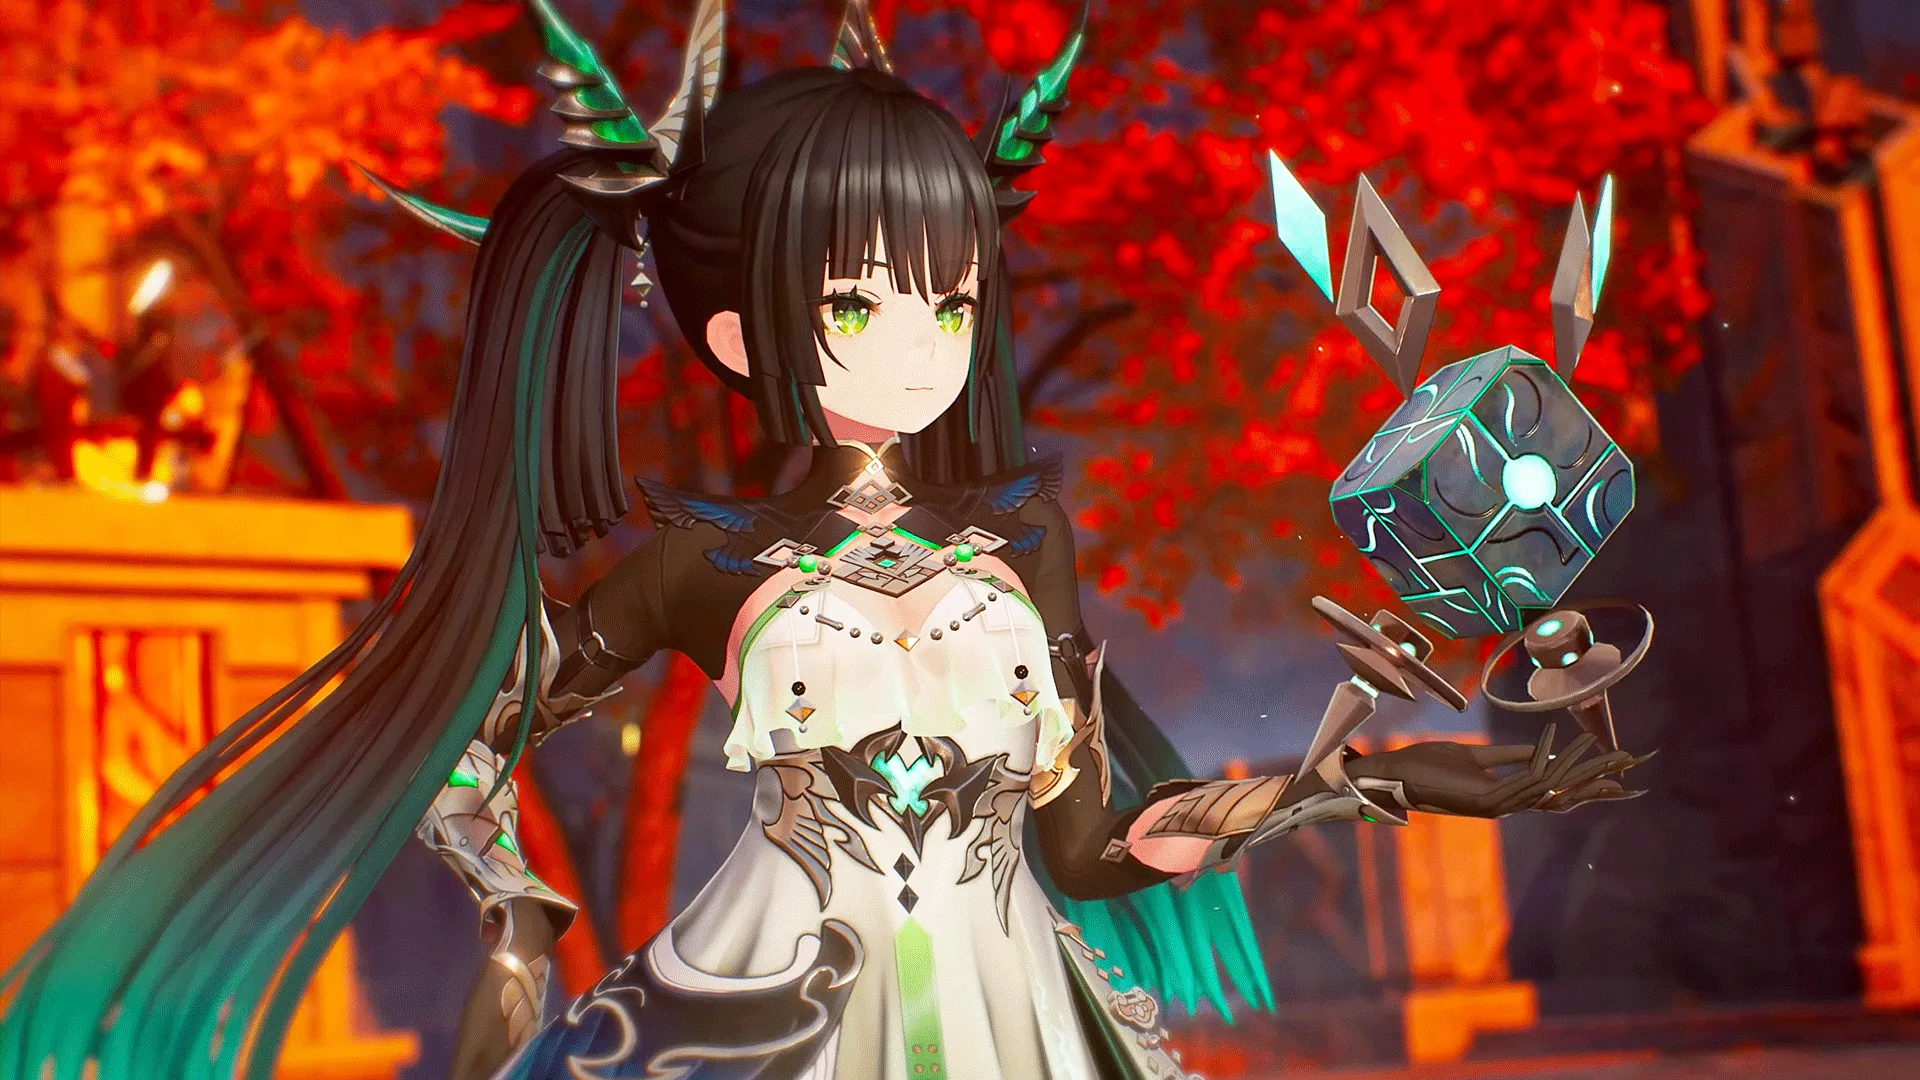
Wuthering Waves
Denia Signature Weapon "Forged Dwarf Star" Info: 3.3 Update
Uncover the full power of the new Wuthering Waves 3.3 Resonator, Denia! Our detailed kit breakdown covers her unique...
Showing 466 of 480 from 920 Results