
News
Reverse: 1999
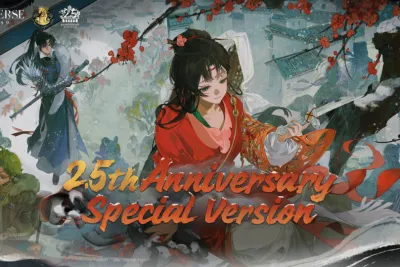
Reverse 1999 Update: 100 Free Summons and Events
Dive into the massive Reverse: 1999 anniversary update featuring one hundred free summons, the epic Spring Unending...
Brawl Stars
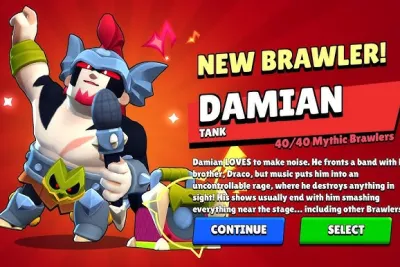
Brawl Stars 102nd Brawler: Damian Build and Combo Walkthrough
Step into the mosh pit with Damian, the 102nd Brawler in Brawl Stars! Our 2026 guide covers the best builds, gadgets...
Honkai Star Rail
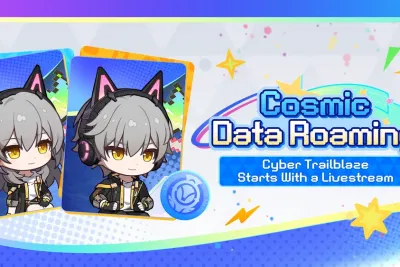
Honkai Star Rail Cosmic Data Roaming Guide
Celebrate the third anniversary of Honkai: Star Rail with our comprehensive Cosmic Data Roaming event guide! Learn how...
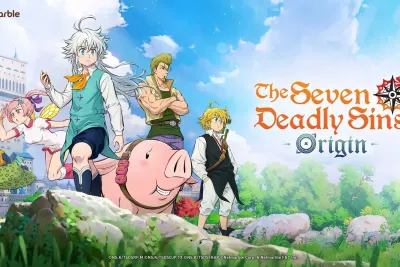
The Seven Deadly Sins: Origin
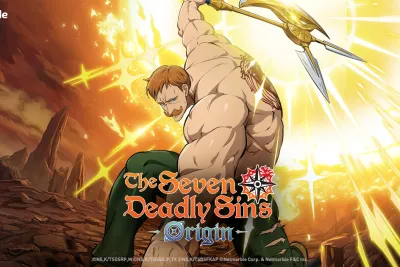
Best Escanor Weapons & Teams: Fire Axe vs. Holy Greatsword
Harness the power of the Sun! Our April 2026 Seven Deadly Sins: Origin Escanor guide breaks down all three weapon...
Free Fire
Free Fire Underwater Update: Patch Notes & Meta Guide
Dive into the latest Free Fire Underwater Mystery update! Discover the all-new Hydro Blasters, the powerful character...
The Seven Deadly Sins: Origin
7DS Origin Daisy Build Guide: Best Weapons & Roles (2026) ⚔️
Unlock the ultimate flexibility of Daisy in The Seven Deadly Sins: Origin! Our April 2026 build guide covers her...
The Seven Deadly Sins: Origin
7DSO Guila Build Guide: Best Weapons & Teams
Discover the ultimate Guila build guide for The Seven Deadly Sins: Origin. Learn how to optimize her Lance, Sword and...
Arknights
Is SilverAsh the Reignfrost Worth It? Limited Vanguard Guide
Break the Arknights DP economy with SilverAsh the Reignfrost! Our April 2026 guide covers the 6-star Strategist...
The Seven Deadly Sins: Origin
7DS Origin Tier List and Promo Codes to Redeem
Discover the definitive April 2026 tier list for The Seven Deadly Sins: Origin Version 1.2. Learn which SS-Tier...

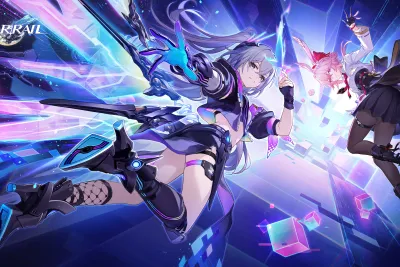
Mongil:Star Dive
How to Master Mina’s Essence Mechanic: Mongil Star Dive Tips🔥
Unleash the Fate-Touched Fox Maiden! Our April 2026 build guide for Mina in Mongil: Star Dive covers everything from...
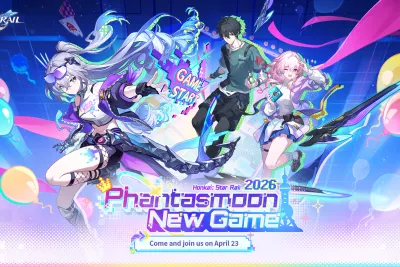
Honkai Star Rail
Phantasmoon New Game Complete Web Event Guide
Master the Honkai: Star Rail third anniversary with our comprehensive Phantasmoon New Game guide! Discover all faction...
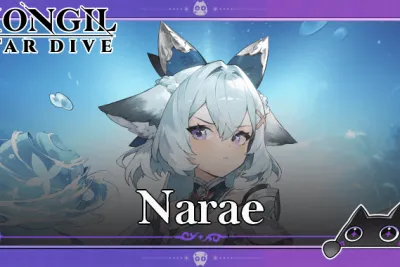
Mongil:Star Dive
Narae Mongil: Star Dive Build Guide: Shield Scaling & ATK Meta ❄️
Maximize your team's survivability with our deep-dive Narae build guide for Mongil: Star Dive! Learn how to optimize...
Honkai Star Rail
Honkai: Star Rail Version 4.2 Update Guide
Celebrate three years of trailblazing with the Honkai: Star Rail Version 4.2: "So Laughed the Masses" update! Discover...
Honkai Star Rail
Elation Trailblazer Light Cone Tier List: Is the Signature Worth It?
Step into the spotlight with the Path of Elation! Our Honkai Star Rail 4.2 guide covers the brand-new Lightning...
Clash of Clans
Clash of Clans Rocket Backpack Guide: Master the Dragon Duke Meta 🐉
Take to the skies with the first Epic equipment for the Dragon Duke! Our Clash of Clans Rocket Backpack guide covers...
Showing 436 of 450 from 923 Results