HSR Weakness Break Explained: Toughness, Break Effect & Damage
By John Ganang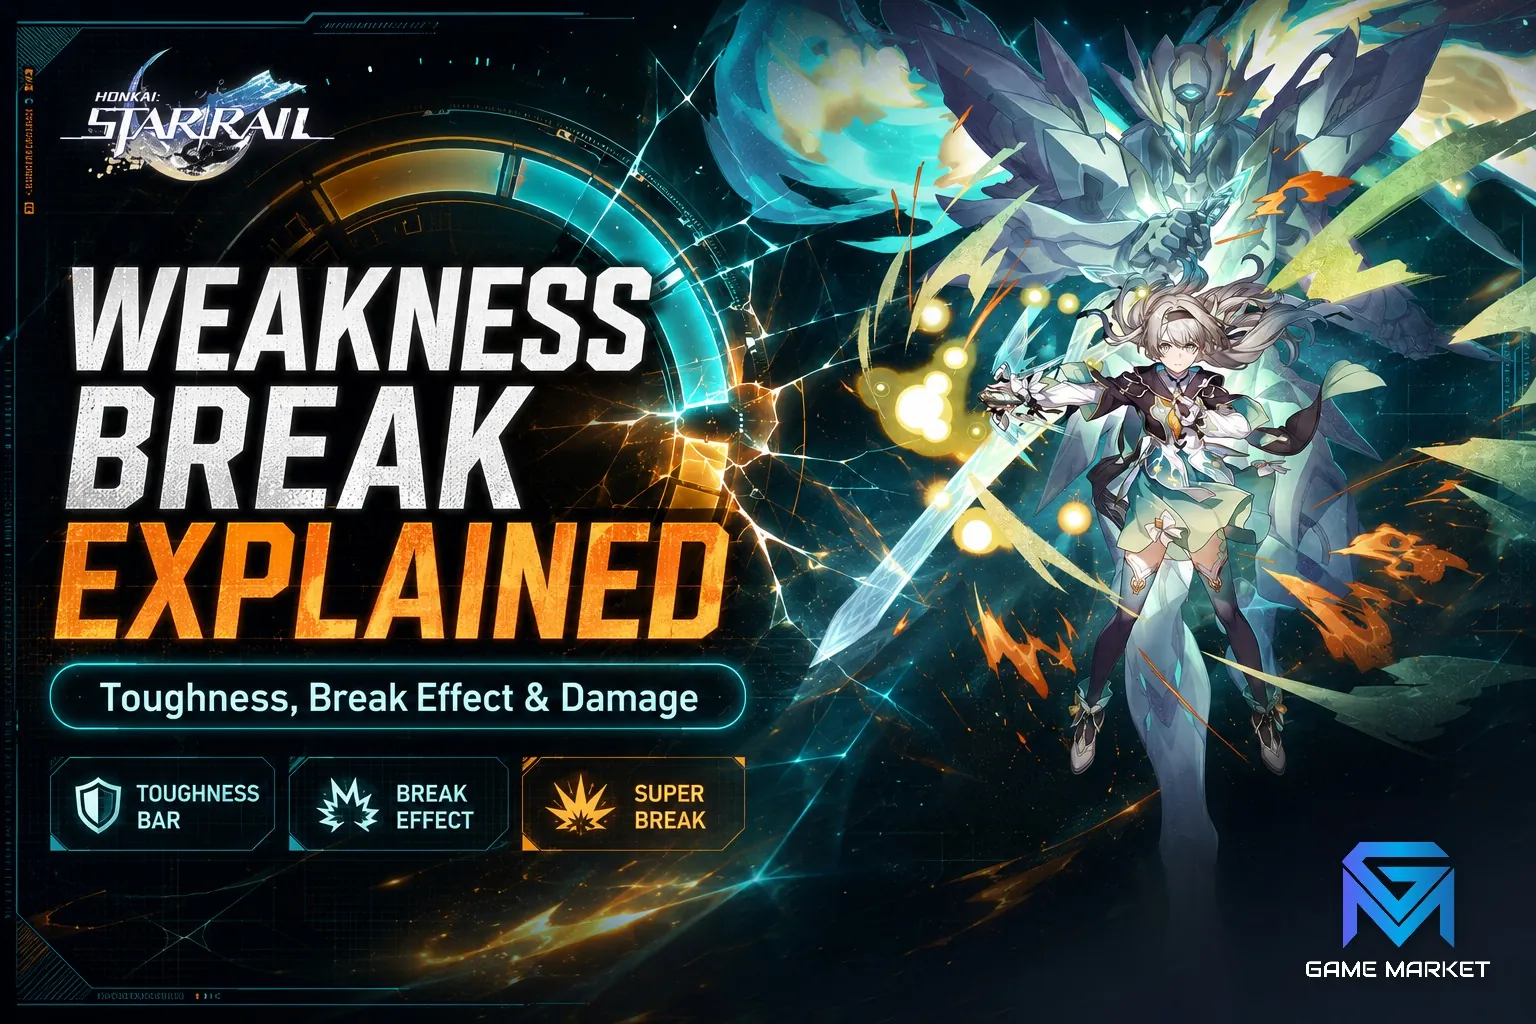
Weakness Break in Honkai: Star Rail happens when you drain an enemy's Toughness bar using damage types it is weak to. Breaking the bar deals one burst of Break DMG, delays the enemy's next turn, and applies a status effect tied to the damage type that landed the final hit. It is worth reading Honkai alongside this.
That single sentence hides most of the game's combat depth. Toughness is a second health bar that only certain damage types can touch, Break DMG scales off a stat almost no beginner builds for, and each of the seven damage types leaves behind a completely different debuff. Understanding the system is the difference between a team that occasionally staggers a boss and a team that keeps it locked out of its turns for an entire fight. This guide walks through the Toughness bar, the seven Break effects, the Break Effect stat, Super Break, and when a Break-focused roster beats a conventional crit roster.
What is Weakness Break in Honkai: Star Rail?
Weakness Break is the state an enemy enters when its Toughness bar reaches zero. The break deals immediate Break DMG, pushes the enemy's action back on the turn order, and applies a lingering effect determined by the damage type that emptied the bar. The enemy cannot act again until its Toughness refills.
Every enemy in Honkai: Star Rail carries a white Toughness bar directly above its HP bar, and above that bar sits a row of icons showing which of the seven damage types it is weak to: Physical, Fire, Ice, Lightning, Wind, Quantum, and Imaginary. Only attacks of those specific types reduce Toughness. If an enemy shows only Ice and Quantum icons, your Fire damage dealer will still chip its HP normally but will never move the Toughness bar by a single pixel.
When the bar finally empties, three things happen in the same instant. The enemy takes Break DMG of the type that broke it. Its next action is delayed on the action bar, which in practice usually costs it a full turn. And it receives the type's signature status effect, which is where the seven damage types stop being interchangeable and start feeling genuinely different.
How does the Toughness bar actually work?
Toughness depletes in fixed units, not percentages. Each attack has a hard-coded Toughness damage value independent of your ATK, CRIT, or DMG bonuses, so a poorly geared character removes exactly as much Toughness as a fully built one, provided the damage type matches the enemy's weakness.
The standard values are built in increments of 30. A single-target Basic ATK typically removes 30 Toughness, a single-target Skill removes 60, and an Ultimate removes 90. Blast and area attacks usually deal their full value to the main target and a reduced amount to adjacent enemies. Follow-up attacks and damage-over-time ticks have their own values, and crucially, most damage-over-time effects deal no Toughness damage at all — a burning enemy is losing HP but its Toughness bar sits untouched.
Enemy Max Toughness varies enormously. Trash mobs may sit at 60 or 90, meaning a single Skill breaks them. Elite enemies commonly land in the 180–360 range. Bosses in endgame content frequently exceed 500 and refill the bar the moment they recover, which is exactly what turns Break into a sustained rotation problem rather than a one-time burst.
Once broken, the bar stays empty for a defined recovery period — usually until the enemy takes its next turn, at which point Toughness refills to maximum and the enemy resumes acting normally. Characters who extend that window are therefore enormously valuable. Ruan Mei's kit, for example, delays the moment Toughness begins recovering, which stretches every break you land into a longer lockout.
One more wrinkle: Weakness Break Efficiency. Some characters and light cones grant a percentage bonus to the Toughness damage their attacks deal. At 50% Break Efficiency, a 60-Toughness Skill removes 90 instead. This does not increase your Break DMG — it just gets you to the break faster, which matters most against high-Toughness bosses where the difference is a full extra turn of lockout per rotation.
How do you match weakness types to your team?
Check the enemy's weakness icons before the first turn and build around covering as many as possible. Most stages give you a preview of enemy weaknesses in the stage selection screen, so team composition is a decision you make before combat starts, not a reaction to it.
In practice, endgame teams cover one or two damage types deeply rather than all seven shallowly. Your main damage dealer usually matches the primary enemy weakness, and a support or sub-damage dealer covers a secondary type so you are still generating Toughness damage while the main carry is off cooldown or recharging their Ultimate.
The system has one important escape hatch: weakness implantation. Silver Wolf can apply a damage type as a temporary weakness to an enemy that does not naturally have it, letting a team with the wrong type coverage break anyway. This is why she remains valuable long after her raw damage numbers stopped competing — she converts a hard type check into a soft one.
Understanding which characters cover which types is foundational team-building knowledge, and it interacts directly with Path roles. A full breakdown of how the seven Paths and seven damage types combine into working rosters is covered in our HSR characters and best teams guide, which is worth reading alongside this one if your account has a shallow bench in any particular type.
What does each damage type do on Break?
Each of the seven damage types applies a distinct status when it breaks an enemy. Physical bleeds, Fire burns, Ice freezes, Lightning shocks, Wind applies stacking shear, Quantum entangles, and Imaginary imprisons. The differences are large enough to change which character you want landing the final Toughness hit.
Physical — Bleed. Applies damage over time scaled off the target's Max HP rather than your ATK, subject to a cap based on the breaker's ATK. This makes Physical break unusually strong against high-HP bosses, where a percentage-of-HP tick outperforms flat ATK scaling.
Fire — Burn. Straightforward damage over time scaled off the breaker's ATK. It is the least conditional of the seven: no positioning requirement, no stacking mechanic, no interaction that can fail. Reliable rather than spectacular.
Ice — Freeze. The enemy is frozen and cannot act at all, taking Ice damage when it finally does act. Freeze is the strongest defensive break in the game because it converts the break into a full skipped turn on top of the standard delay, which is enormous against enemies with dangerous single attacks.
Lightning — Shock. Damage over time scaled off the breaker's ATK, generally comparable in output to Burn. Its practical advantage is roster-wide: several Lightning characters and Nihility supports build around amplifying Shocked targets, so the debuff often feeds into other parts of the team.
Wind — Wind Shear. A stacking damage-over-time effect, with each application adding a stack up to a maximum of five. Individual stacks are modest; a Wind team that reapplies shear every turn produces the highest sustained damage-over-time totals in the game. The stacking design rewards multi-hit Wind attackers heavily.
Quantum — Entanglement. Delays the enemy's action and stores stacks. When the entangled enemy finally acts, it takes damage scaled by the number of stacks accumulated. Against enemies that already act slowly, entanglement compounds the delay in a way no other type matches.
Imaginary — Imprisonment. Reduces the enemy's SPD and delays its action further. It deals no damage-over-time at all, making it purely a control effect — and the best one in the game for keeping a dangerous elite permanently behind your team on the action order.
The practical takeaway is that Break is not only a damage mechanic. Ice and Imaginary breaks are defensive tools; Physical, Fire, Lightning and Wind breaks are damage tools; Quantum sits in between. Choosing which character delivers the killing Toughness blow is a real tactical decision in tight fights.
What does the Break Effect stat do?
Break Effect increases both the burst of Break DMG dealt when the bar empties and the damage of the status effect that follows. Every character starts at 100% Break Effect by default, and the stat scales the entire break package multiplicatively from there.
What Break Effect does not do is speed up the break itself. Toughness damage is fixed; Break Effect only makes the payoff bigger when the break lands. This distinction trips up a lot of players who stack Break Effect on a character and then wonder why enemies are not breaking any faster. Break Effect is the damage stat of a Break build; Weakness Break Efficiency is its speed stat, and they come from entirely different sources.
Break Effect appears as a main stat on the Link Rope relic slot and as a substat on any relic piece. It also comes from several relic sets, most notably Thief of Shooting Meteor, which grants Break Effect at both two and four pieces and regenerates Energy whenever you break an enemy — a set that turns Break into an Ultimate-generation engine. Iron Cavalry Against the Scourge pushes further, granting Break Effect and letting Break DMG ignore a portion of enemy DEF at high Break Effect thresholds. On the Planar side, Talia: Kingdom of Banditry grants Break Effect and a larger bonus once the wearer clears a SPD requirement, which is why Break builds so often chase speed thresholds that look arbitrary in isolation.
Light cones follow the same pattern. Memories of the Past is the classic free-to-play Harmony option, pairing Break Effect with Energy regeneration on Break, and several Nihility cones amplify damage against Shocked or Wind Sheared enemies rather than boosting Break directly. Which cone belongs on which character depends on the Path more than the damage type — our HSR Light Cones explained guide covers Path matching and Superimposition scaling in detail.
Because Break Effect scales the entire package, high-investment Break builds routinely run 200% to 300%+ Break Effect and drop CRIT stats entirely. Break DMG cannot critically hit, so CRIT Rate and CRIT DMG substats are dead weight on a dedicated Break character — one of the very few situations in the game where you deliberately throw away the stats everyone else is farming for.
How does Super Break work?
Super Break is an additional damage instance that triggers when an ally attacks an enemy that is already Weakness Broken. Instead of the attack merely dealing its normal damage, it also deals extra damage scaled by the attack's Toughness-reduction value and the attacker's Break Effect.
The mechanic changes the shape of a Break team entirely. In a standard Break build, the break itself is the payoff and everything after it is ordinary damage. With Super Break enabled, the break becomes the setup: every subsequent hit on the broken enemy carries a bonus proportional to how much Toughness that hit would have removed. Attacks that were previously useless against a broken enemy — because there is no Toughness left to remove — suddenly become the main damage source.
Super Break has to be granted by a specific enabler; it is not an innate property of Break. The Harmony variant of the Trailblazer is the widely available source, and Ruan Mei amplifies the effect substantially. Because the bonus scales off Break Effect for the character actually attacking, Super Break teams typically build Break Effect on everyone, including characters who would normally be built for CRIT. This is the clearest example in the game of an enabler rewriting the build rules for an entire team rather than just adding a buff.
The natural consequence is that Super Break teams want high Toughness-damage attacks and fast turn cycling rather than big single hits. Characters with multi-hit attacks, follow-ups, and high action frequency outperform slow single-target nukes, which inverts the usual damage-dealer hierarchy.
When is a Break team better than a crit team?
Break teams excel against enemies with high Toughness, dangerous turns you want to skip, and fights long enough for damage over time to accumulate. Crit teams win when enemies die fast, weaknesses are inconvenient, or the content rewards burst within a tight turn limit.
The endgame modes push in different directions. Memory of Chaos rewards clearing quickly, which historically favours concentrated burst damage, though Break teams with strong Toughness-reduction throughput compete well when enemy weaknesses line up. Pure Fiction rewards clearing waves of many enemies, favouring area damage and stacking damage-over-time. Apocalyptic Shadow explicitly rewards breaking, giving score credit for Toughness reduction — the one mode where a Break build is unambiguously the intended answer.
There is also an account-health argument for building at least one Break character. Break DMG is not affected by CRIT, which means it is one of the few damage sources that performs consistently on relics you have not spent months optimising. A Break character with clean Break Effect substats delivers reliable output far earlier in an account's life than a CRIT character on half-rolled relics. If your relic farming is still early, Break is the more forgiving investment — a point worth weighing against the general progression path described in our HSR progression guide.
Eidolons matter here too. Several Break-oriented characters gain their most meaningful Break Effect scaling or Toughness-reduction upgrades at specific Eidolon levels, which changes whether a given unit is a niche pick or a team cornerstone. Our breakdown of HSR Eidolons covers which duplicates actually change a character's role rather than just adding numbers.
How do you build a Break character from scratch?
Prioritise Break Effect on the Link Rope, SPD on Boots, and Break Effect substats everywhere else, then use the relic set to cover Energy or DEF penetration. Ignore CRIT entirely and treat ATK as a secondary concern except for characters whose Break effects scale off ATK.
The build order in practice looks like this. First, get the Link Rope to a Break Effect main stat — this single slot is the largest source of the stat and nothing else substitutes for it. Second, hit whatever SPD threshold your relic set or supports require; Talia's bonus and most action-economy calculations key off specific SPD numbers, and falling one point short wastes the entire bonus. Third, farm Break Effect substats, which appear on every slot and stack additively into the total.
Level and Trace investment still matter, because Toughness damage values often increase with Skill and Ultimate levels through additional hits, and because your character still needs enough survivability to take turns. Ascension caps your stats hard regardless of how good your relics are — the material requirements and Trace priority order are covered in the ascension guide on our site.
For damage-over-time-heavy Break effects like Bleed, Burn, Shock and Wind Shear, ATK still contributes because those effects scale off the breaker's ATK. Physical Bleed is the partial exception, scaling primarily off the target's Max HP with an ATK-based cap, which is why Physical breakers can perform well on relatively modest ATK.
What are the most common Weakness Break mistakes?
The three biggest errors are stacking CRIT on a Break build, expecting damage-over-time to reduce Toughness, and ignoring the recovery window. Each of them quietly halves the value of an otherwise correct team.
Stacking CRIT is the most expensive mistake because it feels correct. Break DMG cannot crit, so every CRIT Rate and CRIT DMG substat on a dedicated Break character contributes nothing to the part of the kit you are actually using. The fix is uncomfortable but simple: farm a second relic set with Break Effect substats and accept that your beautifully rolled CRIT pieces belong on a different character.
Expecting damage over time to break enemies is the second. Burn, Shock, Bleed and Wind Shear tick HP down but do not touch Toughness, so a team relying purely on damage-over-time will watch a boss sit at full Toughness while its HP drains — and will take every one of that boss's turns in the process.
Ignoring the recovery window is the subtlest. Toughness refills fully once the enemy recovers, so breaking an enemy at the wrong point in your rotation can waste the entire lockout. Ideally you break immediately before your heaviest damage window, not after it, and you use turn-delay supports to stretch the broken state across as many of your own turns as possible.
Frequently asked questions
Does Break DMG scale with CRIT? No. Break DMG and the damage-over-time effects from Break cannot critically hit, which is why dedicated Break builds drop CRIT stats entirely in favour of Break Effect.
Do damage-over-time effects reduce Toughness? No. Almost all damage-over-time ticks deal zero Toughness damage. Toughness is reduced by direct attacks of a matching damage type, including Basic ATKs, Skills, Ultimates and most follow-up attacks.
Can you break an enemy with a damage type it is not weak to? Not normally. Only matching damage types reduce Toughness. The exception is weakness implantation, most notably from Silver Wolf, which temporarily adds a damage type to the enemy's weakness list.
How long does Weakness Break last? Until the enemy takes its next turn, at which point Toughness refills to maximum. Characters who delay Toughness recovery, such as Ruan Mei, extend this window meaningfully.
Is Break Effect worth building on support characters? Yes in Super Break teams, where the bonus damage scales off the attacking character's own Break Effect. In conventional teams, build Break Effect only on the character actually landing the breaks.
If you are still deciding which characters to invest in or want a wider view of how Toughness, Paths and currencies fit together, start with our Honkai: Star Rail beginner's guide, which lays out the systems this article builds on.
Where to Find Honkai: Star Rail Accounts and Top Up
On GameMarket.gg you can browse Honkai: Star Rail top-up options, the Honkai: Star Rail market hub.
Weakness Break rewards players with deep damage-type coverage, and that coverage comes from having enough built characters to answer whatever the stage puts in front of you. If you would rather start from a roster that already covers multiple damage types, browse the available Honkai: Star Rail accounts on GameMarket.gg and pick one whose character pool matches the Break teams you want to run.
GameMarket.gg is a trusted digital marketplace for everything gaming-related. We serve the gaming community by providing secure access that enhances every gaming journey.
Players who convert a clean Weakness Break into a full clear often do it by paying for a Honkai: Star Rail boosting order rather than piloting every rotation themselves.