HSR Simulated Universe Explained: Blessings, Curios & Paths
By John Ganang 2 September 2026, 12:00 WIB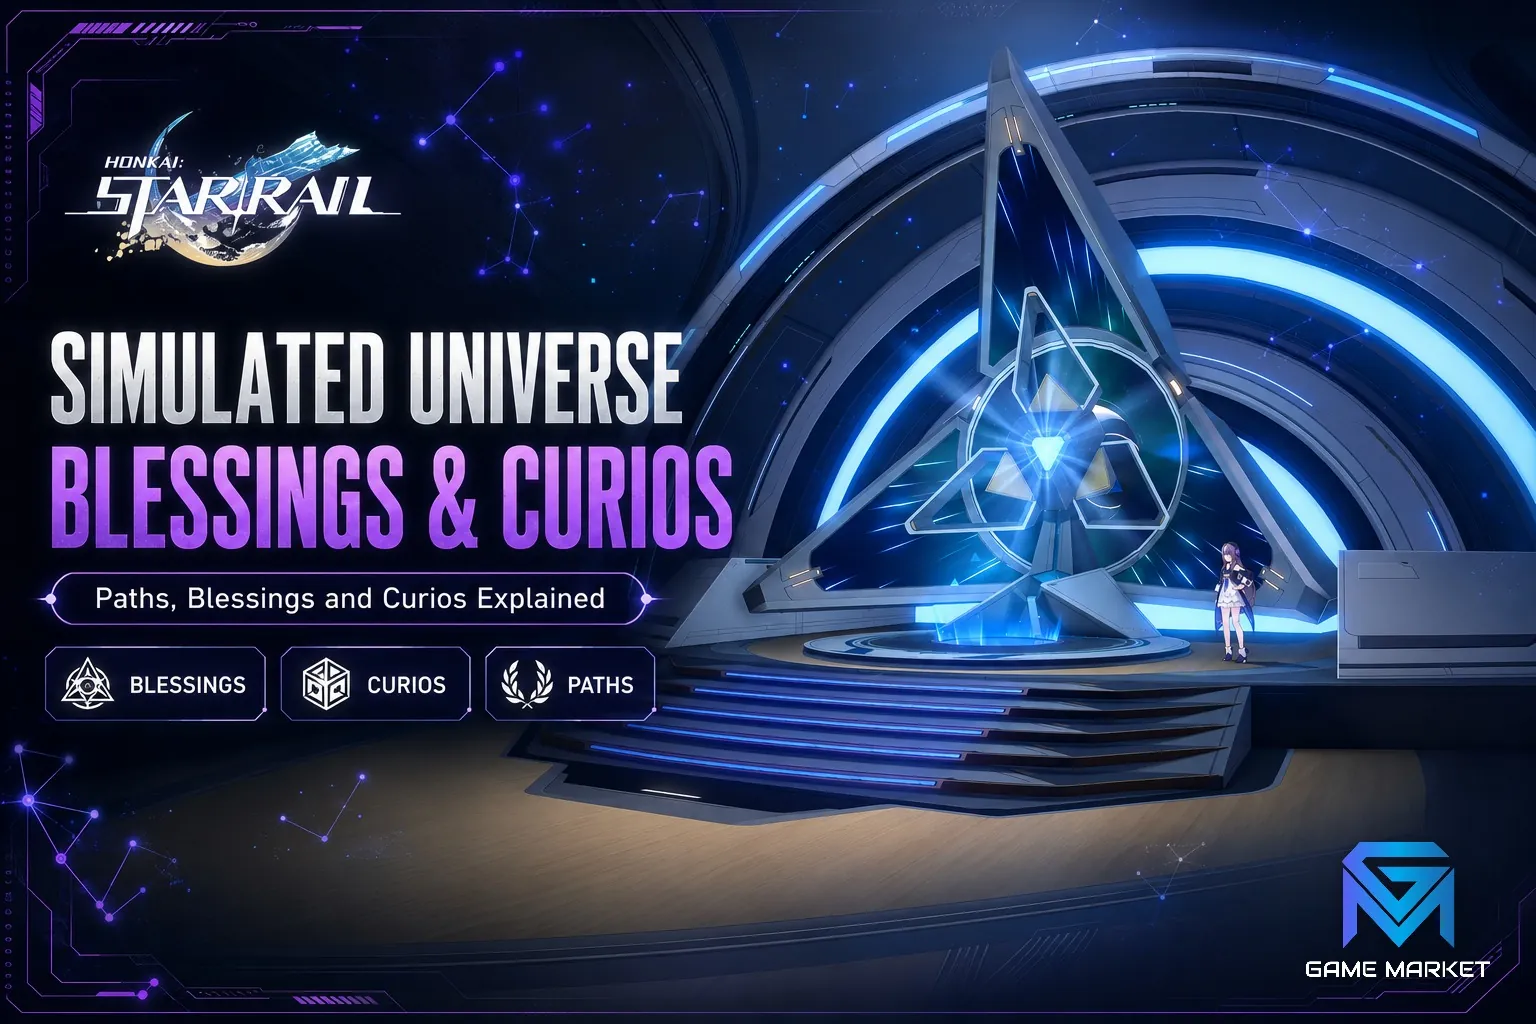
Simulated Universe is Honkai: Star Rail's roguelike mode: you enter a branching run of randomised rooms, resonate with one of several Paths, and stack Blessings and Curios into a temporary build strong enough to clear the world's boss. Clearing worlds unlocks permanent account upgrades through the Ability Tree.
It is the single most misunderstood system in the game, because it looks optional and plays nothing like the rest of Honkai: Star Rail. Combat outside Simulated Universe rewards a well-built team. Combat inside it rewards a well-built run — a set of temporary modifiers that can make a mediocre roster delete a boss, or make a whale roster stall out on a normal enemy pack. This guide covers the structure of a run, how the Path and Blessing layers interact, what Curios actually do, and what the mode gives back to your permanent account once you stop treating it as a side activity.
What is Simulated Universe in Honkai: Star Rail?
It is a repeatable roguelike mode accessed from the Herta Space Station, structured as a series of numbered Worlds of increasing difficulty. Each World is a run of randomised rooms ending in a boss, and each completed World permanently unlocks new content, currencies and account-wide passive upgrades.
The framing matters. HoYoverse built Simulated Universe as a progression pillar, not a bonus mode. It is where a large share of the game's Trailblaze Power sink for relic-adjacent rewards lives, where several account-wide passive bonuses come from, and where the Herta Bond and Cosmic Fragment currencies used in its own shop are earned. Skipping it does not just cost you rewards — it leaves permanent stat and utility upgrades unclaimed.
Structurally, a World is a directed graph. You start at an entry room, see two or three possible next-room types, and pick one. Room types include normal combat, elite combat, a shop, a reward room, an event room with a text-choice encounter, and the boss. You cannot see the entire map at once, only your immediate options, which makes routing a live decision rather than a plan.
The mode also expanded over time into differentiated endgame variants that reuse the same Blessing and Curio vocabulary with different scoring rules. Understanding the base mode transfers directly to all of them, which is another reason it is worth learning properly once.
How does a Simulated Universe run actually work?
You choose a team and a starting Path, then move room to room accumulating Blessings from combat rewards and Curios from events and shops. Your build compounds as the run progresses, and the boss at the end is tuned to expect a fully assembled build rather than your base team.
The pacing of that compounding is the core skill. Early rooms are easy and give you the cheapest Blessings; late rooms are hard and give you the ones that actually define a run. A player who spends early resources greedily on marginal upgrades arrives at the boss with a wide, shallow build. A player who commits early to one Path's core mechanic arrives with a narrow, deep one — and depth is what clears bosses.
Between rooms you also manage two soft resources. Cosmic Fragments are the in-run currency for shops and for rerolling Blessing options. Health is persistent across the run and only partially restorable, so taking avoidable damage in a normal room is a real cost that surfaces three rooms later at the elite.
Runs are also time-boxed in a practical sense rather than a mechanical one: your weekly point quota is what caps meaningful farming, so most players run the mode in short bursts. Knowing your build plan before you enter is what keeps a run to a reasonable length. If you are still learning how the underlying combat systems interact, our guide to characters, Paths and team building is the right prerequisite, because Simulated Universe amplifies team synergy rather than replacing it.
What are Blessings and how do you pick them?
Blessings are temporary, run-only buffs granted by one of the Aeon-aligned Paths. After most combats you are offered a choice of three, and each belongs to a Path with its own mechanical identity. Blessings stack, upgrade, and combine into Path-specific Resonance effects at set thresholds.
The decisive rule is that Blessings are not equal in isolation — they are equal only relative to how many you already hold from the same Path. Most Paths have a threshold effect that activates once you hold enough of that Path's Blessings, and those threshold effects are typically several times stronger than any individual Blessing. Taking the "best-looking" Blessing from three different Paths across nine choices gives you nine weak buffs. Taking the second-best from one Path nine times gives you a transformed run.
Blessings also come in rarity tiers, and higher rarities can be enhanced in-run to a stronger version. Enhancing an existing core Blessing is frequently a better use of Cosmic Fragments than buying a new one, because it deepens the build you already committed to instead of widening it.
A practical selection heuristic: on each choice, ask which option most increases the output of the mechanic your team already leans on. A break-focused team wants Blessings that convert toughness damage into something; a damage-over-time team wants stacking and spread effects. Our explainer on how HSR progression fits together across levels, warps and characters is useful context here, because Blessing choice is really just team identity expressed inside a run.
What do Curios do, and are they safe to use?
Curios are passive run items found in events, shops and reward rooms. Most give a straightforward benefit — extra Cosmic Fragments, improved Blessing rarity, healing on room entry. A minority are cursed, carrying a drawback alongside their upside, and a few are gambling items with genuinely random outcomes.
The important distinction is that Curios are not chosen from a menu the way Blessings are; they arrive from events, and events present text choices with consequences you cannot fully see. Some events offer a Curio in exchange for health, currency, or accepting a curse. Whether that trade is correct depends entirely on how far into the run you are. Early, health is cheap and Curios compound — take the trade. Late, health is the resource keeping you alive to the boss — decline it.
Cursed Curios can be cleansed at specific event rooms, which is worth knowing before you refuse one outright. A strong cursed Curio taken early and cleansed midway is often better than a mediocre clean one. Conversely, a curse taken two rooms before the boss with no cleansing opportunity left is a straightforward mistake.
Gambling Curios deserve a blanket caution: their expected outcome is usually fine and their variance is enormous. In a mode where a single bad run costs you a weekly quota slot, low variance is worth more than a marginally better average.
How do Paths shape a run's build?
You resonate with one Path at the start of a run, which grants a signature Resonance ability usable in combat and biases the Blessings you are offered toward that Path. The Path is the strategic frame of the entire run; Blessings are the tactical decisions inside it.
Each Path expresses a different win condition. Some accelerate your team's turn order so you simply act more often. Some convert survivability into offense. Some amplify a specific damage mechanic — breaking, damage over time, follow-up attacks, or additional damage instances. The correct Path is the one whose win condition your actual team can already partially execute, not the one with the strongest reputation.
Path selection also interacts with your Light Cone and relic setup, since the Blessings amplify percentages that your base build supplies. A Path that multiplies break effect does very little for a team with no break-effect investment. If you want to tighten that base layer first, our breakdown of Light Cones, Paths and superimposition explains how the equipment layer maps onto the same Path vocabulary, and the Eidolons explainer covers which character upgrades change a unit's role enough to change your Path answer.
One subtlety: you can pick up Blessings from Paths other than your resonated one. Doing so deliberately, to reach a small secondary threshold that supports your primary plan, is advanced play and works well. Doing so accidentally, by taking whatever looks strongest each time, is the most common reason a run underperforms.
What is the Ability Tree and why does it matter?
The Ability Tree is Simulated Universe's permanent progression layer. Points earned from runs and weekly quotas buy nodes that grant account-wide effects — better starting conditions inside the mode, and in several cases passive bonuses that apply to your account more broadly.
This is the part players most often skip, and it is the part that makes the mode compound. Early Ability Tree nodes make subsequent runs faster and safer, which earns points faster, which unlocks more nodes. The mode is far harsher for a new Trailblazer with an empty tree than for the same account a month later with the same characters and a filled one.
Prioritise nodes that improve your starting state — extra initial Blessings, better shop access, more starting Cosmic Fragments — over nodes that add situational effects. Starting-state nodes apply to every future run without any decision-making on your part, which is exactly the kind of upgrade that pays off across dozens of clears.
The tree is also the reason the mode should be cleared roughly in order rather than rushed. Attempting a World several tiers above your current tree investment usually fails not because your characters are underlevelled, but because the run's baseline is too thin to build from.
How does Simulated Universe feed the rest of your account?
It supplies Planar Ornaments — the two-piece relic set slot that ordinary relic caverns do not drop — plus Herta Bonds and Cosmic Fragments for its shop, Stellar Jade from first clears and quota milestones, and the Ability Tree upgrades described above.
Planar Ornaments alone justify the mode. They are a mandatory part of every optimised build and they come from nowhere else, which means an account that ignores Simulated Universe has a permanent hole in every character's gear. The weekly point quota is the throughput limit on farming them, so consistent weekly participation matters more than any single heroic run.
The Herta shop converts Bonds into a rotating stock that has historically included Light Cones and upgrade materials. Because Bonds accumulate from milestones rather than from grinding, the shop is best treated as a slow, reliable secondary income rather than a target to rush.
All of this is why a well-developed account reads so differently from a fresh one at the same Trailblaze Level — the ornament coverage, the filled tree and the cleared Worlds are progression that does not show up in a character list. Our overview of HSR servers and cross-progression covers the account-structure side of that picture, and the HSR beginner's guide to warp, characters and Stellar Jade is the wider map if you are early enough that Simulated Universe still feels distant.
Which difficulty World should you be running?
Run the highest World you can clear consistently rather than the highest you have ever cleared once. Consistency is what fills the weekly quota, and the quota — not the World number — is what determines your actual reward throughput.
New Worlds unlock sequentially and each raises enemy health, damage and mechanical complexity. Boss encounters in later Worlds carry gimmicks that punish a specific weakness, which means the correct Path can change between Worlds even with the same team. Reading the boss's mechanic before committing to a Path is a two-minute check that changes clear rates substantially.
If a World is close but not clearing, the fix is almost never more character levels. It is usually one of three things: a Path mismatch with your team, spreading Blessings across too many Paths, or arriving at the boss with health spent on avoidable early-room damage. Diagnose in that order.
What mistakes make runs fail?
The four that account for most failed runs are spreading Blessings across Paths instead of committing, hoarding Cosmic Fragments to the boss room where they buy nothing useful, taking cursed Curios late with no cleanse available, and routing toward reward rooms rather than toward the combat rooms that supply Blessings.
The routing mistake is the least obvious. Reward rooms feel productive and Blessings feel incidental, but the run's power comes almost entirely from Blessings, and combat rooms are how you get them. Routing for materials in a World you are struggling to clear inverts the priority.
Hoarding is the second-least obvious. Cosmic Fragments spent early on enhancing a core Blessing compound over every remaining fight. The same fragments spent in the last shop buy a single effect with two rooms left to use it. Spend early and deep.
Finally, be wary of copying a run plan from a clear that used characters you do not have. Simulated Universe guidance is unusually team-dependent, and a Path that is dominant with one specific unit can be actively bad without it. Adapt the principle — commit to one Path, deepen it, protect your health — rather than the specific list.
Frequently asked questions
Does Simulated Universe cost Trailblaze Power?
Running the mode itself does not consume Trailblaze Power for the run. Power is spent when you claim the immersion-style bonus rewards that grant additional Planar Ornaments, which is how most players convert their daily Power into ornament drops rather than by entering more runs.
Do Blessings carry over between runs?
No. Blessings and Curios are strictly run-scoped and disappear when a run ends, whether you clear it or not. The only progression that persists is the Ability Tree, the World unlocks, and the currencies you banked along the way.
Should I commit to one Path or take the strongest Blessings?
Commit to one Path in almost every case. Path threshold and Resonance effects are far stronger than any individual Blessing, and reaching them requires concentration. Take off-Path Blessings only when they directly support your primary Path's win condition.
Can I clear later Worlds with a small roster?
Often yes. Simulated Universe rewards build coherence more than roster breadth, and a focused four-character team with the right Path frequently outperforms a wider but unfocused one. A thin Ability Tree is a bigger limiter than a thin roster.
If you are comparing how far along a progressed account actually is — cleared Worlds, ornament coverage and filled Ability Tree included — you can browse current listings on the Honkai: Star Rail accounts marketplace to see how those milestones are described at each stage.
GameMarket.gg is a trusted digital marketplace for everything gaming-related. We serve the gaming community by providing secure access that enhances every gaming journey.


![Honkai Star Rail Accounts Others ASIA|TL 46|7 Limited[ArcherTeamPrem]|[Archer&Cerydra]+Sign,Sparkle,Rin](https://img.gamemarket.gg/products/f5rccmmm/honkai-star-rail-accounts-asia-tl-46-7-limited-archerteamprem-archer-ceryd-of2-thumbnail.webp "ASIA|TL 46|7 Limited[ArcherTeamPrem]|[Archer&Cerydra]+Sign,Sparkle,Rin Tohsaka,Huohuo,DanHeng*PT|Amphoreus|Check SS HSR781B")