
Honkai Star Rail News
Honkai Star Rail
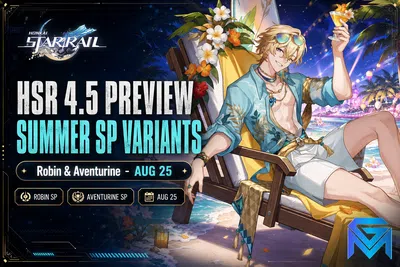
HSR 4.5 Preview — Robin & Aventurine Summer SP Variants Coming Aug 25
The HSR 4.5 preview every Trailblazer is circling arrives with a summer coat of paint over a genuinely serious...
Honkai Star Rail
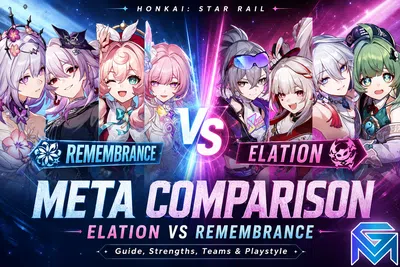
Honkai: Star Rail Meta Comparison: Elation vs Remembrance Guide
Compare the Elation and Remembrance archetypes in Honkai: Star Rail Patch 4.4! Uncover endgame performance across...
Honkai Star Rail
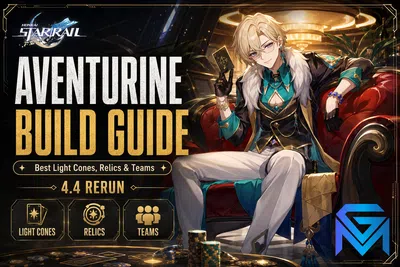
HSR Aventurine Build Guide — Best Light Cones, Relics & Teams (4.4 Rerun)
The Aventurine build every Trailblazer wants before his rerun is simpler than it looks, because his entire kit is built...
Honkai Star Rail
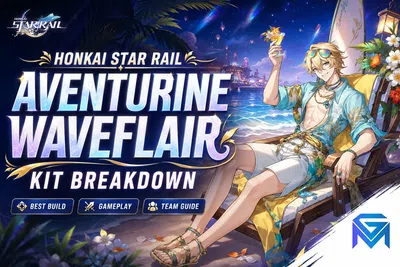
Honkai Star Rail Aventurine Waveflair Kit Breakdown
Prepare for Honkai: Star Rail Version 4.5 with this complete Aventurine Waveflair guide! Explore the 5-star Quantum...
Honkai Star Rail
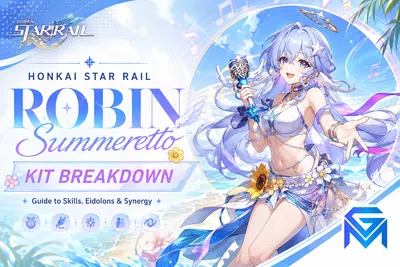
Honkai Star Rail Robin Summeretto Kit Breakdown
Prepare for Honkai: Star Rail Version 4.5 with this complete Robin Summeretto guide! Explore the 5-star Wind...
Honkai Star Rail
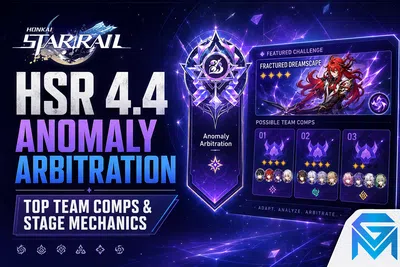
HSR 4.4 Anomaly Arbitration: Top Team Comps & Stage Mechanics
Conquer the toughest endgame content in Honkai: Star Rail Version 4.4! Master all stage mechanics, team lineups, and...
Honkai Star Rail
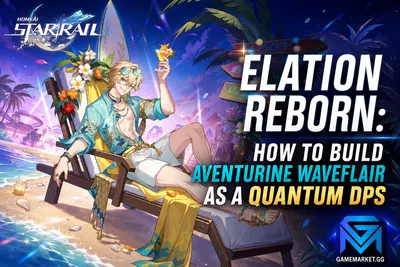
Elation Reborn: How to Build Aventurine Waveflair as a Quantum DPS
Step into the high-stakes table! Aventurine • Waveflair transforms the fan-favorite IPC strategist into a devastating...
Honkai Star Rail
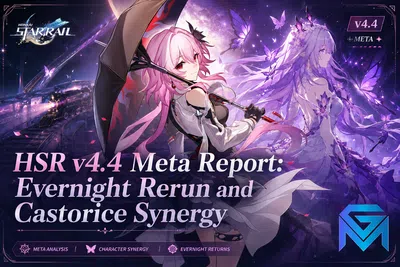
HSR v4.4 Meta Report: Evernight Rerun and Castorice Synergy
Dive into the ultimate Honkai: Star Rail v4.4 meta report! Analyze Evernight’s rerun value on the Indelible Coterie...
Honkai Star Rail
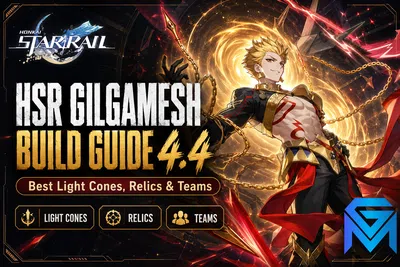
HSR Gilgamesh Build Guide 4.4 — Best Light Cones, Relics & Teams
The HSR Gilgamesh build guide every Trailblazer needs is here: Gilgamesh is the free 5-star Lightning Destruction...
Honkai Star Rail
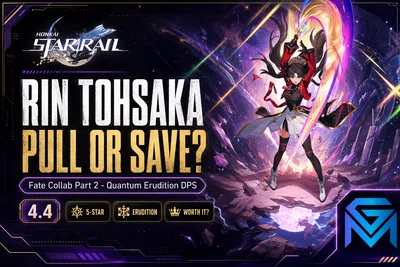
HSR Rin Tohsaka Pull or Save? Quantum Erudition DPS 4.4 Analysis
The HSR Rin Tohsaka pull analysis comes down to a single roster question: does the 5-star Quantum Erudition headliner...
Honkai Star Rail
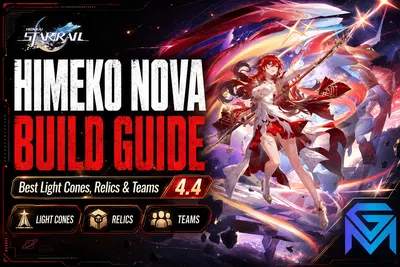
HSR Himeko Nova Build Guide 4.4 — Best Light Cones, Relics & Teams
Himeko Nova is the standout Fire Erudition carry arriving in Honkai: Star Rail Version 4.4 when the patch goes live on...
Honkai Star Rail
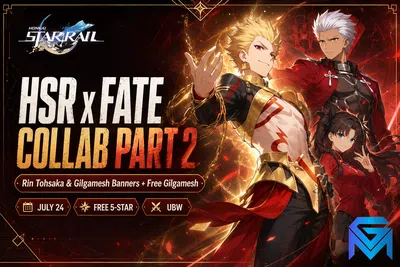
HSR 4.4 Fate Collab Part 2 — Free Gilgamesh & Rin Tohsaka Preview
The HSR 4.4 Fate Collab Part 2 preview every Trailblazer wants is finally here: Honkai: Star Rail Version 4.4 goes live...
Honkai Star Rail
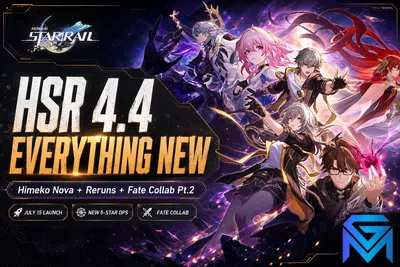
HSR 4.4 Everything New — Himeko Nova, Fate Collab Part 2 & Reruns (July 15)
HSR Version 4.4 goes live on July 15, 2026, and it is one of the busiest patches of the year — headlined by the Himeko...
Honkai Star Rail
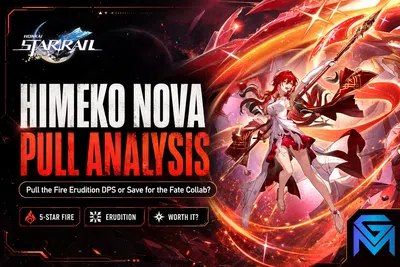
HSR Himeko Nova Pull or Save? Fire Erudition DPS 4.4 Analysis
The HSR Himeko Nova pull analysis every Trailblazer wants before Honkai: Star Rail Version 4.4 goes live on July 14–15,...
Honkai Star Rail
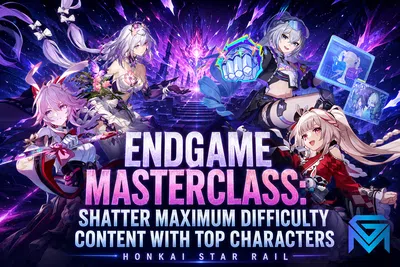
Endgame Masterclass: Shatter Maximum Difficulty Content With Top Characters
Crush Memory of Chaos, Pure Fiction, and Apocalyptic Shadow with our ultimate Honkai: Star Rail Patch 4.3 DPS Tier...
Showing 1 of 15 from 65 Results