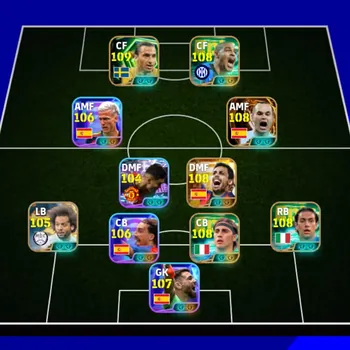
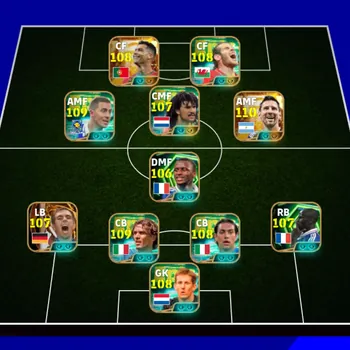
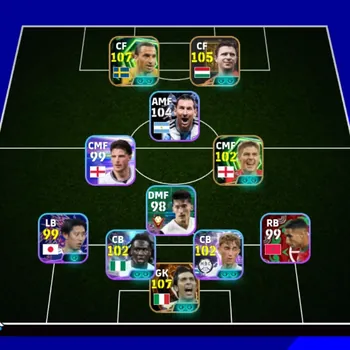
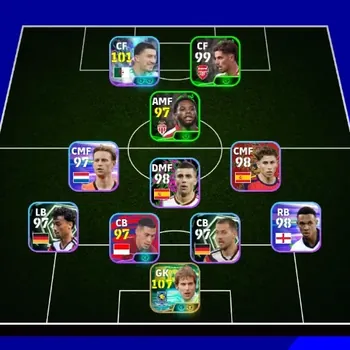
eFootball Formations Explained: Best Setups for Beginners
By John Ganang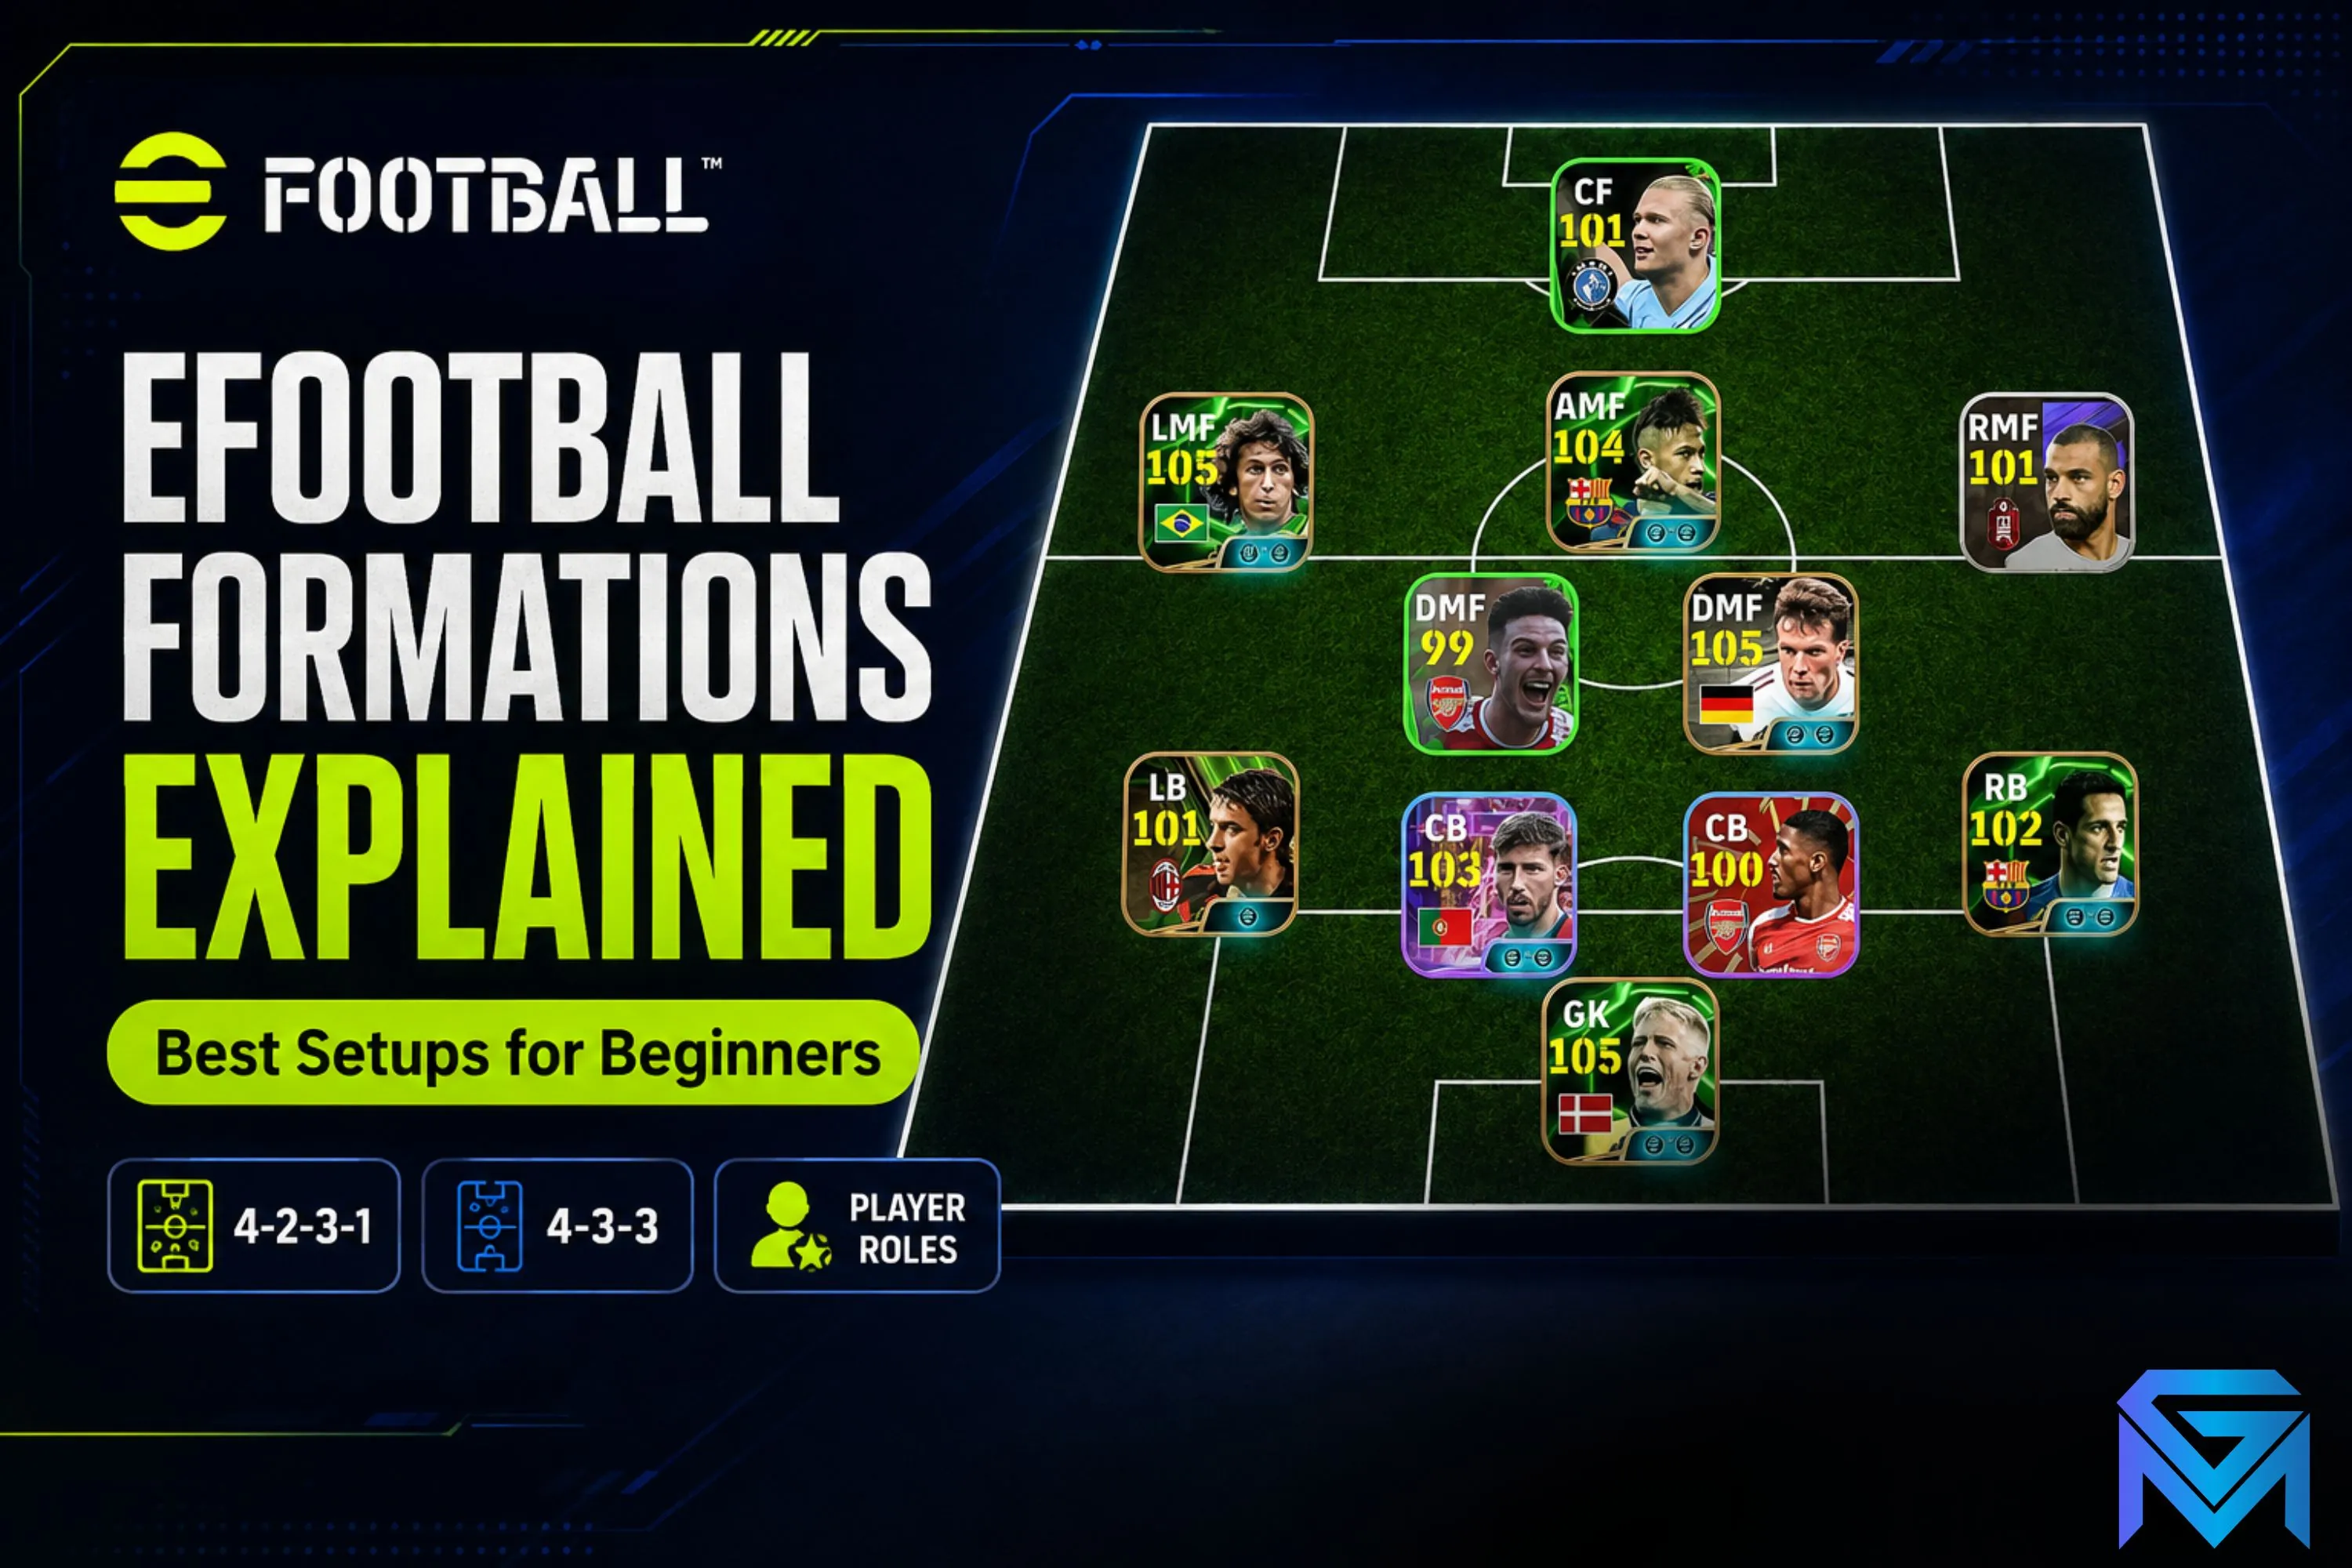
A formation in eFootball is the starting shape of your eleven, and for a beginner it matters less which shape you pick than whether the shape matches how you actually play. Balanced setups like 4-3-3 and 4-2-3-1 give new players the widest margin for error, because they keep passing options short in every phase of the game. We cover EFootball Set Piece Guide separately.
What does a formation actually control in eFootball?
A formation sets each player's starting position and the zone they return to when the ball is elsewhere. It does not lock their behaviour — that comes from playing styles, team tactics and your own input — but it decides how far apart your players stand, which is what makes passing easy or hard.
That distinction trips up almost every new player. Copying a top-division squad's formation does not copy their football, because the same shape can be played as a patient possession side or a direct counter-attacking one depending on the tactical settings layered on top of it. The formation is the skeleton; the team tactics and each player's playing style are the muscles.
What the shape genuinely determines is distance. Three players in a midfield line stand closer together than two, so a three-man midfield offers more short passes and recovers the ball higher. A front three stretches defenders wider than a front two, opening space between centre-backs but leaving your striker isolated if the midfield cannot reach him. Every formation decision is a trade between compactness in one area and width or height in another, and beginners almost always benefit from compactness.
Formation also changes how forgiving your defending is. A double pivot — two holding midfielders sitting in front of the back four — covers the space in front of the centre-backs automatically, which is exactly where inexperienced defenders leak goals. Shapes that field a single holder ask you to read danger earlier and shift across manually. The eFootball beginner's guide to player cards, coins and squads covers the squad-building side that feeds into this.
Which formations are best for beginners?
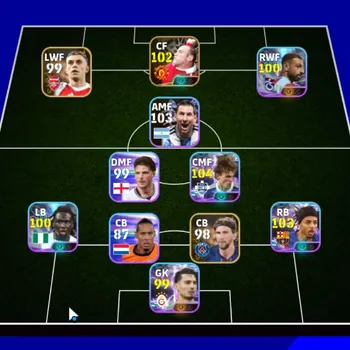
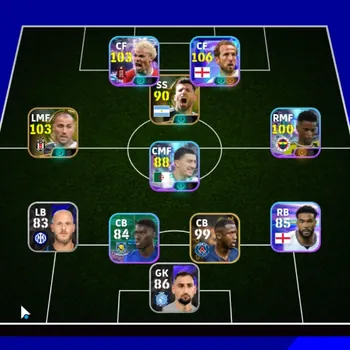
Start with 4-2-3-1 or 4-3-3. Both give you a settled back four, at least three central midfielders and short passing distances in every phase, which means fewer forced long balls and fewer counter-attacks conceded while you are still learning defensive positioning.
4-2-3-1 is the most forgiving shape in the game for a new player. The two defensive midfielders screen the back four whether or not you are controlling them well, the attacking midfielder gives you a permanent short option between the lines, and the two wide players can be told to tuck in or hold width. If you concede a lot of goals from through balls, this is the shape that fixes it fastest.
4-3-3 trades a little defensive cover for far better attacking connection. Three midfielders in a line ahead of the back four still cover the middle adequately, and the front three occupy defenders across the full width of the pitch, which creates the diagonal passing lanes that make attacking feel intuitive. It is the better choice if you already defend reasonably and want your attacks to flow without much thought.
Two shapes to avoid early: anything with three at the back, and anything with a lone holding midfielder behind two attackers. Three-at-the-back systems depend on your wing-backs tracking properly, and if you leave them advanced you concede the flanks repeatedly. Shapes with one holder demand that you personally cover the centre, which is a skill built after a few hundred matches rather than in your first week.
Formation choice also interacts with which team playstyle you select, and the two settings can fight each other. A shape built for short passing paired with a long-ball playstyle produces a squad that constantly bypasses its own best players. The eFootball team playstyle guide covering every option explains which playstyle sits naturally on top of each shape. For the detail behind that, see Daily and Weekly Objectives Guide Rewards and Resets.
How do you fit your actual players into a formation?
Fit the shape to the players you own, not the other way round. eFootball applies a position-familiarity penalty when a card plays out of its natural role, so a formation that forces three players out of position will perform worse than a plainer shape where everyone is comfortable.
The practical order of operations is: look at your best five or six cards, note their natural positions, then pick the shape that fields all of them without a penalty. If your strongest cards are two centre-backs, a holding midfielder, an attacking midfielder and a striker, 4-2-3-1 is chosen for you. If they are three central midfielders and two wingers, 4-3-3 is chosen for you. This sounds obvious and is still the single most common beginner mistake.
Position familiarity is shown per card and is not binary — some cards are fully comfortable in several roles, others drop noticeably outside one. A card at a small penalty in a well-connected shape is usually still better than the same card at full familiarity in a shape that leaves it isolated, but two or more penalised players in the same line of the pitch is where squads start visibly underperforming their rating.
Squad depth changes this over time. Early on you will have gaps and should accept one compromise position; as your squad fills out, the correct move is to change the formation to suit the players you have accumulated rather than to keep chasing cards that fit a shape you picked in week one.
What tactical settings should a beginner change first?
Change defensive line height and support range before anything else. Those two settings do more to alter how a match feels than swapping formations does, and both have a safe beginner default: a mid-to-low defensive line and a support range wide enough to keep players connected.
A high defensive line squeezes the pitch and wins the ball back sooner, but it hands any pacey attacker a straight run at your goalkeeper. Until you are confident stepping across to cover, keeping the line lower removes the majority of the goals new players concede. The cost is that you win the ball back deeper and have further to travel when attacking, which is exactly what a compact midfield shape is for.
Support range controls how tightly your team squeezes toward the ball. A narrow range keeps everyone close and passing simple but leaves the far side of the pitch empty; a wide range spreads the team out and makes short passing harder. Beginners should sit in the middle and adjust one notch at a time, watching whether their passes are being intercepted (too wide) or their attacks are getting crowded out (too narrow).
Once those are set, the newer fluid-shape system is worth learning, because it lets a single formation behave differently with and without the ball. Our eFootball fluid formation guide to setting up both shapes walks through how to configure the attacking and defending shapes so you do not have to compromise on one.
When should you change formation?
Change shape when a specific problem repeats across matches, not after a single loss. The useful triggers are structural: you cannot find a pass out of your own half, you concede repeatedly through the same channel, or your striker spends the match alone with no support runner.
Each of those has a shape-level answer. No passing options in build-up usually means too few central midfielders, so add one. Repeated goals conceded through the middle means your holding cover is thin, so move to a double pivot. An isolated striker means the players behind him are too deep or too wide, so bring an attacking midfielder into the shape or narrow the wide players' instructions.
Mid-match changes are a separate tool and are often stronger than pre-match ones. Switching to a more attacking shape while chasing a goal, or dropping an extra body into midfield to protect a lead, addresses a problem that only exists for the next twenty minutes. eFootball allows preset alternatives you can prepare in advance, and setting up one attacking and one defensive variant of your main shape is a better use of time than endlessly tweaking a single formation.
What is not a good reason to switch is a run of bad results against strong opponents. Formation is the most visible setting, so it absorbs blame that usually belongs to positioning, timing or squad familiarity. Give any shape a genuine run of matches before you judge it, and change one thing at a time so you can tell what actually helped.
Frequently asked questions
Does a higher-rated squad beat a better formation? Usually not on its own. Team rating is an average that ignores connection, so a well-connected shape with comfortable players regularly beats a higher-rated squad stuffed with out-of-position cards.
Should you copy formations from top-division players? Only if you own similar players and defend at a similar level. Elite shapes often depend on manual defending and specific playing styles, and they punish the exact mistakes beginners make most.
Do formations affect how the AI controls your other players? Yes. The shape sets the zones your AI-controlled teammates return to and run into, which is why a compact formation makes your passes land even when you are not thinking about off-ball movement.
Is there a single best formation in eFootball? No. Konami adjusts balance across updates and every shape has a counter, which is why the durable advice is to pick the shape your players and your defending habits support rather than chasing a monthly consensus pick.
Where to Find eFootball Boosting and Hourly Services
On GameMarket.gg you can browse other eFootball listings, the eFootball market hub.
If you would rather have someone else handle the division climb while you learn the shapes at your own pace, browse the available eFootball boosting listings and compare what verified sellers currently offer. You can also follow the rest of our coverage on the eFootball news hub.
GameMarket.gg is a trusted digital marketplace for everything gaming-related. We serve the gaming community by providing secure access that enhances every gaming journey.