eFootball Fluid Formation Guide: How to Set Up Both Shapes
By Sir Ayup 17 August 2026, 18:05 WIB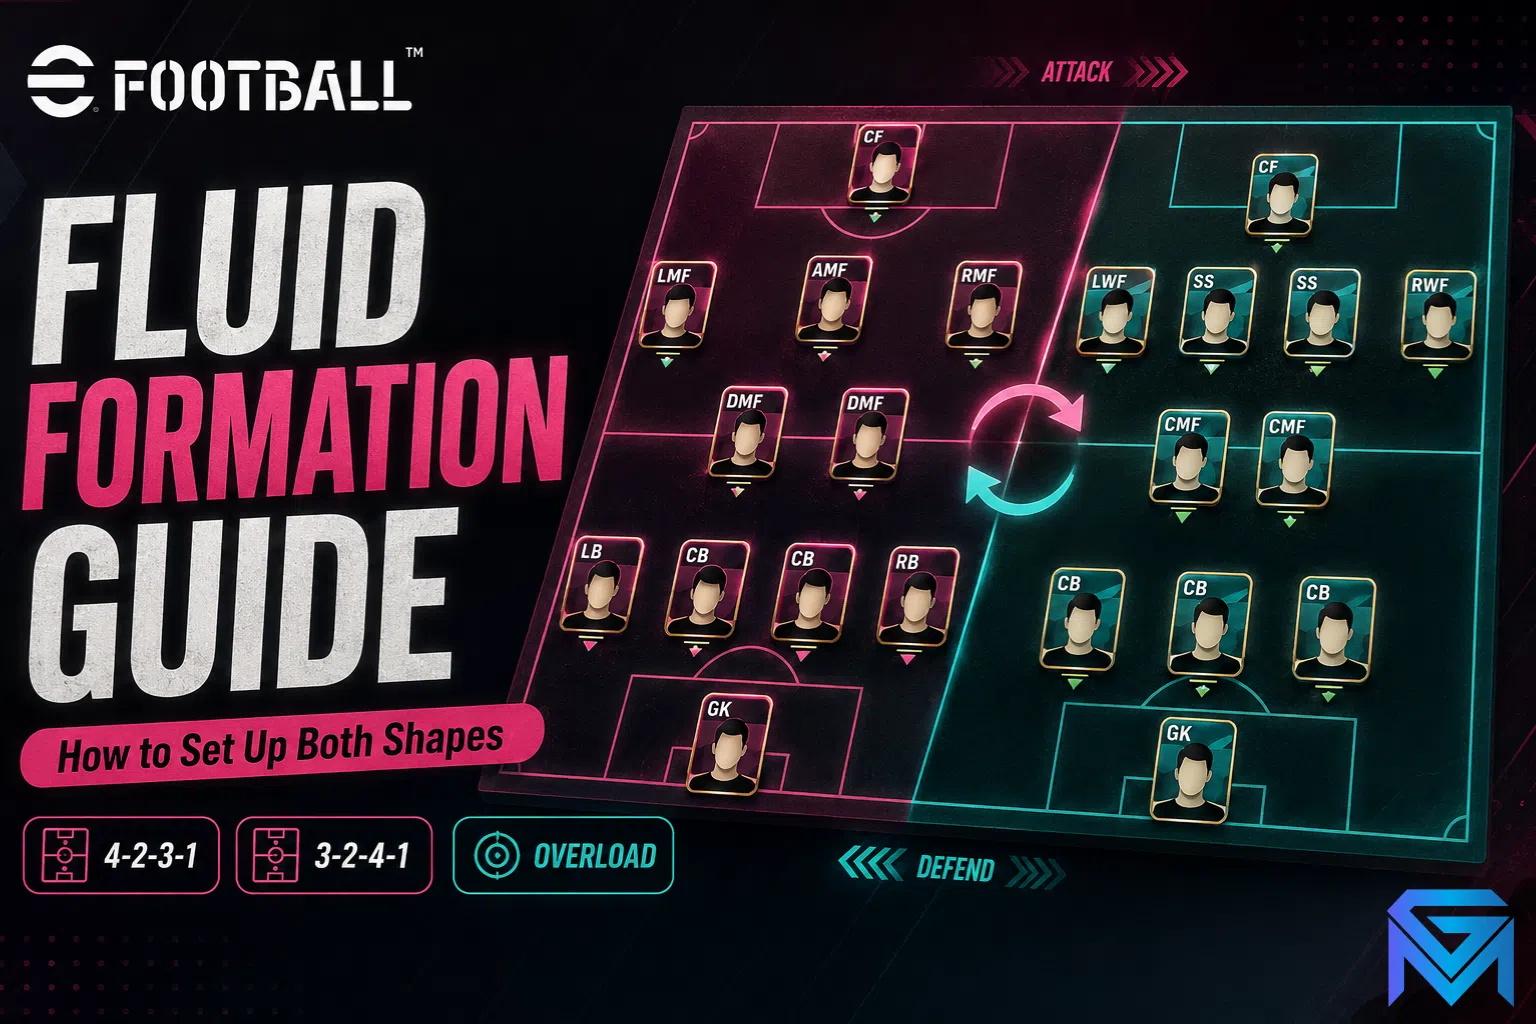
Fluid Formation arrives with v6.0.0 on 13 August, and the first thing to understand is what it isn't: you don't pause and switch formations manually when possession changes. Both shapes are set once in your Game Plan and applied automatically — attacking structure when you have the ball, defensive block when you don't. Konami has also expanded Auto-Pick to fill both formations for you. But the change that will decide whether your setup works isn't Fluid Formation itself: v6.0.0 separates attacking and defensive Playing Styles, meaning two cards in the same nominal position can now behave completely differently without the ball. Here's how to set it up and what to check before you do.
What Fluid Formation actually does
It assigns one formation for attacking and another for defending, switching between them based on possession without any input from you.
Konami's own example: a full-back pushes into an advanced position while you have the ball, and a winger drops back to add a defender when you don't.
It changes positions, not the laws of transition. That distinction matters more than anything else in this guide. Players still need time to travel between the two shapes — if your attacking structure sends a full-back high and you lose the ball, the space behind him is real and exploitable until he recovers. Fluid Formation doesn't teleport anyone.
How to set it up
- Open Game Plan and enable the Fluid Formation option.
- Set your attacking shape. Place every player in the role you want them to occupy with the ball.
- Set your defensive shape. Return the wide or central zones you vacated in attack to cover.
- Check both Playing Styles on every card before you finish — see below.
Auto-Pick has been expanded to configure both formations if you'd rather not do it manually. That's a reasonable starting point for players new to the system, and a reasonable way to see a sensible baseline before you start adjusting.
The sleeper change: separate Playing Styles
This is the detail most coverage skips, and it's the one that breaks copied formations.
v6.0.0 makes it possible for players to have different Playing Styles for attack and defence. Konami also added many new Playing Styles in the same update.
The consequence: two cards in the same position may now produce entirely different shapes without the ball. A forward with a pressing-oriented defensive style initiates from the front; another forward in the same slot may not. A midfielder's defensive style determines whether your centre actually stays protected when your attacking shape unwinds.
Check both styles and Position Proficiency on every player before copying anyone's formation, including the one below. A shape that works for someone else works because of the cards inside it.
A starting setup
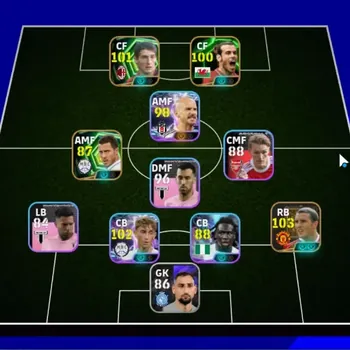
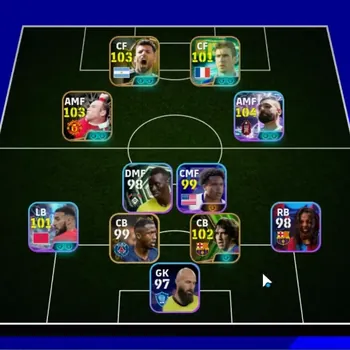
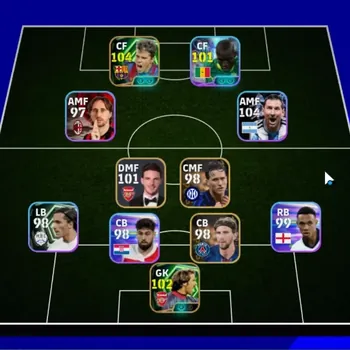
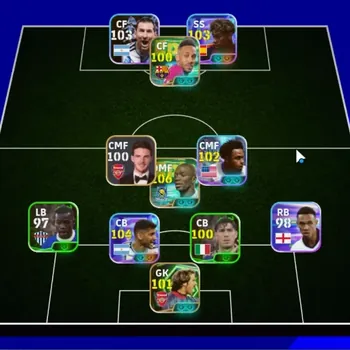
Early community testing leans toward a conservative defensive base that opens up in possession, and the most commonly suggested starting point is 4-2-3-1 out of possession, 3-2-4-1 in possession.
The transformation works like this:
- Start in 4-2-3-1
- In attack, move one full-back into midfield or higher
- Keep the opposite full-back as a third defender
- Push both wide midfielders into the forward line
- The result resembles a 3-2-4-1
That gives you an extra attacker without abandoning a defensive block, which is why it's the recommended beginner shape rather than something more ambitious.
Treat this as a starting point, not a solved meta. The update is days old, and every tactical recommendation circulating right now — this one included — is early-season theorycrafting rather than tested consensus. What's confirmed is the mechanic; the optimal use of it isn't.
Four mistakes to avoid
Using identical attacking and defensive shapes. If both formations are the same, Fluid Formation adds nothing. This sounds obvious and happens constantly, usually because a player enables the option and never configures the second shape.
Not accounting for the recovery gap. An advanced full-back is a hole in your defence for as long as it takes him to run back. If you're being punished on the counter, that's the cause — reduce how far he pushes rather than blaming the system.
Choosing players by rating rather than defensive style. A high-rated card whose defensive Playing Style breaks your intended block costs you more than a lower-rated one that fits.
Changing five things at once. Test one positional change at a time across several matches. Changing your formation, your Playing Style and three roles simultaneously tells you nothing about which change helped.
Combining it with Overload
Overload is the new sixth Team Playstyle, concentrating players on the ball side for numerical superiority and compact pressing. It pairs naturally with Fluid Formation, but with one specific caution.
Overload supplies local numbers; your defensive shape supplies the insurance when the press fails. Because Overload deliberately leaves the far side thinner, a conservative defensive Fluid Formation is the sensible partner — not a second aggressive shape.
Early testing suggests 4-3-3 or 4-2-1-3 with genuine wide outlets for Overload specifically, so the team isn't trapped on one side when the opponent switches play. The far-side winger and a holding midfielder are what stop one diagonal pass from unpicking the whole structure.
What to check on each card
Before finalising anything, run through your XI and note:
- Attacking Playing Style — where does he go with the ball?
- Defensive Playing Style — what does he do without it? This is new, and it's the one people skip.
- Position Proficiency for both the attacking and defensive roles you're assigning him
- Stamina, particularly for full-backs and wide players, since two-phase shapes ask them to cover far more ground
Fluid Formation becomes predictable when a player's behaviours support the position he's assigned in each phase. It becomes chaotic when they don't.
What else arrived with v6.0.0
Fluid Formation is one part of a broad update. Also confirmed by Konami:
- Custom Tournament — knock-out tournaments for up to 8 players, with the host able to participate and spectate other matches in real time, and regulations restrictable by league, club, country or region
- Dynamic Volley — the new command for mid-air Stunning Shots
- Two Link-Up Plays for selected manager cards
- Dribbling changes — new motions, more stable turning, slightly lower Dash Dribble top speed, and greater use of a player's stronger foot
- Expanded goalkeeper motions
- New Daily Game mini-games
- The Moroccan League
That dribbling adjustment deserves its own attention — a lower Dash Dribble top speed changes how effective pace-based attacking is, which interacts directly with how far forward you push your wide players in an attacking shape.
For the squad-building side of this — which player profiles gain and lose value under two-phase shapes — our Fluid Formation squad guide covers the full-back, winger and midfielder changes in detail, and our formation meta breakdown covers where the base shapes stood going into the update.
Build a squad that can run both shapes
Two-phase formations ask more of every position than a static setup does, and depth is what lets you cover a flank in one phase without exposing the middle in the other. Browse verified eFootball accounts if you want a Dream Team with genuine two-phase range, keep progression on track with eFootball hourly services, or hold your division position through eFootball boosting while the new meta settles.
GameMarket.gg is a trusted digital marketplace for everything gaming-related. We serve the gaming community by providing secure access that enhances every gaming journey.