Blood Strike Lucky Draw Explained: Crates, Odds & Duplicates
By John Ganang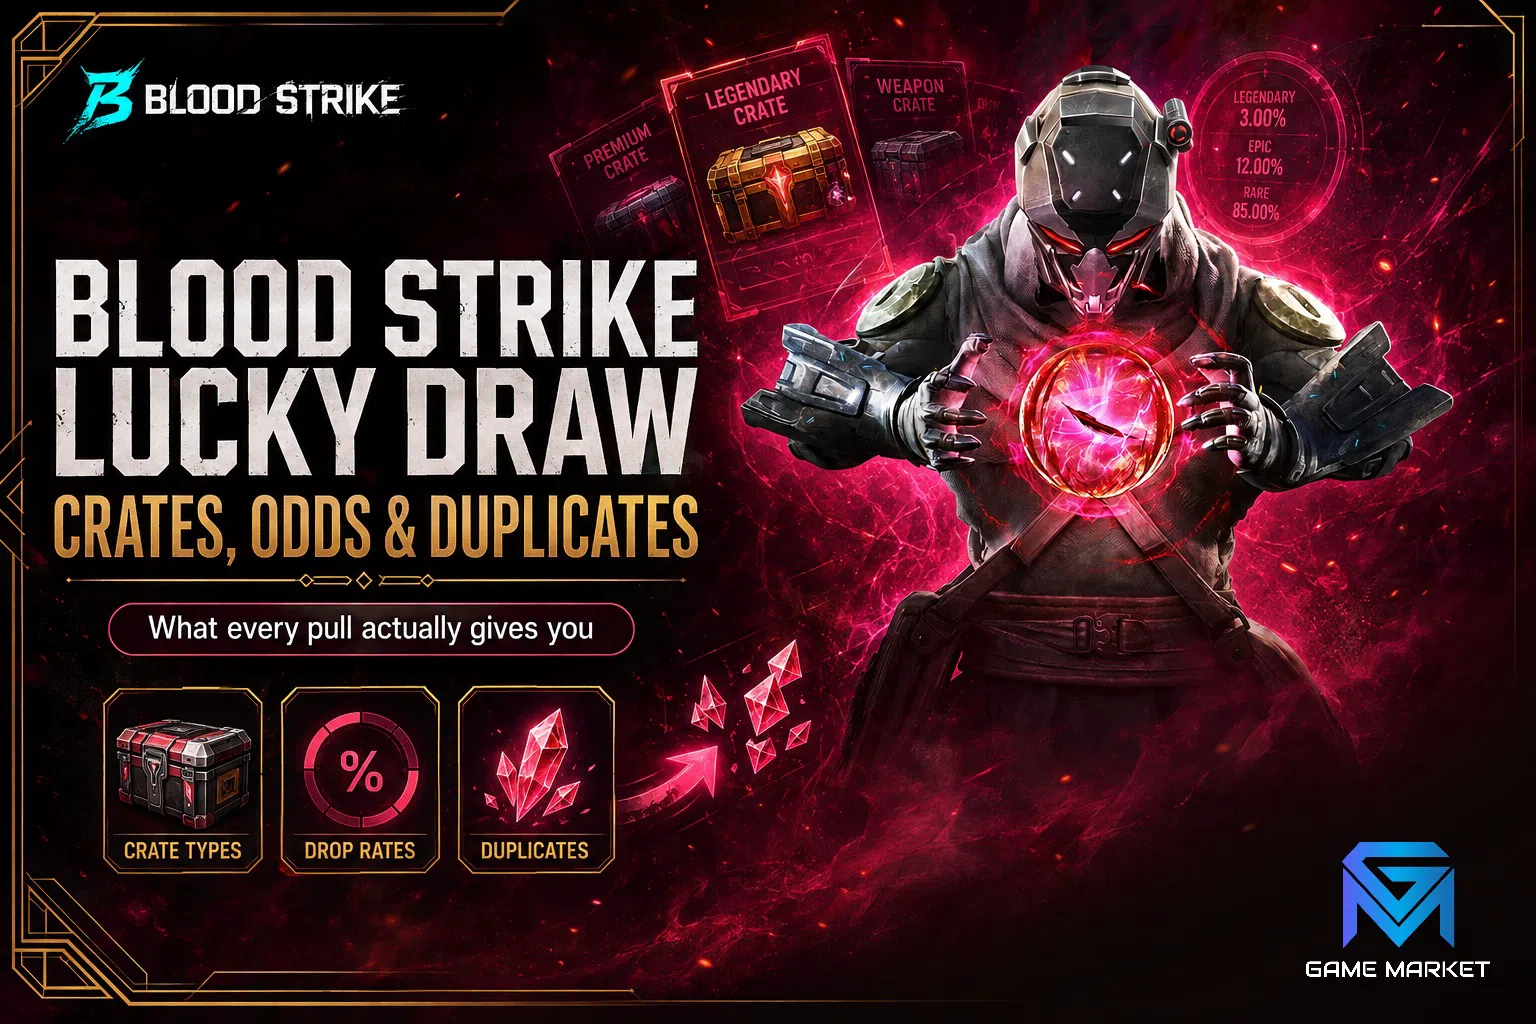
A Blood Strike lucky draw is a randomised crate: you spend a draw currency, the game rolls against a published rate table, and you receive one reward from that event's pool. Every draw event publishes its own odds and a guaranteed-reward counter in the in-game rules panel, so the pool — not luck alone — decides your realistic outcome.
That single sentence hides most of what actually separates a player who finishes an event with the skin they wanted from one who finishes it with a pile of conversion tokens. Draw events in Blood Strike are not one system but a family of them, each with a different pool size, a different currency, a different duplicate rule, and a different end date. Reading the rules panel before the first draw is the whole skill. This guide walks through the mechanics that stay constant across events, the numbers that change every time, and the planning habits that stop a draw budget from evaporating on the last day of a season.
What is the lucky draw system in Blood Strike?
It is Blood Strike's umbrella term for any event that converts a draw currency into a randomised reward pulled from a fixed, disclosed pool. NetEase runs these alongside the shop and the pass, and each event carries its own item list, rate table, counter and expiry date rather than a single global banner.
Mechanically, a draw event has four components you can always identify. The pool is the finite list of items an event can award — usually one headline cosmetic (a weapon skin, a Striker outfit, or a vehicle wrap), a handful of mid-tier cosmetics, and a long tail of consumables and currency. The rate table assigns each item or each rarity band a percentage. The counter is the guaranteed-reward mechanism: a fixed number of draws after which the event owes you something specific. The duplicate rule defines what happens when the roll lands on something already in your inventory.
What makes Blood Strike's version distinct from a traditional gacha is how tightly it is bound to event windows. A draw event is typically live for the length of a promotional cycle — a collab, a season launch, an anniversary — and then it closes. Unlike a permanent banner, unspent progress on the counter usually does not migrate to the next event unless the rules panel explicitly says so. That expiry pressure, more than the odds themselves, is what drives most regretted spending.
How do draw crates decide what you get?
Each draw is an independent roll against the event's rate table, weighted by rarity band rather than by how many draws you have already made. The counter runs in parallel as a separate promise: it does not improve the per-draw odds, it simply guarantees a defined reward once you cross its threshold.
This distinction matters because players routinely conflate the two. If an event lists a headline skin at a low percentage and a guaranteed grand prize at draw 60, those are two different systems running at once. Your chance on draw 59 is the same as on draw 1. What changes is that you now only need one more draw to trigger the guarantee. Treating the counter as the real price of the headline item — rather than hoping the percentage lands early — is the only planning model that survives contact with variance.
Rarity banding also explains why draws feel worse than the headline number suggests. A rate table might assign a healthy-looking combined percentage to the top band, but that band can contain several items. Landing in the band is not the same as landing on the specific skin you opened the event for. Always read whether the published percentage refers to the band or to the individual item; the rules panel distinguishes them, and the difference can be several multiples.
Some events additionally use a removal pool, where an item is pulled out of the list once you win it. That structure is strictly better for the player over a long run, because it shrinks the pool and raises the odds on everything remaining. When you see it described in the rules, the arithmetic of a full clear becomes predictable rather than open-ended.
What do the published drop rates actually mean?
A published rate is the probability of a single draw producing that outcome, expressed per draw and independent of history. It is not a promise about a session, a batch, or a ten-pull. Ten draws at a one-percent rate do not produce a ten-percent chance of success; they produce roughly a nine-and-a-half-percent chance.
That gap widens as the numbers get smaller, and it is the single most common source of frustration in any randomised system. The practical translation is simple: if the item you want sits at a low individual rate and the event also offers a guarantee, the guarantee is the price. Everything the rate table gives you before that point is upside, not plan.
Rates in Blood Strike are published per event and can differ between two events that look identical on the lobby banner. A collab crate and a seasonal crate may share a visual template while running very different tables, and rates are periodically adjusted between reruns. This is why the article you are reading names no specific percentages: any number quoted here would be stale by the next patch. NetEase discloses the current table inside each event's rules panel, and that panel is the only figure that governs your draws today.
One more nuance worth internalising: some tables express the consumable tail as a very large combined percentage. Seeing eighty-plus percent attached to currency and boosters is normal, not a sign the event is unusually stingy. It reflects that the tail exists to make every draw return something, not to be the reason you drew.
How does the guaranteed-reward counter work?
The counter tracks the number of draws you have made inside one event and releases a defined reward when you reach the stated threshold. It is event-scoped, it usually does not carry over after the event closes, and in most Blood Strike draw events it is visible as a progress bar directly above the draw button.
Counters come in two shapes. A terminal counter awards the headline item at a single threshold — draw sixty, receive the grand prize. A laddered counter awards several milestone rewards along the way — a currency bundle at ten, a mid-tier cosmetic at thirty, the headline at the top. Laddered counters change how you should think about partial participation, because stopping halfway still banks real value. Terminal counters do not: stopping at draw fifty-nine on a terminal counter is the worst possible place to stop. For the detail behind that, see Skin Rarity Tiers Explained Ultra, Legendary & Epic.
Before committing to any draw event, find the threshold and multiply it by the cost per draw. That product is the honest sticker price of the headline reward. If the product is more than you intended to commit, the correct decision is to make zero draws rather than a few, because a few draws on a terminal counter buy you nothing but tail items you would not have chosen.
Where a counter does carry across a series of linked events, the rules panel says so explicitly and shows the accumulated total. Never assume carry-over from a previous cycle; verify it in the panel each time.
What happens when you pull a duplicate?
Most Blood Strike draw events convert duplicates automatically into an event token or a generic currency at a fixed exchange value, which you then spend in an attached exchange shop. A minority of events use a removal pool instead, making duplicates impossible for the items already won.
The conversion route is the one you will meet most often, and it is genuinely useful if you plan around it. The exchange shop attached to a draw event usually stocks a selection of cosmetics, currency bundles and sometimes the headline item itself at a high token price. When the headline appears in the shop, the shop price is effectively a second guaranteed path — often a longer one than the counter, but a real one. Comparing the counter threshold against the shop price, in draws, tells you which route the event actually intends you to take.
Conversion values are not uniform. Duplicates of higher-rarity items typically convert at a much higher token rate than tail items, which means a run of unlucky-looking mid-tier duplicates can still put you within reach of a shop purchase. Check the token yield per rarity in the rules panel before you write a duplicate off as wasted.
The one trap is expiry. Event tokens are almost always event-scoped and vanish when the window closes. Spending them down to zero before the timer ends is not optional housekeeping — unspent tokens are simply deleted, and there is no compensation path for them. Build the habit of visiting the exchange shop on the final day of every event you participated in, even if you only made a handful of draws.
Which currencies feed the draw pools?
Draw events run on one of three inputs: a premium currency purchased through the top-up flow, an event-specific ticket earned from missions or login streaks, or a soft currency accumulated through play. Many events accept two of these on separate draw buttons with different rates attached.
Understanding which input an event uses is the first thing to check, because it determines whether the event is a spending decision at all. A ticket-driven event is a participation decision — you earn tickets by playing, and the only real question is whether the missions are worth your session time. A premium-currency event is a budgeting decision, and it should be evaluated against the counter arithmetic described above.
A fourth, smaller input is worth tracking too: redeeming currently active Blood Strike codes occasionally hands out Gold Stash Vouchers directly, which can fund a draw without touching the ticket or premium-currency budget at all.
Blood Strike's premium economy runs on Strike Gold, and the mechanics of how that currency is denominated, bundled and spent are covered in detail in our explainer on what Strike Gold buys and how it works. If you are new to the currency layer entirely, the Strike Gold top up guide walks through how the denominations map onto real pack sizes, which is exactly the conversion you need to price a counter threshold accurately.
Dual-input events deserve special attention. When an event offers both a ticket draw and a premium draw, they frequently draw from different pools with different rate tables, and the counter may only advance on one of them. Read which button feeds the counter before you spend anything.
How do collab draws differ from standard ones?
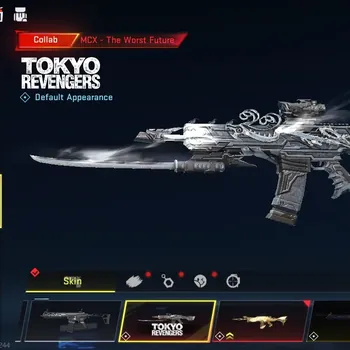
Collab draw events attach licensed characters, weapons and vehicle skins to the same underlying mechanics, but their pools are period-limited and their reruns are not guaranteed. That scarcity is the meaningful difference — the rate table and counter behave the same way, while availability does not.
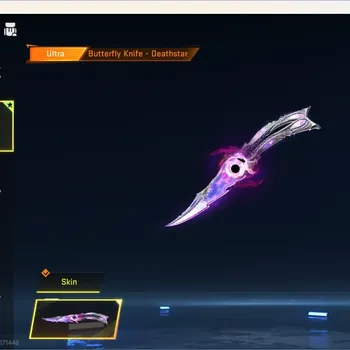
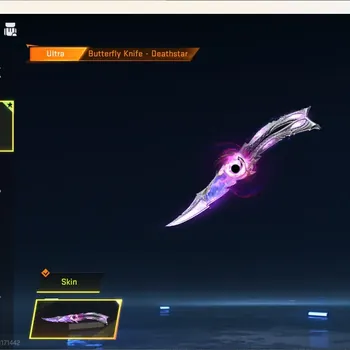
Blood Strike has run several licensed crossovers, and the recurring pattern is a headline outfit or weapon skin gated behind a terminal or near-terminal counter, plus a supporting set of themed cosmetics in the mid band. Once the window closes, those items typically leave rotation. Some collab items have returned in later reruns or in vault-style shops, but a return is never announced as certain in advance, and treating one as guaranteed is how players end up disappointed a year later.
This affects the cosmetics market more than any other draw category, because scarcity is what gives a collab skin standing among players long after the event. Our guide to Blood Strike rare skins and collab rarity covers which categories hold their standing and why, and it is the right companion piece if you are deciding whether a specific collab window is one to participate in.
Practically, the collab rule of thumb is this: decide before the event opens, not on the final weekend. Deadline pressure on a limited pool produces the worst decisions in any randomised system, and collab events are engineered to concentrate exactly that pressure into the last seventy-two hours.
How should you plan a draw budget before an event ends?
Work backwards from the counter, not forwards from the odds. Find the guaranteed threshold, multiply by the per-draw cost, convert that into the currency packs you would actually purchase, and decide yes or no on that whole number before making a single draw.
The forward-from-odds approach — draw a few, see how it goes, draw a few more — fails because each individual step feels small while the aggregate has no natural stopping point. A terminal counter makes this worse by punishing every stopping point except the threshold itself. Committing to the full number or to zero is the only pair of choices that leaves you where you expected to be.
Three checks are worth running before every event. First, confirm the counter threshold and whether it is terminal or laddered. Second, confirm what the exchange shop stocks and at what token price, because the shop sometimes offers a better route than the counter. Third, confirm the exact closing time in your own timezone, since event timers are set to a server clock and the final day is shorter than most players assume.
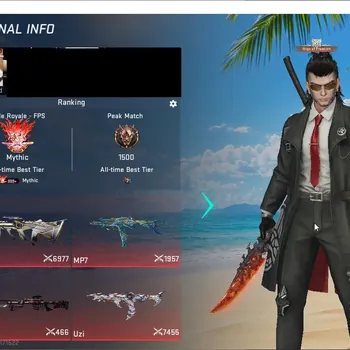
Finally, separate the draw budget from the pass and shop budget. The seasonal pass and the direct-purchase shop both offer fixed, non-random value, and mixing them into one pool of intent is how a fixed-value purchase gets crowded out by a randomised one. If you are still mapping the wider progression economy, the Blood Strike beginner's guide to ranks, Strikers and Strike Gold lays out how the pieces fit together, and our breakdown of account tiers from starter to high-end shows what an accumulated cosmetic library looks like at each stage.
What mistakes cost players the most draws?
The four expensive habits are drawing without reading the rules panel, stopping partway on a terminal counter, letting event tokens expire unspent, and making the participation decision in the final hours of a window under deadline pressure.
Not reading the panel is the root of the other three. The panel states the rate table, the counter type and threshold, the duplicate conversion values, the exchange shop inventory, and the exact closing timestamp. Every planning decision described in this guide comes out of that one screen, and it takes under two minutes to read.
A fifth, subtler mistake is assuming that a rerun of an event carries identical numbers. Reruns frequently adjust the pool, add items introduced since the original window, or change the counter threshold. Treating your memory of last year's event as current data is a reliable way to mis-budget.
Lastly, be sceptical of community-circulated rate figures. Player-sampled odds from a few hundred draws carry enormous error bars, and screenshots of tables from earlier patches circulate long after they stop being accurate. The in-game rules panel is the only authoritative source for the event you are looking at right now.
Frequently asked questions
Do Blood Strike draw odds improve the more you draw?
No. Each draw is an independent roll against the same published rate table regardless of how many draws precede it. What improves is your position on the guaranteed-reward counter, which is a separate mechanism that awards a defined item at a fixed threshold rather than adjusting the per-draw percentages.
Does draw progress carry over to the next event?
Usually not. Counters and event tokens are scoped to a single event window and reset or expire when it closes. A small number of linked event series do carry accumulated progress, and when they do the rules panel states it explicitly and displays the running total — verify it there rather than assuming.
Can duplicates be turned into something useful?
In most events, yes. Duplicates convert automatically into event tokens spendable in an attached exchange shop, with higher-rarity duplicates converting at a better rate. Some events use a removal pool instead, which prevents duplicates entirely by taking each won item out of the list.
Will a limited collab skin come back later?
It might, but no return is guaranteed. Blood Strike has rerun some licensed content and made other items available again through vault-style shops, while other collab cosmetics have not returned. Plan around the current window rather than an assumed future one.
Where to Find Blood Strike Accounts and Top Up
On GameMarket.gg you can browse Blood Strike accounts on GameMarket, the Blood Strike market hub.
If you are topping up Strike Gold to take part in a draw event, you can compare current listings on the Blood Strike top up marketplace and pick the denomination that matches the counter threshold you have priced out, rather than buying a pack size the event does not need.
GameMarket.gg is a trusted digital marketplace for everything gaming-related. We serve the gaming community by providing secure access that enhances every gaming journey.