
News
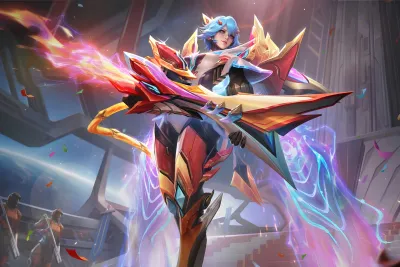
Mobile Legends: Bang Bang
Your Essential June 2026 Kimmy Collector Guide
Prepare for the June 2026 Grand Collection event with our ultimate Kimmy Collector skin guide! Discover leaked visual...
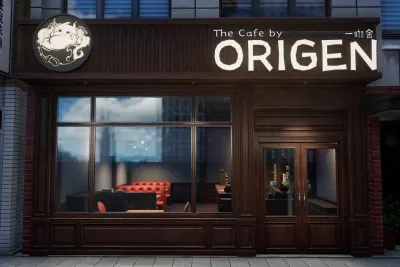
Neverness to Everness
NTE Cafe by Origen Guide: Best Passive Fons Farming
Master passive income in Neverness to Everness (NTE) with our ultimate Cafe by Origen guide! Learn how to reach City...

Neverness to Everness
NTE Pink Paws Heist Guide: Best Fons Farming Route
Master the Pink Paws Heist in Neverness to Everness (NTE)! Our 2026 farming guide provides a step-by-step optimal route...

Neverness to Everness
Best Daffodill Guide for NTE
Master the ultimate Daffodill guide for Neverness to Everness! Discover the exact details needed to optimize this Chaos...
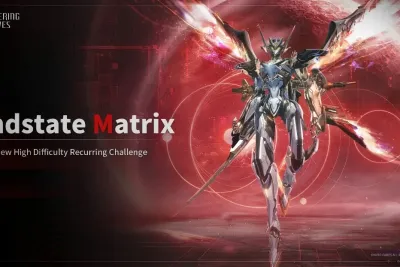
Wuthering Waves
Wuthering Waves 3.3 Guide: Endstate Matrix Phase 2
Dive into the Endstate Matrix Phase 2 in Wuthering Waves Version 3.3! Our comprehensive guide covers everything from...

Mobile Legends: Bang Bang
Ling "Phantom Current" ALLSTAR 2026 Skin Guide
Prepare for the biggest event of the year! Discover everything about Ling's "Phantom Current" skin, the headliner for...
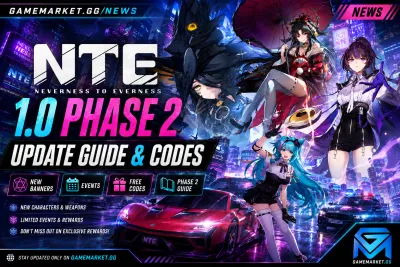
Neverness to Everness
NTE 1.0 Phase 2 Update Guide and Codes
Everything new in NTE 1.0 Phase 2 — Hotori's banner, all active May 2026 codes, new events, and free rewards. Your...
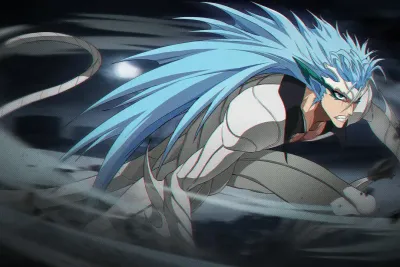
BLEACH: Soul Resonance
Bleach Soul Resonance Half-Anniversary: Grimmjow & PvPvE Mode
Prepare for the massive Bleach Soul Resonance Half-Anniversary update arriving May 15, 2026! Our ultimate guide covers...
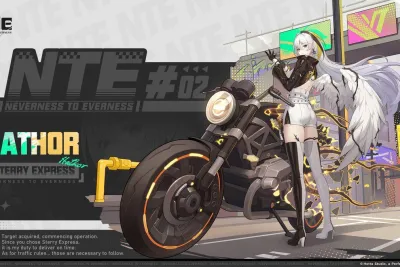
Neverness to Everness
The Best Hathor Build Guide
Maximize your damage with the ultimate Hathor build guide for Neverness to Everness! Discover the exact Arcs,...
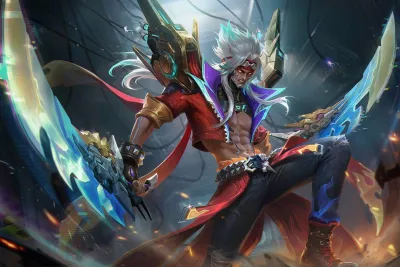
Mobile Legends: Bang Bang
Master the Land of Dawn: Martis Wild Renegade Skin Guide
Unleash the fury with the new Martis "Wild Renegade" Epic skin in Mobile Legends: Bang Bang! Our May 2026 guide covers...
Mobile Legends: Bang Bang
Hanzo Starlight Skin: Visuals & Lore
Prepare your diamonds for June 2026! Discover the breathtaking visual effects and character model details of the highly...
Zenless Zone Zero
Starlight Billy Build Guide: Best ZZZ 2.8
Master the best Starlight Billy build in ZZZ 2.8 — top W-Engines, Drive Discs, and team comps for this Physical Rupture...
Neverness to Everness
Hotori Arc and Relic Guide: Maximize Ultimate Cosmos Damage
Master the Time Stop meta with Hotori in Neverness to Everness (NTE)! Our 2026 build guide breaks down her S-Rank...

Fortnite
Fortnite Star Wars 2026: Galactic Siege, Escape Vader
A galaxy of new Star Wars adventures has arrived in Fortnite! Our May 2026 guide covers the brand-new Galactic Siege,...

Genshin Impact
Best Nicole Build Guide for V6.6
Prepare your Primogems with this pinpoint Nicole build guide for Genshin Impact Version 6.6! Discover the exact talent...
Showing 376 of 390 from 924 Results