
News
Neverness to Everness
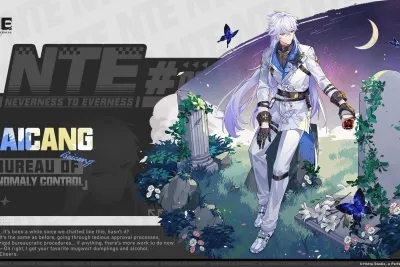
The Best Baicang Build Guide
Master Baicang With This GuideThe BeWelcome to the ultimate pinpoint Baicang build guide for Neverness to Everness!...
Honkai Star Rail
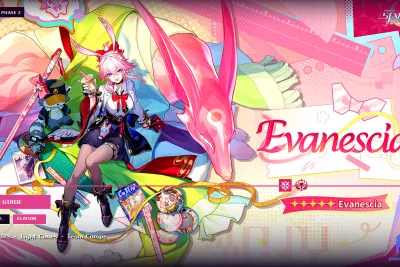
Evanescia Build Guide: Best HSR 4.2 Relics & Teams
Master the best Evanescia build in Honkai Star Rail 4.2 — top relics, light cones, teams, and stat priorities for this...
Neverness to Everness
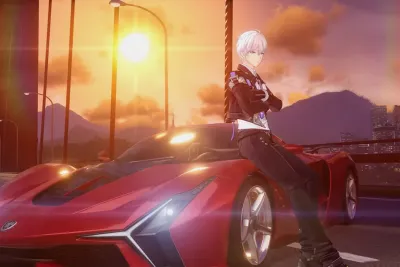
NTE All Vehicles Guide: Full Car List, Prices & Unlock Guide
Stop running and start driving! Our comprehensive Neverness to Everness (NTE) All Vehicles Guide covers the full car...
Chaos Zero Nightmare
Master the Linked Mechanic: Heidemarie Build Guide in CZN
Master the battlefield with our ultimate Heidemarie build guide for Chaos Zero Nightmare! Released April 2026, this...
Wuthering Waves
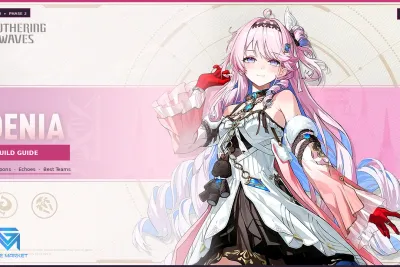
Best Denia Build Wuthering Waves 3.3
Unlock the best Denia build in Wuthering Waves 3.3 — top weapons, echo sets, and team comps for both Fusion Burst and...

Zenless Zone Zero
Ultimate Zenless Zone Zero 3.0 Update Guide
Prepare your Polychromes for the massive Zenless Zone Zero 3.0 update arriving on June 17, 2026! Explore pinpoint...

Neverness to Everness
Neverness to Everness Prison Escape Guide
Find yourself locked up in Hethereau? Our detailed Neverness to Everness prison escape guide covers every meticulous...
Clash Royale
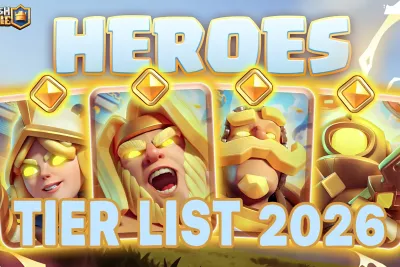
Best Clash Royale Hero Tier List 2026
Explore the updated 2026 Clash Royale Hero Tier List featuring the brand-new Hero Bowler and Hero Dark Prince! Discover...
Mobile Legends: Bang Bang
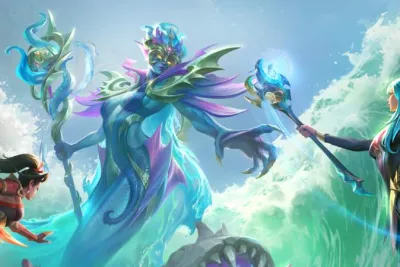
How to Win Tide Siege MLBB: Best Co-op Strategies
Master the depths in the new Tide Siege MLBB mode! Our comprehensive 2026 guide covers everything from the 3-player...

HAIKYU!! FLY HIGH
Haikyu Fly High SP Toru Oikawa Build: Best Memory & Stats
The Grand King has arrived! Master the court with our ultimate SP Toru Oikawa build for Haikyuu!! Fly High. Discover...

PUBG Mobile
PUBG Mobile Version 4.4 Update Guide: Hero’s Crown & Release Date
Prepare for the ultimate battle! Our complete guide to the PUBG Mobile Version 4.4 Update covers the May 12, 2026...
Genshin Impact
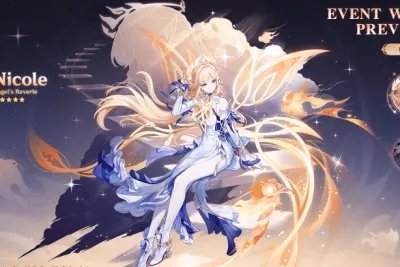
Genshin Impact Version 6.6 Leaks Guide
Prepare your Primogems for Genshin Impact Version 6.6! Discover the latest leaks regarding Nicole, Lohen, and Prune,...

Neverness to Everness
Blue Flame Motorcycle Guide: Biker Anomaly Boss in NTE
Turn up the heat in Neverness to Everness (NTE)! Learn how to unlock the secret Blue Flame Motorcycle effect by...
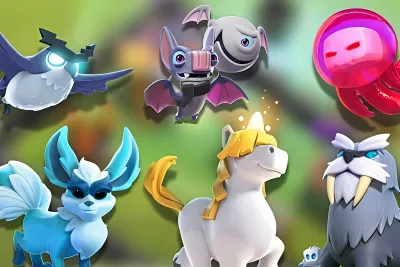
Clash of Clans
Clash of Clans Pet Tier List Priorities
Discover the ultimate 2026 Clash of Clans Pet Tier List! Navigate the evolving Town Hall 17 and 18 meta with our...

StarSavior
Star Savior Fei Guide: Skills, Arcana & Training Strategy
Master the Moon Assassin! Our Star Savior Fei build guide covers everything you need to dominate PvP and PvE. Discover...
Showing 391 of 405 from 924 Results