
News
Wuthering Waves
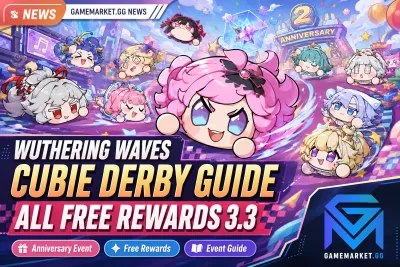
Wuthering Waves Cubie Derby Guide — All Free Rewards 3.3
Cubie Derby is back for Wuthering Waves' 2nd Anniversary in Version 3.3 — and it's the biggest free reward event of the...
Mobile Legends: Bang Bang
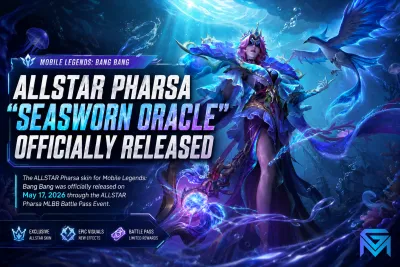
Unlock the Pharsa ALLSTAR 2026 Skin Today
Dive into the Land of Dawn with the ultimate pinpoint Pharsa ALLSTAR 2026 skin guide! Discover the exact details on the...
Black Desert Online
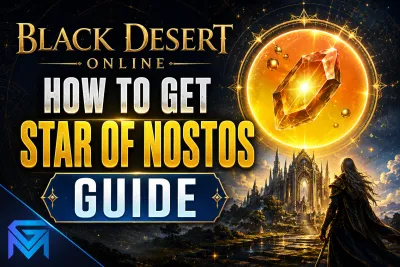
How to Get the Star of Nostos in Black Desert Online
Star of Nostos is Black Desert Online's newest Treasure Item — a campsite tool that lets you instantly teleport home...
Mobile Legends: Bang Bang
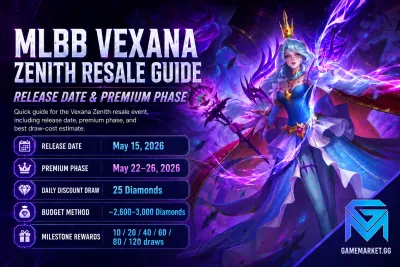
MLBB Vexana Zenith Resale Guide: Release Date & Premium Phase
Vexana's legendary Zenith skin, "Twisted Fairytale," is making a surprise return to Mobile Legends! Our May 2026 guide...
Black Desert Online
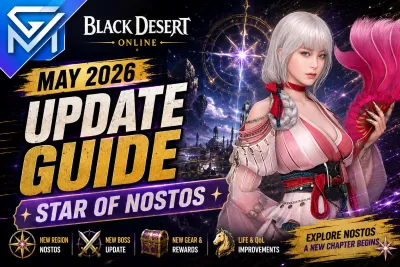
BDO May 2026 Update Guide — Star of Nostos & More
Black Desert Online's May 14, 2026 patch is one of the biggest updates of the year — 207 changes, a brand new Treasure...
Blood Strike
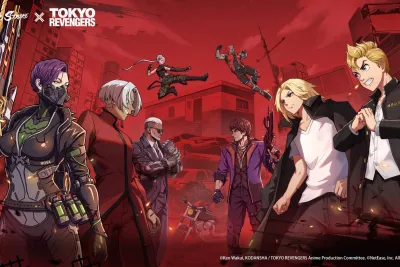
Blood Strike x Tokyo Revengers Guide: Unlock Free Takemichi Skin
The Tokyo Revengers collaboration has arrived in Blood Strike! Our May 2026 guide covers how to unlock the free...
Where Winds Meet
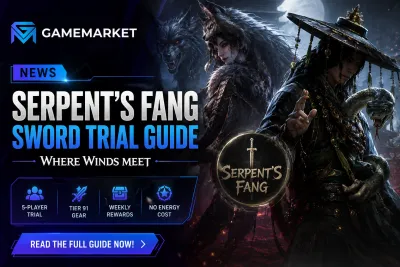
Serpent's Fang Sword Trial Guide Where Winds Meet
Serpent's Fang is Where Winds Meet's toughest endgame content in Version 1.6 — a Level 91 Sword Trial that throws two...
The Seven Deadly Sins: Origin
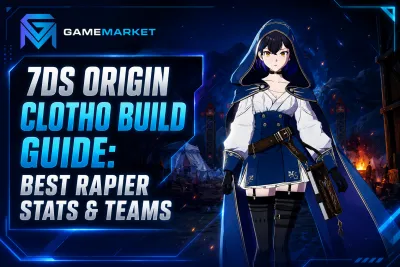
7DS Origin Clotho Build Guide: Best Rapier Stats & Teams
Master the new SSR hero Clotho in Seven Deadly Sins: Origin! Our May 2026 build guide covers her best Rapier setup, the...
Clash Royale
Clash Royale Update: Chaos Mode Returns
Prepare your decks for the massive May 2026 Clash Royale Update! Discover the complete progression system revamp,...
Neverness to Everness
The Best Chiz Build Guide
Welcome to the ultimate Chiz build guide for Neverness to Everness! Discover the exact details needed to optimize this...
Neverness to Everness
Advanced Zero Strategy: Mastering Blossom and Remora Synergy
Master the Cosmos with our ultimate Zero build guide for Neverness to Everness (NTE)! Explore deep tactical rincian on...
Blood Strike
Blood Strike 200M Event: Free Rewards & May 2026 Codes
Blood Strike just hit 200 million players worldwide — and NetEase is celebrating with the biggest free-reward event the...
Brawl Stars
Starr Nova Event 2026: Nova Drops, Rewards, and Best Brawlers
Unleash the force in the Brawl Stars Starr Nova Event! Our May 2026 guide covers the 5v1 Boss Fights, the Nova Drop...
Neverness to Everness
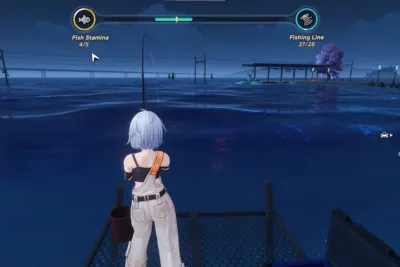
Master the NTE Fishing Minigame: Tips, Tricks, and Gear Upgrades
Take a break from the Hethereau action with our ultimate Neverness to Everness (NTE) Fishing Guide! Learn how to unlock...

Neverness to Everness
Fadia Guide: Best Arcs, Cartridges, and Modules
Unlock the secrets of the ultimate Fadia guide in Neverness to Everness! Learn how to master her HP-scaling mechanics,...
Showing 361 of 375 from 924 Results