
News

Honor of Kings
Master the Tessaiga: How to get Inuyasha and Sesshomaru skin
Unleash the Wind Scar! Witness a legendary Shonen crossover in Honor of Kings as the limited-time Inuyasha Precious...
Mobile Legends: Bang Bang
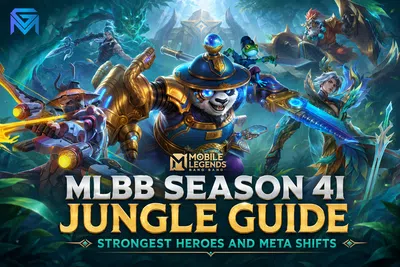
MLBB Season 41 Jungle Guide: Strongest Heroes and Meta Shifts
Dominate the battlefield with the top 5 strongest junglers in Mobile Legends: Bang Bang Season 41! Master the Patch...
Genshin Impact
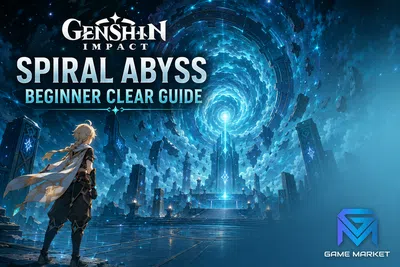
Genshin Impact Spiral Abyss Beginner Clear Guide: Your First 36 Stars
The Spiral Abyss is Genshin Impact's premier combat endgame — and for many players, it is a wall. The rewards are real...
Valorant
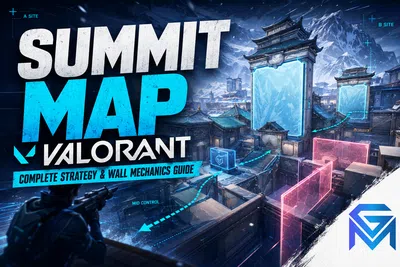
Summit Map Valorant — Complete Strategy & Wall Mechanics Guide
Summit landed in Valorant on June 23, 2026 alongside Patch 13.00 — and it's the most mechanically ambitious map Riot...
Blood Strike
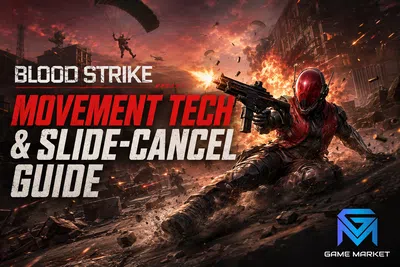
Blood Strike Movement Tech & Slide-Cancel Guide: Become Impossible to Hit
In Blood Strike, the player who moves better usually wins the gunfight — not the player with the best gun. Blood...
Honor of Kings
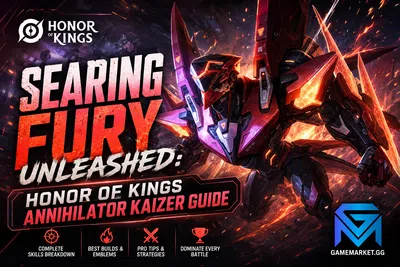
Searing Fury Unleashed: Honor of Kings Annihilator Kaizer Guide
Unleash the ultimate cybernetic engine of destruction! Dominate the King's Gorge with our definitive Honor of Kings...
Wuthering Waves
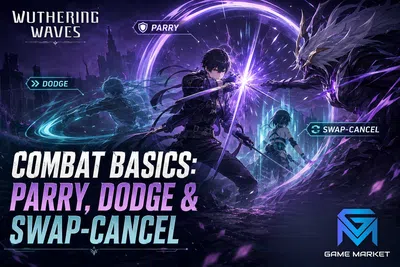
Wuthering Waves Combat Basics: Master Parry, Dodge & Swap-Cancel
Wuthering Waves looks gorgeous in motion, but underneath the flashy animations is a genuinely deep action combat system...
Blood Strike
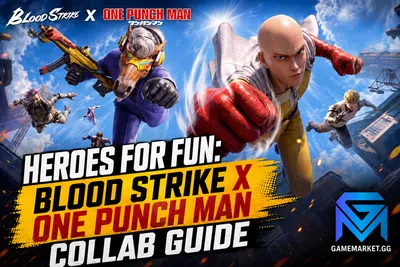
Heroes for Fun: Blood Strike x One Punch Man Collab Guide
Unleash the ultimate power of the caped baldy! Dive into our comprehensive guide for NetEase's massive Blood Strike x...
Honkai Star Rail
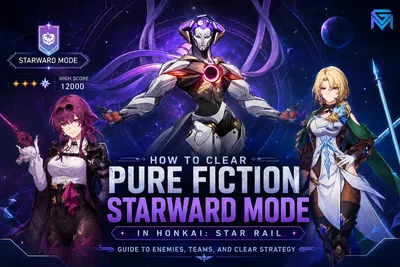
How to Clear Pure Fiction Starward Mode in Honkai: Star Rail
Conquer the new Pure Fiction Starward Mode in Honkai: Star Rail Version 4.3! Learn how to exploit the Grit debuff...
Honkai Star Rail
HSR Apocalyptic Shadow 4.3 — Gale of Forgetting Complete Walkthrough
Honkai: Star Rail's Version 4.3 Apocalyptic Shadow cycle "Gale of Forgetting" is live — and with Phase 2 banner just...
Neverness to Everness
NTE Chaos Pull Analysis — Phase 2 Banner Worth or Skip?
Chaos's Phase 2 banner "Forsaken Path" opens in Neverness to Everness today, June 24, 2026 — and every Appraiser faces...

GameMarket
Step-by-Step Guide to Selling on GameMarket.gg
Looking to turn your game assets or digital services into real income?GameMarket.gg is the leading platform for buying...
Valorant
Valorant Act 4 Patch 13.00 — Complete Live Coverage Breakdown
Valorant Patch 13.00 went LIVE on June 23, 2026 — and it's one of the most sweeping balance updates Riot Games has...
Zenless Zone Zero
ZZZ Norma Build Preview — Fire Stun Hat Turret Walkthrough
Norma arrives in <a...
Wuthering Waves
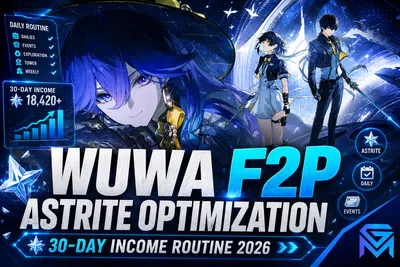
WuWa F2P Astrite Optimization — 30-Day Income Routine 2026
Wuthering Waves is one of the most F2P-friendly gacha games on the market — but only if you actually optimize your...
Showing 181 of 195 from 923 Results