Wuthering Waves Resonance Chain Explained: S1 to S6 Upgrades
By John Ganang 19 September 2026, 08:00 WIB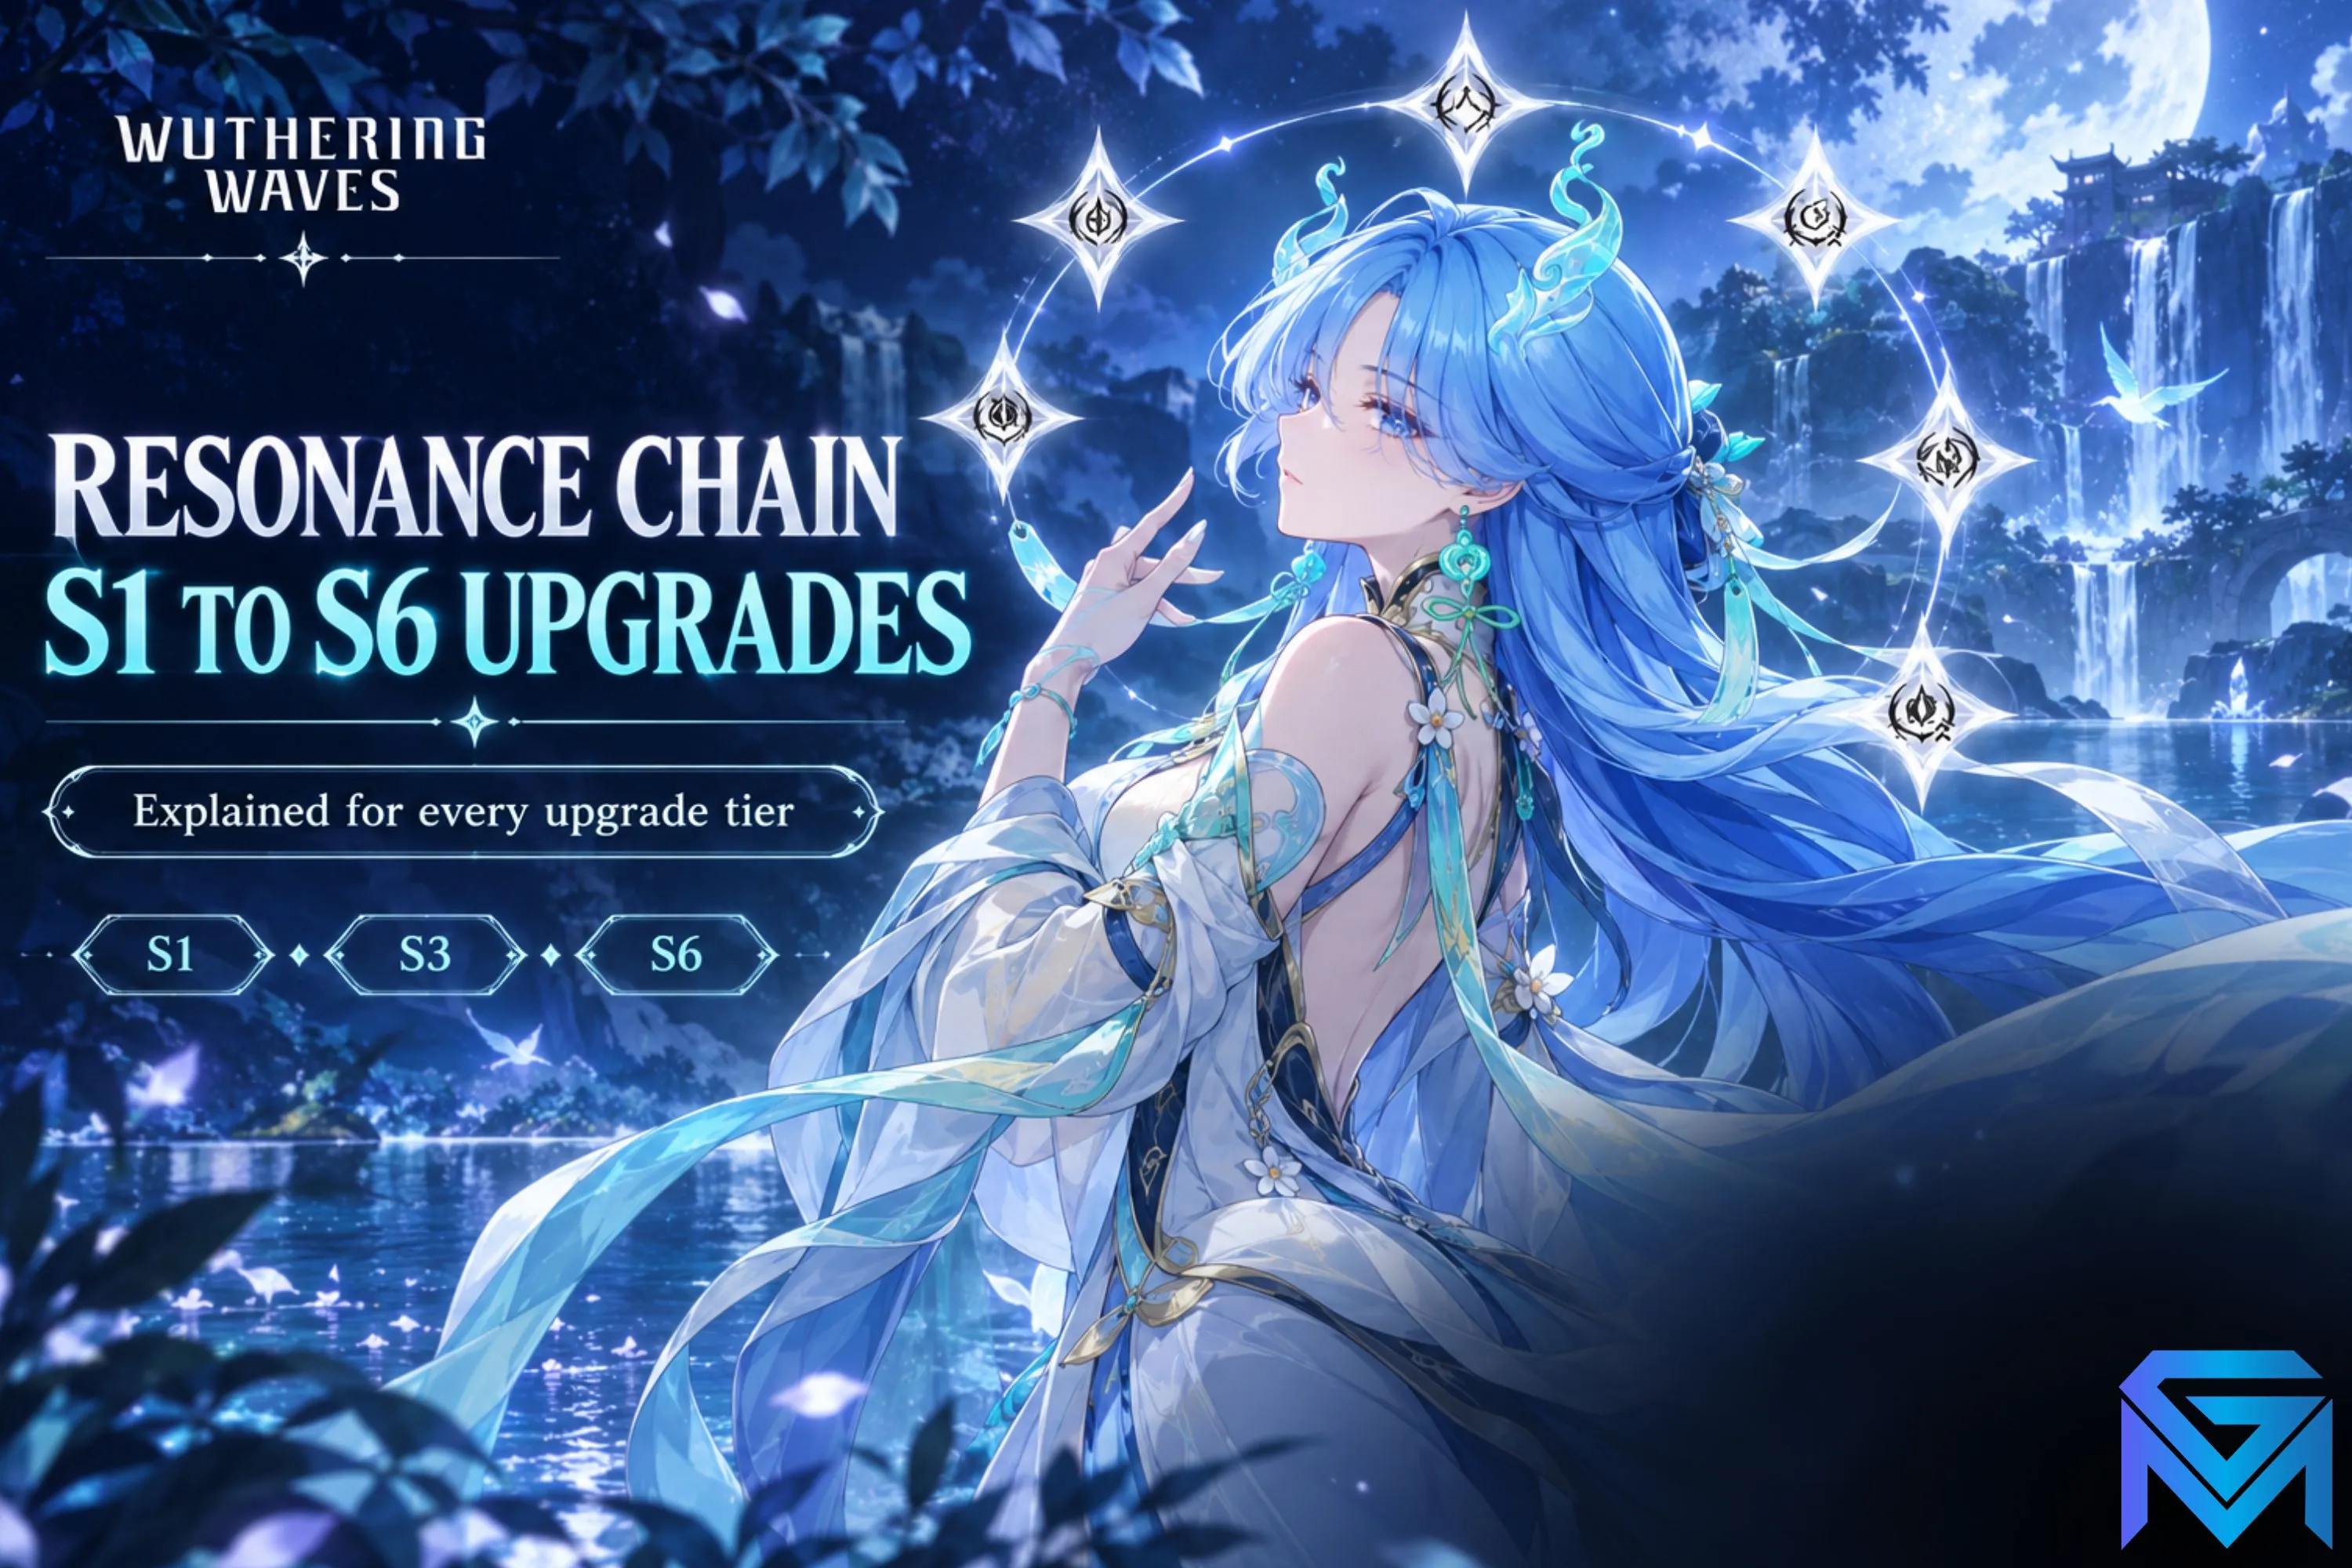
A Resonance Chain is Wuthering Waves' duplicate-copy upgrade track: every Resonator has six sequential nodes, labelled S1 through S6, unlocked by pulling extra copies of that same character. Each node grants a permanent passive buff or a skill-level increase, and the chain never resets.
That single sentence hides a lot of nuance. Two Resonators sitting at S1 can be worlds apart in how much that node actually changed them, and the gap between a well-planned S2 investment and a scattered S6 collection shows up directly in how an account clears Tower of Adversity and Whimpering Wastes. This guide breaks down how the system works mechanically, which nodes tend to carry real weight, how 5-star and 4-star chains differ, and how to weigh a chain node against a signature weapon or a better Echo set. Kuro Games documents the base behaviour in the in-game Resonance Chain panel and in its official version patch notes, and those two sources should always beat any third-party chart when the two disagree.
What is a Resonance Chain in Wuthering Waves?
A Resonance Chain is a per-Resonator progression track made of six locked nodes. Pulling a duplicate copy of that Resonator unlocks the next node in order — you cannot skip ahead or choose which node opens. Each unlocked node applies permanently to that character only.
The chain sits in its own tab on the Resonator detail screen, drawn as six circular nodes around the character portrait. Locked nodes show a greyed icon with the description still readable, which matters more than it sounds: you can read exactly what S4 does before you have spent a single pull chasing it. Players coming from other action-gacha titles will recognise the shape of the system immediately — it fills the same slot that Constellations fill in Genshin Impact or that Eidolons fill in Honkai: Star Rail — but the specific effects are written per Resonator and vary enormously in quality.
Three properties define the system and are worth internalising before you spend anything:
- Sequential. Nodes unlock in fixed order, S1 → S2 → S3 → S4 → S5 → S6. There is no branching and no respec.
- Permanent. Once unlocked, a node is part of that Resonator forever. It cannot be removed, refunded, or transferred to another character.
- Character-locked. Duplicates only advance the chain of the Resonator you pulled. A spare copy of one 5-star does nothing for any other unit.
That last point is the reason Resonance Chains dominate conversations about long-term account strength. Every other power source in Wuthering Waves — Echoes, weapons, character levels, Forte Circuit nodes — can be farmed, rebuilt, or reassigned with enough time. A Resonance Chain is the one axis where progress is gated purely by pull outcomes on a specific banner window, and that makes it the least recoverable investment on an account.
How do you unlock Resonance Chain nodes?
You unlock a node by obtaining a duplicate copy of the Resonator. For 5-stars, that means winning another Convene on a banner featuring them. For 4-stars, duplicates arrive far more often through both featured and standard banners, and through event and shop distributions.
The practical route splits sharply by rarity. For a limited 5-star, each additional copy has to come from the same pity cycle that produced the first one, which means the true cost of S1 is roughly a full pity run on top of the run that got you the character. Anyone planning around this should first understand the underlying gacha maths — our Wuthering Waves beginner's guide to Resonators, Echoes and Astrite covers where Astrite actually comes from and how quickly a free-to-play account can rebuild a pull budget between patches.
For 4-star Resonators the picture inverts. Because 4-stars appear on every banner and are handed out through story progression, events, and the standard Convene pool, most accounts accumulate 4-star chains passively without ever aiming at them. It is entirely normal to look at a 4-star support you never deliberately pulled for and find it sitting at S4 or higher purely from banner overflow.
There is also a ceiling. Once a Resonator reaches S6 — the final node — further duplicate copies stop advancing the chain and instead convert into Afterglow Coral, the currency used in the shop that sells standard-pool Resonators and weapon selectors. A maxed chain therefore never becomes truly wasted value, but the conversion rate is not generous enough to treat deliberate over-pulling as a resource strategy.
Which Resonance Chain nodes matter most?
For most Resonators, S1 and S2 carry the largest single jumps, because those two nodes usually rewrite how the kit behaves rather than just scaling it. Two of the six nodes are typically flat skill-level increases, and those are the least interesting even though they read well on paper.
The standard shape of a Wuthering Waves chain — verify it per character in the Resonance Chain panel, because there are exceptions — puts behavioural rewrites at the low nodes and pure numbers in the middle. A behavioural rewrite is something like an extra charge on a Resonance Skill, a new effect appended to the Intro Skill, an energy refund on Liberation, or a duration extension on a stance that previously forced you to rotate out early. A number node is a flat "+2 levels to Resonance Liberation" style entry. Both raise damage; only the first changes what you actually do with your hands.
This gives a rough priority order that holds across most of the roster:
- S1 — almost always the highest value-per-copy node. Frequently the one that fixes a kit's biggest friction point, whether that is energy generation, field time, or an awkward cooldown.
- S2 — commonly the second real spike, and on some DPS Resonators the point where the character's damage ceiling moves into a different tier entirely.
- S6 — the capstone. Usually flashy and usually strong, but it sits behind five other unlocks, which makes it irrelevant to planning for anyone who is not already deep into the chain.
- S3 and S5 — typically the skill-level nodes. Real damage, no new decisions.
- S4 — highly variable. Sometimes a genuine utility node, sometimes filler.
The important discipline here is that "S1 is the best node" is a statement about value per duplicate, not a recommendation to buy S1 on everyone. Value per duplicate only matters once you have decided the character deserves duplicates at all.
Are 4-star Resonance Chains worth chasing?
4-star chains are worth using but rarely worth chasing. They accumulate on their own, and because 4-star nodes are cheap in expectation, a high-chain 4-star support can outperform a low-chain 5-star in a specific team slot at effectively zero targeted cost.
This is the single most underrated fact about progression in Wuthering Waves. A 4-star sub-DPS or support at S6 has had all six of its nodes applied, which frequently transforms a filler unit into a genuine team-building piece — extra Concerto Energy generation, a longer buff window, a second charge on a utility skill. Meanwhile a limited 5-star at S0 is running on its base kit alone. The 5-star will usually still have the higher raw ceiling, but the practical gap in a real Tower of Adversity run is much smaller than a rarity comparison suggests.
The catch is that you cannot force it. Targeting a 4-star chain means pulling on a banner featuring them and accepting that the 5-star pity is the actual cost of those pulls. That is only sensible when the 5-star on the same banner is also something you want. Pulling purely for 4-star copies is one of the most reliably regretted decisions in the game.
The reasonable posture: check your 4-star chains before you build a team, not after. Build around the ones that have quietly climbed, and let the rest arrive whenever they arrive.
How do Resonance Chains compare to weapons and Echoes?
Echoes are the cheapest power, signature weapons are the most predictable power, and Resonance Chains are the most expensive and least controllable. For an account that is not already near its Echo ceiling, farming Echoes beats spending pulls on a chain node almost every time.
The comparison is worth doing carefully, because the three systems fail in different ways:
- Echoes cost Waveplate and time, not currency. A well-tuned Echo set with correct main stats and a functional substat spread is the single largest multiplier available to a new account, and it is fully farmable. Anyone whose Echoes are not yet sorted is leaving more damage on the table than any S1 would provide.
- Signature weapons cost pulls on the weapon banner, which in Wuthering Waves is far more predictable than the character banner because it does not carry the same 50/50 risk structure. For most DPS Resonators, a signature weapon delivers a larger and more reliable gain than the first chain node at comparable cost.
- Resonance Chains cost full pity cycles with 50/50 exposure. The variance is brutal: two accounts spending identical Astrite on the same banner can end a patch with S2 and S0 respectively.
The ordering that follows for a resource-constrained account is fairly stable: fix Echoes first, then take the signature weapon on your main carry, then consider chain nodes only on a Resonator you are certain will stay in your rotation for many patches. Progression systems that gate your Echo farming — Data Bank level, Union Level unlocks, Waveplate throughput — are worth clearing before any of this, and the Wuthering Waves Union Level guide to XP sources and unlocks lays out which account milestones actually open the endgame farming loops.
How does a Resonance Chain change an account's power profile?
Chains make an account narrower and taller. Every duplicate spent deepens one Resonator rather than widening the roster, which raises the ceiling in content that rewards a single dominant carry and does nothing for content that demands two or three functional teams at once.
That trade-off is not abstract in Wuthering Waves, because the endgame is explicitly built around multiple simultaneous teams. Tower of Adversity asks for several distinct squads across its zones, and Whimpering Wastes rewards breadth in a similar way. An account with one S4 carry and a thin bench will hit a wall in exactly the places a broader account walks through, even though the S4 account has strictly more invested power.
The inverse failure is just as real. An account with fifteen Resonators at S0, all half-built, has no unit capable of closing a difficult damage check. The healthy target for most players is a middle position: enough distinct, fully-built teams to cover the endgame's breadth requirements, with chain investment concentrated on one or two Resonators you have genuinely committed to.
Worth stating plainly, because it comes up constantly in community discussion: Kuro Games has consistently designed content clearable at S0 with correct building and correct play. Chains widen the margin for error and speed up clears. They are not a gate.
How should free-to-play players plan Resonance Chains?
Free-to-play accounts should treat every chain node as optional and plan around roster breadth instead. The default assumption should be S0 on limited 5-stars, with a chain node taken only when a banner's pity carried over cheaply or when the Resonator is a long-term anchor for the account.
A workable planning routine looks like this. Before a patch, decide which single Resonator you are pulling for and treat that as the entire budget. During the patch, if pity resolves early and leaves a meaningful surplus, then and only then consider whether a second copy is a better use of that surplus than saving toward the next banner. Almost always, saving wins — an S0 copy of a new Resonator that fills an empty team slot does more for endgame breadth than S1 on a unit you already own.
Two additional habits pay off over a long account lifetime:
- Read the node before you want it. Locked nodes are fully visible. Knowing that a character's S1 is a mediocre passive rather than a rotation fix removes a lot of pull pressure at zero cost.
- Re-audit your 4-star chains each patch. They climb without your attention, and a support that crossed a meaningful node threshold may have quietly become the answer to a team you had written off.
Volatile details — banner rates, event distributions, shop stock, and the specific numbers attached to individual nodes — change between versions. Treat any figure you read anywhere, including here, as needing a check against the current in-game panel and Kuro Games' patch notes for the version you are actually playing.
Frequently asked questions
Can you reset or undo a Resonance Chain node?
No. Nodes are permanent once unlocked and there is no refund or respec mechanism. This is why the decision to chase a chain should be made before the pulls, not after.
Do Resonance Chain nodes work if the Resonator is on the bench?
No. Nodes are properties of that Resonator and only apply while that character is in the team and being played. They confer nothing account-wide.
What happens to duplicates after S6?
They convert into Afterglow Coral, which is spent in the shop on standard-pool Resonators and weapon selectors. Useful, but not efficient enough to justify deliberate over-pulling.
Is S1 always the biggest upgrade?
Usually, but not universally. S1 is the most common location for a kit-fixing rewrite, though some Resonators put their defining node at S2 or S4 instead. Read the panel for the specific character rather than assuming.
Are Resonance Chains required for endgame content?
No. Tower of Adversity and Whimpering Wastes are designed to be clearable at S0 with properly built Echoes, appropriate weapons, and correct rotations. Chains reduce difficulty; they do not unlock content.
If you would rather start from a roster that already has the chains and progression you want instead of building one banner at a time, browse the Wuthering Waves accounts available on GameMarket.gg, and check the rest of our Wuthering Waves guides hub for the progression systems that sit alongside the Convene track.
GameMarket.gg is a trusted digital marketplace for everything gaming-related. We serve the gaming community by providing secure access that enhances every gaming journey.


![Wuthering Waves Accounts Others SEA|UL 52|Rank 6|2 Char Limited [Jingran R6]+Sign & Luno|Mc Female|Check SS WW482B](https://img.gamemarket.gg/products/bw3azigu/wuthering-waves-accounts-sea-ul-52-rank-6-2-char-limited-jingran-r6-sign-aqg-thumbnail.webp "SEA|UL 52|Rank 6|2 Char Limited [Jingran R6]+Sign & Luno|Mc Female|Check SS WW482B")
![Wuthering Waves Accounts Starter SEA|UL 49|Rank 5|3 Char Limited [Jingran R6]+Sign,Luno,Mornye|Mc Male|Check SS WW481B](https://img.gamemarket.gg/products/jaygl3zz/wuthering-waves-accounts-sea-ul-49-rank-5-3-char-limited-jingran-r6-sign-wit-thumbnail.webp "SEA|UL 49|Rank 5|3 Char Limited [Jingran R6]+Sign,Luno,Mornye|Mc Male|Check SS WW481B")

![Wuthering Waves Accounts Starter SEA|UL 48|Rank 5|1 Char Limited [Jingran Resonance 6]|Mc Female|Check SS WW479B](https://img.gamemarket.gg/products/tgnjmmyl/wuthering-waves-accounts-sea-ul-48-rank-5-1-char-limited-jingran-resonance-tey-thumbnail.webp "SEA|UL 48|Rank 5|1 Char Limited [Jingran Resonance 6]|Mc Female|Check SS WW479B")