Wuthering Waves Forte Circuit Explained: Nodes and Skill Priority
By John Ganang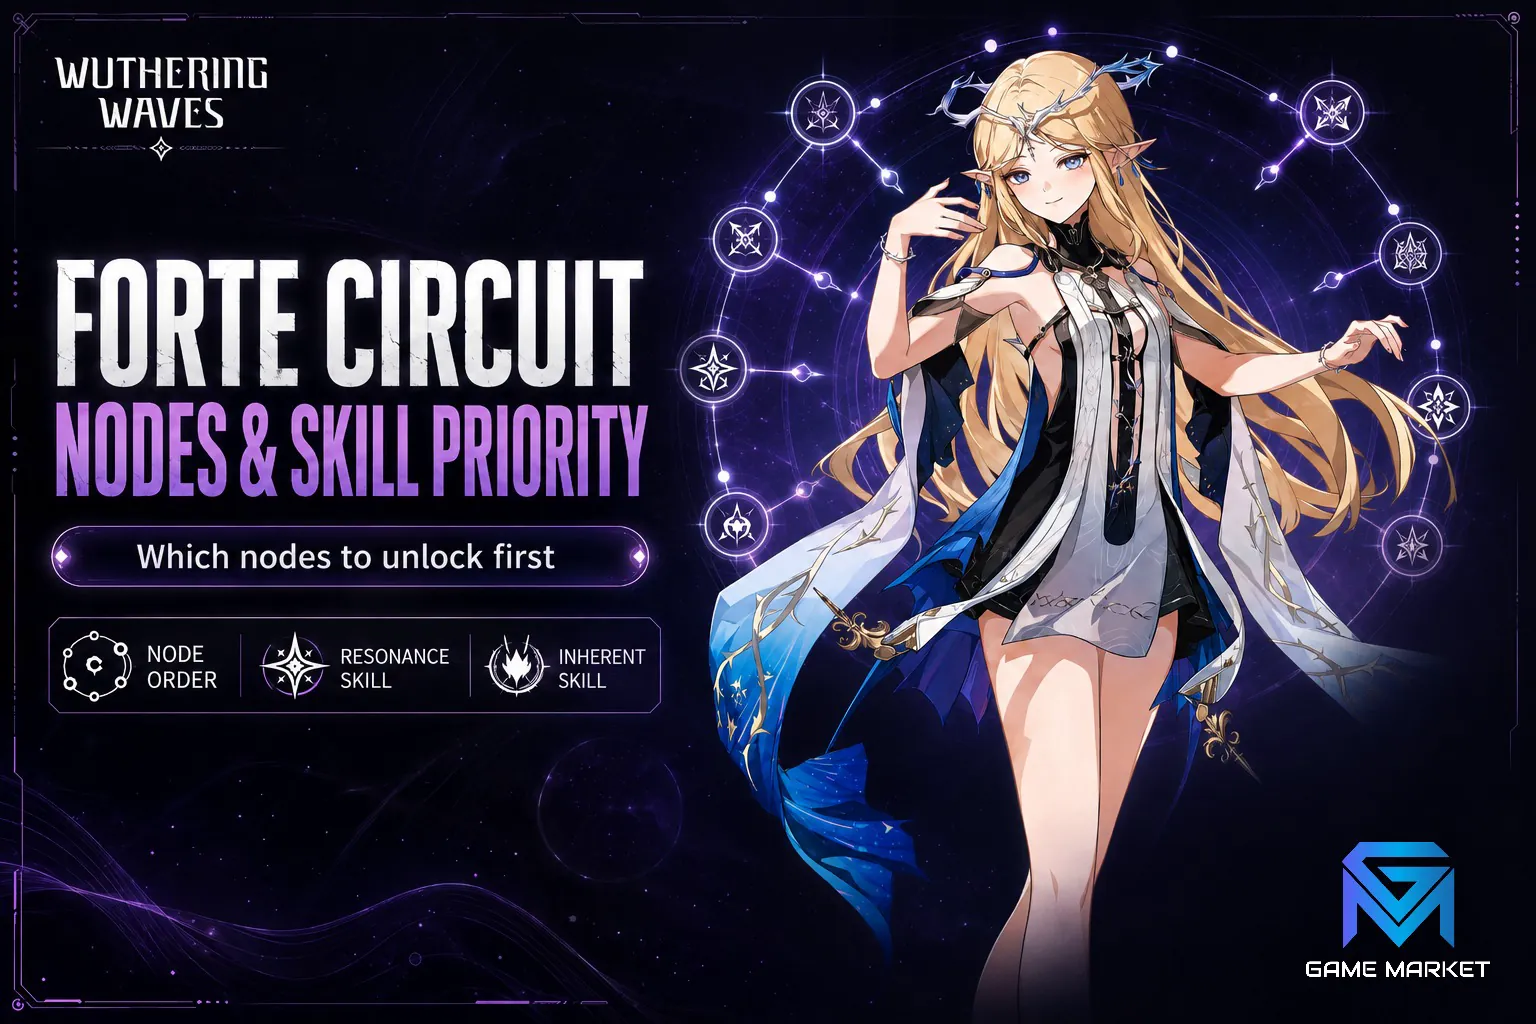
The Forte Circuit is each Resonator's personal upgrade grid in Wuthering Waves, holding five levellable skills, two Inherent Skills and two stat bonus nodes. Levelling it raises damage far more cheaply than pushing character level alone, but every node is gated behind ascension rank and finite weekly materials, so order matters. If that part matters to you, Wuthering Waves Concerto Energy Explained goes deeper.
Most players open the Forte Circuit for the first time somewhere around Union Level 20, see a grid of locked circles, spend everything on Normal Attack because it sits at the top, and then wonder why their damage flatlined. The grid is not a ladder. It is a budget problem. This guide explains what each node actually does, where the materials come from, which nodes pay back first, and how the ascension gates quietly decide your pacing for you.
What is the Forte Circuit in Wuthering Waves?
The Forte Circuit is the per-character skill tree found on the Resonator screen. It contains upgradeable levels for Normal Attack, Resonance Skill, Forte Circuit, Resonance Liberation and Intro Skill, plus two Inherent Skills and two passive stat bonus nodes that unlock at set ascension ranks.
Two things share the name, which is where most of the confusion starts. "Forte Circuit" is the whole grid, and "Forte Circuit" is also one specific skill inside that grid. The skill entry governs a Resonator's signature mechanic: the special gauge that sits under the health bar and changes what a character can do when it fills. Kuro Games' own Resonator descriptions treat this gauge as the character's identity, and in practice it is. One Resonator spends the gauge on an enhanced basic attack chain, another converts it into a burst of forte damage, another uses it to change stance entirely.
The remaining four skill entries are the familiar kit: the Normal Attack chain including its heavy and mid-air variants, the Resonance Skill on the shorter cooldown, the Resonance Liberation as the ultimate, and the Intro Skill that fires automatically when you swap into the character through a Concerto-charged Outro. All five level from 1 to 10.
What do the individual nodes on the grid do?
The grid has three node types: five major skill nodes that scale damage multipliers with each level, two Inherent Skill nodes that grant a one-time passive with no further levels, and two stat bonus nodes that give a small flat percentage increase to a stat chosen by the character's designer.
The five major nodes behave the way skill levels behave in most action RPGs. Each level nudges the multiplier upward by a few percent, and the jump is not perfectly linear across the range. The practical effect is that the first several levels on a skill you use constantly are worth considerably more than the last level on a skill you barely press.
The two Inherent Skills are the interesting ones. These are unlocked, not levelled, and they frequently change how the character is played rather than just how hard they hit. An Inherent Skill might extend the duration of a buff, add a stack mechanic to the Forte gauge, or grant energy on a specific trigger. Because they are binary and often transformative, they are usually the single best material spend available at the moment they become reachable.
The two stat bonus nodes are the small ones tucked at the edges of the grid, each giving a modest percentage to something like attack, a damage bonus for the character's element, critical rate or critical damage, and how to balance the two with the 1:2 ratio. Individually they look trivial. Taken together across a full grid they are a meaningful chunk of a built character's final numbers, and they are cheap relative to a skill level at the same tier.
Why are half the nodes locked?
Nodes are locked behind Resonator ascension rank, not Union Level or materials. Each ascension raises the cap on how far skills can be levelled and releases the Inherent Skills and stat bonus nodes in stages, so a character stuck at a low ascension cannot spend materials on the grid at all.
This is the gate that catches new players. You can hoard every skill material in the game and still be unable to spend it, because the grid checks ascension first. Ascension itself needs the character's ascension material set, an elemental drop from the relevant world boss, a common enemy drop and Shell Credits, and it is capped by your own Union Level. So the real dependency chain runs Union Level, then character ascension, then the Forte Circuit. For the detail behind that, see Weapon Guide Rarity, Ascension and Stat Picks.
The scheduling consequence is worth stating plainly. If a Resonator is close to an ascension threshold, ascending is almost always a better use of the next hour than grinding skill materials you cannot yet spend. Ascension also raises base stats and often unlocks an Inherent Skill at the same moment, so a single ascension can deliver more power than three or four skill levels would have.
Where do Forte Circuit upgrade materials come from?
Skill levels consume four things: a tiered skill upgrade material from Forgery Challenges, a common enemy drop, Shell Credits, and at higher levels a Weekly Boss drop. The Forgery Challenge material is element or category specific, so the domain you farm depends on the character you are levelling.
Forgery Challenges are the rotating domains scattered across Solaris-3 that cost Waveplate per clear and drop the tiered skill material set. The tiers step up as your Data Bank level rises, which is why a low Data Bank quietly caps your upgrade speed even when you have Waveplate to burn. Each Forgery Challenge is tied to a specific material family, and characters need the family that matches their kit, so you cannot farm one domain and cover the roster. For the detail behind that, see Wuthering Waves Forgery Challenge Guide.
Common enemy drops come from the overworld and from Tacet Fields, and they are the least likely bottleneck because ordinary play generates them. Shell Credits, on the other hand, are a genuine constraint for players who also level weapons and Echoes, since all three compete for the same pool.
Weekly Boss drops are the hard ceiling. The final stretch of skill levels on every Resonator requires a specific weekly boss material, weekly bosses have a limited number of discounted reward claims per week, and the drop you need is one of several from that boss's pool. There is no way to accelerate past this. It is the reason a fully maxed Forte Circuit is a multi-week project rather than a weekend one, and the reason the community consensus has long been to stop most skills short of the last level or two. Our guide breaks down Resonator Ascension Guide Level Caps & Materials.
Which nodes should you upgrade first?
Upgrade in this order: any available Inherent Skill, then the one or two skills that carry the character's actual damage, then the stat bonus nodes, then the remaining skills. Never level a skill evenly across the board early, because damage in Wuthering Waves is concentrated in one or two buttons per Resonator.
Inherent Skills come first because they cost a fixed one-time payment and frequently deliver an effect no amount of skill levels can replicate. If an Inherent Skill is unlocked and unpurchased, it is almost certainly the best value on the screen.
Identifying the carrying skill is the part that requires you to actually watch your own gameplay. Ask which action you are performing when the biggest numbers appear. For a Resonator whose gameplay loop is building the Forte gauge and dumping it into an enhanced attack chain, the Forte Circuit node and the Normal Attack node will be doing most of the work, and the Resonance Liberation may be a minor contributor. For a burst-focused Resonator you swap in, fire the Liberation and swap out of, the Liberation and Intro Skill nodes carry almost everything and Normal Attack can sit at level 1 indefinitely.
Stat bonus nodes slot in next because they are cheap for what they give and they apply unconditionally, regardless of which button you press. They do not care about your rotation.
Support Resonators deserve a separate rule. If a character exists to buff, heal or shield, their skill levels often scale a healing coefficient or a buff magnitude rather than damage, and in several cases the buff percentage does not scale with skill level at all. Check the skill description text before spending. Where the buff is a fixed value, the correct spend on that character is minimal, and the materials should go to whoever is actually dealing the damage.
How should you split materials across a whole team?
Feed one main damage dealer to a high skill level first, give the second damage dealer roughly two thirds of that investment, and keep supports at whatever level unlocks their Inherent Skills. Spreading materials evenly across three Resonators produces a team that clears nothing cleanly. It is worth knowing Depths of Illusive Realm Guide Runs & Buffs.
The reasoning is structural. Endgame content in Wuthering Waves is built around timed clears and damage checks, and a damage check is passed by concentrated output, not by an average. A team with one properly invested carrier and two functional partners will clear content that a team of three half-built Resonators cannot touch, even though the second team consumed the same materials.
There is a second argument for concentration. Materials spent on a Resonator you later shelve are not refundable in any meaningful way, and your roster will change as you pull new characters. Committing hard to a Resonator you enjoy playing, rather than hedging across the roster, is both stronger in the short term and less wasteful in the long term.
What are the most common Forte Circuit mistakes?
The four recurring errors are levelling Normal Attack on a burst character, ignoring Inherent Skills, skipping the stat bonus nodes because they look small, and burning weekly boss materials on the last skill level of a secondary skill instead of the first levels of a primary one.
Levelling Normal Attack by reflex is the most expensive of these, because the Normal Attack node is prominently placed and feels like the natural starting point. On a character who never stays on field long enough to complete a basic chain, those levels do nothing at all. We cover Waveplate Explained Regen, Caps & Best Uses separately.
Under-spending on the Data Bank is a quieter version of the same problem. Because the Forgery Challenge material tier is tied to Data Bank level, a player who neglects it spends the same Waveplate for lower tier drops and needs substantially more runs to reach the same skill level. Raising the Data Bank is not a Forte Circuit task, but it directly determines how fast the grid fills.
Finally, treating the grid as a completion checklist rather than a budget leads to the classic trap of maxing every node on a starter Resonator right before pulling the character you actually want to play. The grid will still be there. The weekly boss materials will not come back any faster.
How long does a full Forte Circuit take?
Reaching a strong, practical build takes a few weeks of routine play, while a genuinely maxed grid on a single Resonator takes longer because of weekly boss reward limits. The gap between a well-prioritised partial grid and a maxed one is small enough that most players should stop short deliberately.
The realistic path is to get the carrying skills into their upper range, unlock both Inherent Skills, take both stat bonus nodes, and leave the secondary skills mid-grid. That build performs close to a maxed one in almost all content, and it frees weekly materials for a second Resonator, which is worth far more to a team than the final level on one skill.
If your bottleneck is time rather than knowledge, and you would rather have someone else handle the Forgery Challenge and weekly boss grind while you play the content you enjoy, you can browse the available Wuthering Waves hourly farming and grinding sessions or the wider Wuthering Waves progression boosting listings, and the full catalogue sits on the Wuthering Waves marketplace hub.
GameMarket.gg is a trusted digital marketplace for everything gaming-related. We serve the gaming community by providing secure access that enhances every gaming journey.