
Honkai Star Rail News
Honkai Star Rail
HSR 4.4 Banners: How to Prepare for Himeko Nova Release
Prepare for the launch of Himeko Nova in Honkai: Star Rail Version 4.4! Master her innovative off-field Assist Skill...
Honkai Star Rail
HSR Castorice + Cyrene Team — Premium Quantum Build Walkthrough
Castorice has been referenced across nearly every HSR endgame article since her debut — Apocalyptic Shadow...
Honkai Star Rail
How to Clear Pure Fiction Starward Mode in Honkai: Star Rail
Conquer the new Pure Fiction Starward Mode in Honkai: Star Rail Version 4.3! Learn how to exploit the Grit debuff...
Honkai Star Rail
HSR Apocalyptic Shadow 4.3 — Gale of Forgetting Complete Walkthrough
Honkai: Star Rail's Version 4.3 Apocalyptic Shadow cycle "Gale of Forgetting" is live — and with Phase 2 banner just...
Honkai Star Rail
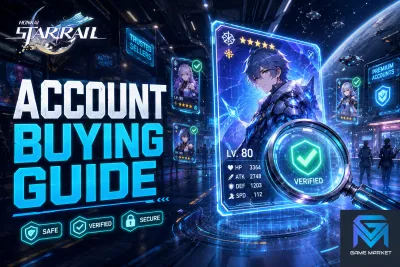
Buying a Honkai: Star Rail Account in 2026? The Complete Pre-Purchase Checklist
With Version 4.3 live and the Fate/stay night collab returning July 24, interest in established Honkai: Star Rail...
Honkai Star Rail
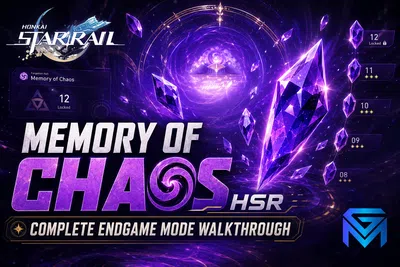
Memory of Chaos HSR — Complete Endgame Mode Walkthrough
Memory of Chaos is Honkai: Star Rail's flagship endgame mode — and for Trailblazers serious about pushing their...
Honkai Star Rail
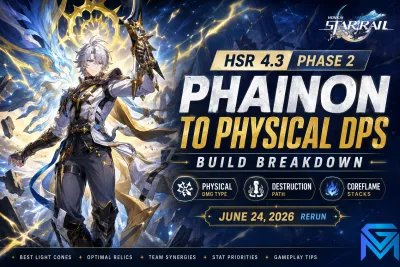
HSR 4.3 Phase 2 Phainon — T0 Physical DPS Build Breakdown
Phainon returns to Honkai: Star Rail as the Phase 2 rerun of Version 4.3, opening June 24, 2026 — and he's the...
Honkai Star Rail
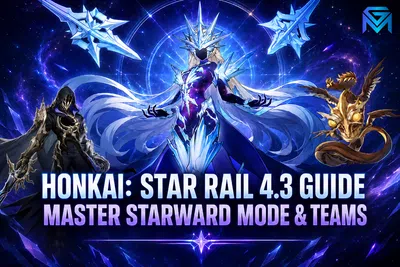
Honkai: Star Rail 4.3 Guide: Master Starward Mode & Teams
Master the new Starward Mode in Honkai: Star Rail Version 4.3! This endgame guide breaks down every node of Apocalyptic...
Honkai Star Rail
Save 15,000 Stellar Jade Monthly in HSR — F2P Walkthrough
Honkai: Star Rail is one of HoYoverse's more generous gacha titles — but maximizing Stellar Jade income requires...
Honkai Star Rail
Stellar Jade Saving Guide 2026: How HSR Veterans Always Have Pulls Ready
Every Honkai: Star Rail player knows the feeling: a must-pull banner drops, and the Jade balance reads three digits....
Honkai Star Rail
HSR Catch-Up Guide 2026: Get Your Account Collab-Ready Before July 24
Honkai: Star Rail is in one of its most generous stretches ever. Version 4.3 "The Lethe Below the Living" is live, free...
Honkai Star Rail
Phase 2 Reruns in HSR 4.3 — Should You Pull Phainon or Cyrene?
Honkai: Star Rail Version 4.3 Phase 2 opens on June 24, 2026 — and it's bringing back two of the version's most...
Honkai Star Rail
How to Beat Asad Pramad in HSR 4.3 — Mechanics & Teams
Asad Pramad is one of the new boss encounters introduced in Honkai: Star Rail Version 4.3 — a Lord Ravager and the...
Honkai Star Rail
Honkai Star Rail Yao Guang — Full Rerun Build Walkthrough
Yao Guang is the Phase 1 rerun character of Honkai: Star Rail Version 4.3 — running alongside Mortenax Blade's debut...

Honkai Star Rail
HSR Anomaly Arbitration 4.3 — The Humming Laughter Breakdown
Anomaly Arbitration is the endgame mode iteration that defines Honkai: Star Rail Version 4.3 — and its 4.3 cycle "The...
Showing 16 of 30 from 65 Results