
Memory of Chaos HSR — Complete Endgame Mode Walkthrough
By GameMarket Team 19 June 2026, 08:00 WIB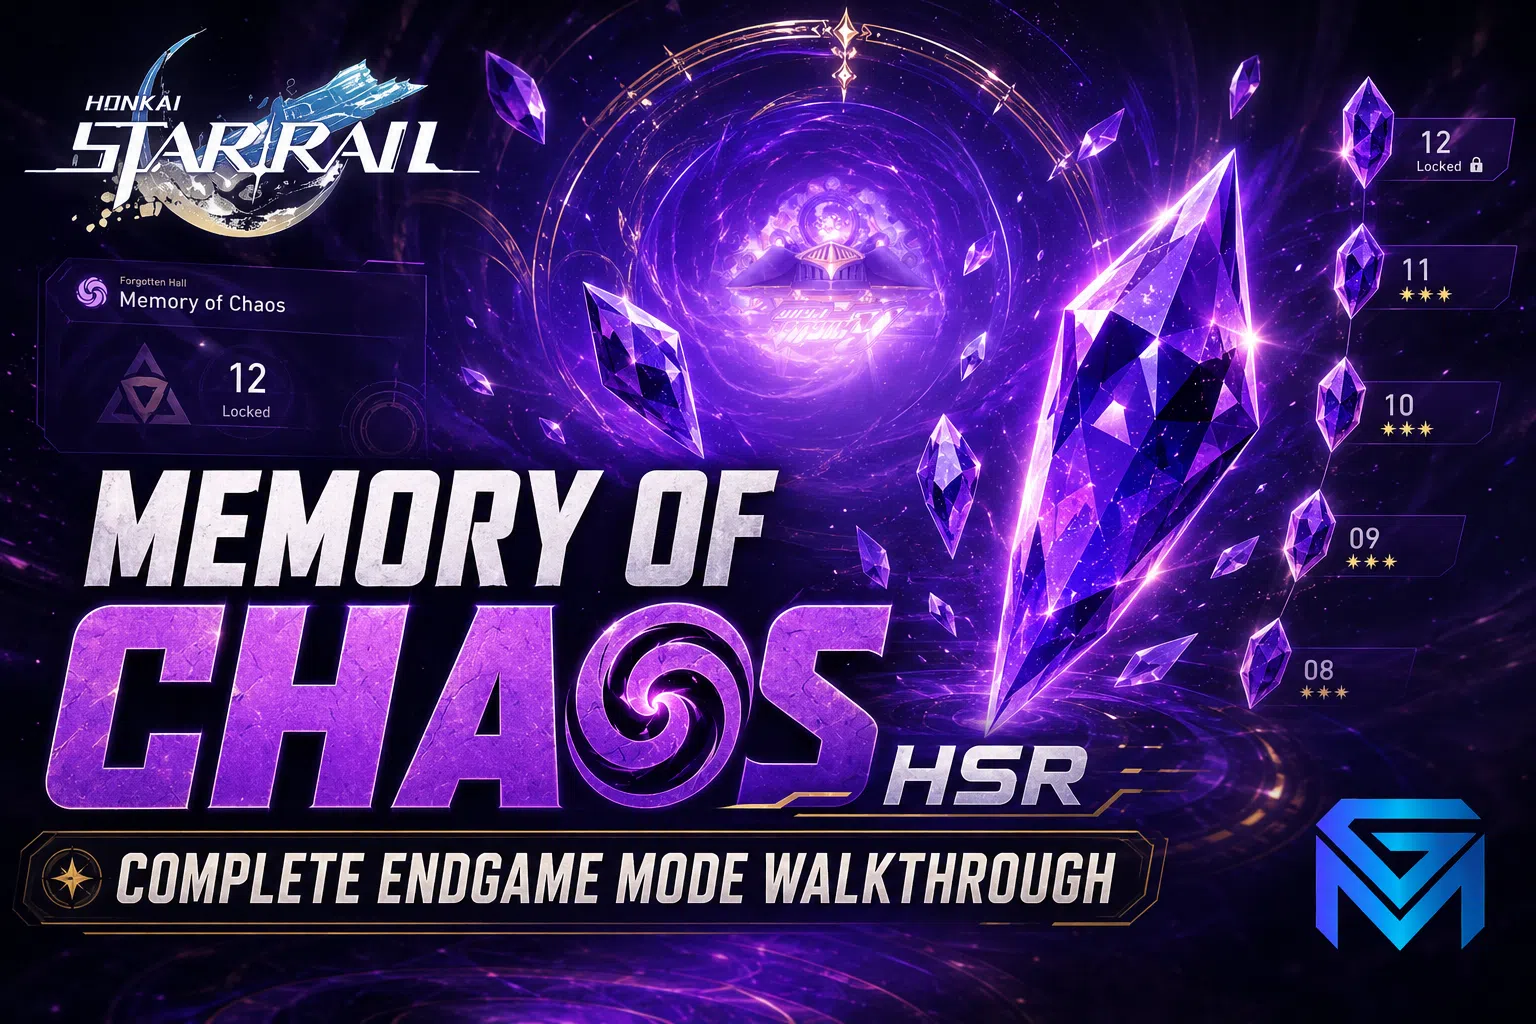
Memory of Chaos is Honkai: Star Rail's flagship endgame mode — and for Trailblazers serious about pushing their roster's ceiling, mastering the current cycle's 12 floors is where the real challenge lives. Refreshing on a bi-weekly cycle with rotating boss encounters and team modifiers, MoC rewards 800-1,200 Stellar Jade per refresh for full 36-star clears. This is the complete walkthrough for the current Memory of Chaos cycle — strategy, team building, and floor-by-floor breakdown.
🌌 What Is Memory of Chaos?
Memory of Chaos (MoC) is Honkai: Star Rail's premier combat-focused endgame mode, similar to Genshin Impact's Spiral Abyss. The mode features:
- 12 floors of escalating difficulty
- 2 halves per floor — Each floor requires clearing two separate enemy waves with different team compositions
- 3-star rating system — Stars awarded based on completion time
- Rotating bosses and modifiers — Bi-weekly refresh cycle
- Different character restrictions — Same character cannot appear in both halves of a single floor
The mode is the largest single source of Stellar Jade income in HSR's economy. For F2P Trailblazers, MoC clears are non-negotiable income — skipping floors costs approximately 1,600-2,400 Stellar Jade per refresh cycle (equivalent to 1-2 pulls).
⏰ Refresh Cycle and Reward Structure
Memory of Chaos refreshes on a bi-weekly cycle. Each refresh:
- Resets all floor configurations — New boss compositions and modifiers
- Resets reward eligibility — First-clear bonuses available again
- Updates time pressure standards — Star requirements adjust based on encounter design
Total potential rewards per cycle:
- Floor 1-5 clears: ~50-100 Stellar Jade per 3-star floor
- Floor 6-10 clears: ~100-150 Stellar Jade per 3-star floor
- Floor 11-12 clears: ~200-250 Stellar Jade per 3-star floor
- Full 36-star clear bonus: Additional rewards and prestige
- Total per cycle: 800-1,200 Stellar Jade depending on cycle difficulty
That's 1,600-2,400 Stellar Jade per month from MoC alone — equivalent to 1-2 limited pulls. For a complete F2P income breakdown, see our Stellar Jade Saving Guide.
🎯 Floor Mechanics
Each Memory of Chaos floor presents:
- Two halves — Sequential enemy waves requiring separate teams
- Cycle limit — Total cycles allowed across both halves (typically 10-12 cycles total)
- Star requirements — 3 stars = clear within remaining cycle budget; 2 stars = slower completion; 1 star = clear at all
- Environmental modifiers — Element-specific damage amplifications, action advance bonuses, weakness break enhancements
- Boss encounters — Pinnacle floors (11-12) feature signature boss encounters with phase mechanics
The restriction matters significantly: you need at least 8 well-built characters to consistently 3-star Memory of Chaos. Single-team focus accounts struggle past floor 8.
👥 Team Building for Current Memory of Chaos
The optimal MoC teams for Version 4.3 leverage the strongest current meta compositions. With Phase 2 reruns approaching June 24, these teams become even more powerful:
Phainon Hyper-Carry (Phase 2 Ready):
- Phainon (Physical DPS — top single-target damage)
- Cerydra (Coup de Main duplication)
- Sunday (Action advance + ATK buff)
- Huohuo or Aventurine (Sustain)
Castorice Hyper-Carry (S+ Tier with Cyrene):
- Castorice (Quantum DPS)
- Cyrene (Memosprite + Recollection support)
- Remembrance Trailblazer (Memospite synergy)
- Sustain
Acheron Nihility Team:
- Acheron (Lightning DPS — Ultimate-focused)
- Pela (DEF shred + Nihility stack)
- Silver Wolf (Weakness implant + Nihility stack)
- Aventurine or Gallagher (Sustain)
Firefly Break Team:
- Firefly (Fire DPS — Break-focused)
- Ruan Mei (Universal break amplifier)
- Harmony Trailblazer (Break support)
- Gallagher or Lingsha (Sustain + Fire weakness implant)
The Herta Erudition Team:
- The Herta (Ice Erudition AoE DPS)
- Tribbie or Sparkle (Critical buff)
- Robin or Sunday (Team DMG buff)
- Sustain
Mix these compositions across the two halves of each floor based on enemy element weaknesses. Trailblazers running only one team archetype hit walls past floor 9.
🛡️ Floor-by-Floor Strategy
Floor configurations rotate bi-weekly, but strategic patterns remain consistent:
Floors 1-3 (Entry):
- Single boss or small group encounters
- Focus on rotation practice — habits formed here carry through harder floors
- Most teams clear comfortably with minimal investment
- Test new team compositions safely
Floors 4-6 (Mid-tier):
- Multi-enemy compositions appear; group control matters
- AoE-capable DPS (The Herta, Argenti, Himeko) shine here
- Sustain stress increases — undergeared healers struggle
- Environmental modifiers begin meaningful impact
Floors 7-9 (Difficulty Spike):
- Single-boss encounters with mechanic complexity
- Specific element weaknesses critical for cycle efficiency
- Sustain teams must handle higher incoming damage
- Standard for 2-star clears, 3-star requires optimization
Floors 10-12 (Pinnacle):
- Signature boss encounters with phase mechanics
- Highest difficulty in current MoC
- Sustained DPS focus over multiple phases
- Time pressure intense — every cycle matters
- 3-star clear requires near-perfect execution
3-Star Clear Requirements:
- Complete within typically 3-5 cycles (depending on floor)
- Avoid wipe states (no character deaths affect star rating)
- Specific star conditions vary; read floor modifiers carefully
📊 Common Mistakes That Cost Stars
- Wrong element matching — Throwing Quantum damage at Quantum-resistant bosses wastes precious cycles
- Single-team focus — Trying to use the same composition for both halves caps your performance ceiling
- Underleveled traces — MoC assumes Trace levels at 8+ and Relics at +12 minimum
- Skipping environmental modifiers — Some modifiers triple damage of specific damage types; ignoring them wastes potential stars
- Poor SPD tuning — Cycle count depends heavily on character SPD; SPD-tuning teams matters more here than other modes
- Forgetting Trace effects — Some characters have Trace-level bonuses that activate only at higher difficulty thresholds
- Sustaining beyond necessity — Over-investing in sustain leaves DPS underbuilt; balance matters
💎 Energy Management Across Halves
One of MoC's underappreciated mechanics: Energy carries over between halves of a floor. This affects team building strategy:
- Characters who finish half 1 with high Energy can immediately fire Ultimate at start of half 2 (if reused)
- Plan rotations to leave Burst-dependent supports near full Energy for next half's opening
- Don't waste high-Energy characters on lower-priority targets in half 1
This is one of the highest-impact optimization habits for consistent MoC clears.
🎯 Reward Optimization Tips
Per MoC refresh cycle, maximize Stellar Jade by:
- Star ratings matter — Each star contributes to final rewards independently
- Don't skip lower floors — Floor 1-5 clears are easy and add cumulative rewards
- Time investment pays — Spending 30-60 minutes per refresh pushing 3-stars is high return per minute
- Practice teams in lower floors first — Test team compositions on floors 4-6 before attempting 10-12
💡 Pro Tips for Pushing MoC
- Practice in Simulated Universe first — Lower stakes, similar combat patterns
- Pre-build Energy — Charge ultimates on weaker enemies in early waves, save them for boss windows
- Use SPD tuning religiously — Faster characters get more turns; SPD calculators (Prydwen, HSR-Optimizer) accelerate optimization
- Watch top community clears — YouTube channels like StarRailStation, HSR Hub post clears with timestamps; copy proven strategies
- Don't punish yourself for 2-star clears — Some MoC floors are designed so 2-stars are reasonable but 3-stars require near-perfect execution
- Reset attempts liberally — Failed run costs no resources beyond your time. Restart immediately if the first cycle isn't going well
- Update teams every refresh — Floor mechanics change; recycling old teams loses stars
- Track team composition history — Note which teams cleared which floors; pattern recognition accelerates future clears
🔄 What Changes Between Refreshes
When MoC rotates floor configurations, expect:
- Different boss encounters per floor — Rotation pool of ~15-20 boss types
- Updated environmental modifiers — Different elemental amplifications, action advance bonuses
- Adjusted star requirements — Some refreshes are easier than others based on enemy/modifier combinations
- New character recommendations — Based on current meta and Phase 2 banners
Adapt accordingly — what cleared last refresh may not work this refresh. Reading floor modifiers carefully on each refresh is the single highest-impact habit for consistent MoC clears.
🎯 Should You Push Memory of Chaos?
Push MoC if:
- You have at least 8 properly built characters across multiple elements
- You enjoy mechanical optimization and rotation challenges
- You want maximum Stellar Jade income (F2P or not)
- You have time to adapt team compositions every 2 weeks
Stick to Pure Fiction or Apocalyptic Shadow if:
- Your roster is still building (less than 8 properly built characters)
- MoC's time pressure stresses you out
- You play casually without engaging with rotation optimization
- You're early in your account journey
Pure Fiction and Apocalyptic Shadow rewards are still substantial — don't feel pressured into MoC before your roster supports it.
🛒 Push Memory of Chaos Effectively
Memory of Chaos rewards roster depth and rotation mastery — and Trailblazers ready to push for full 36-star clears can explore trusted Honkai: Star Rail Accounts with deep rosters and pre-built endgame teams, accelerate every Relic farm and material grind with expert Honkai: Star Rail Hourly Services, or clear every Memory of Chaos floor through reliable Honkai: Star Rail Boosting.
GameMarket.gg is a trusted digital marketplace for everything gaming-related. We serve the gaming community by providing secure access that enhances every gaming journey.