
News
Clash Royale
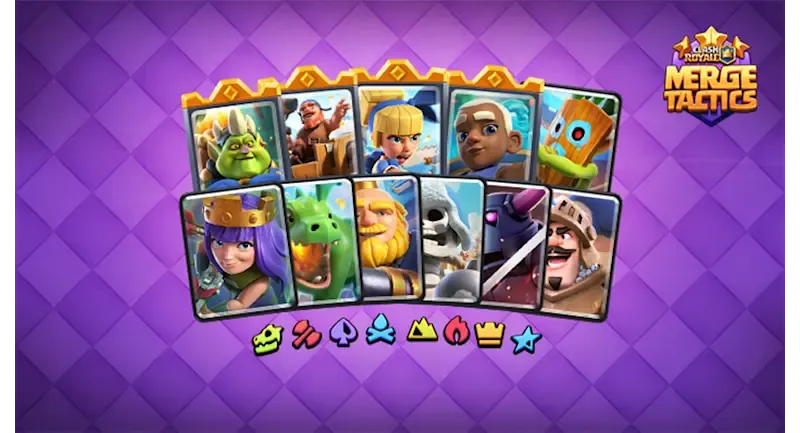
Merge Tactics Season 7: Full Stat Breakdown
Dive deep into the massive Clash Royale Merge Tactics Season 7 balance update! Explore the exact mathematical changes...
Mobile Legends: Bang Bang
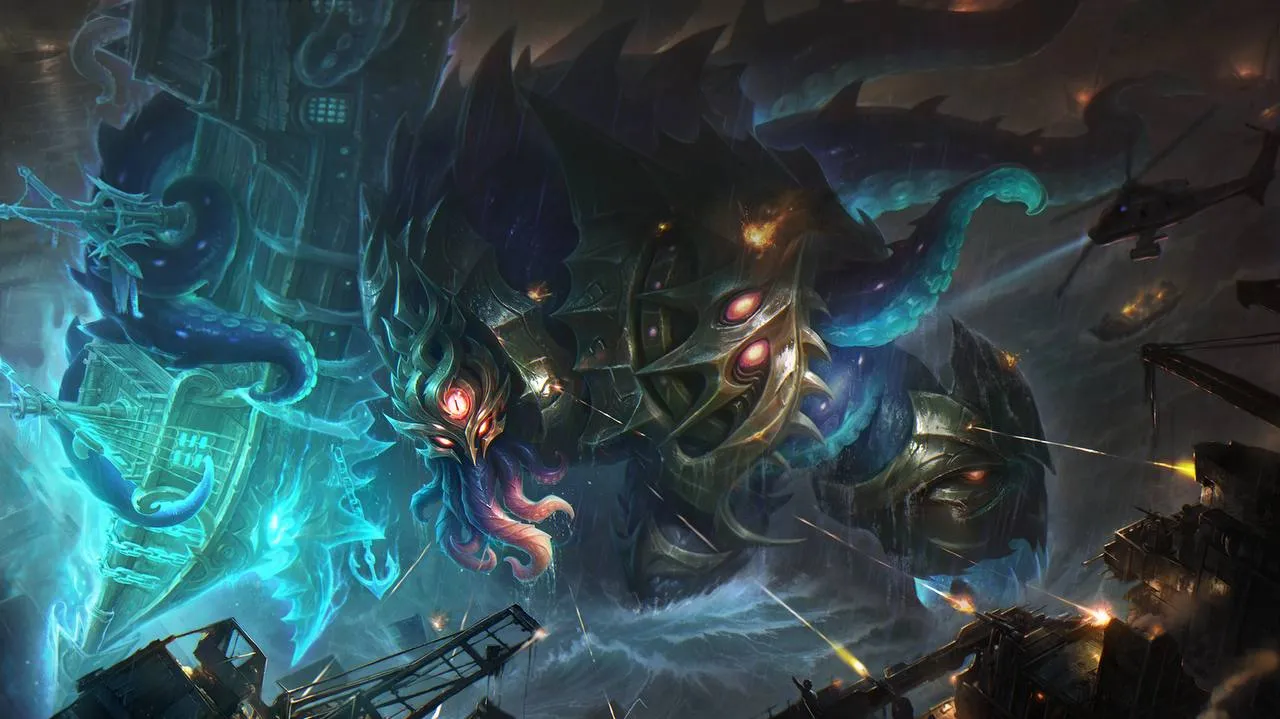
Grock "Tremor of the Deep" Info: April 2026 Collector Event Details
Dive into the abyss with the new MLBB Grock Collector Skin "Tremor of the Deep"! Our comprehensive April 2026 guide...

Clash of Clans
Clash of Clans Sound of Clash Update Guide
Get ready for the massive April 2026 Sound of Clash Update! Discover the new heavy metal theme, Builder Base Crafted...
Zenless Zone Zero
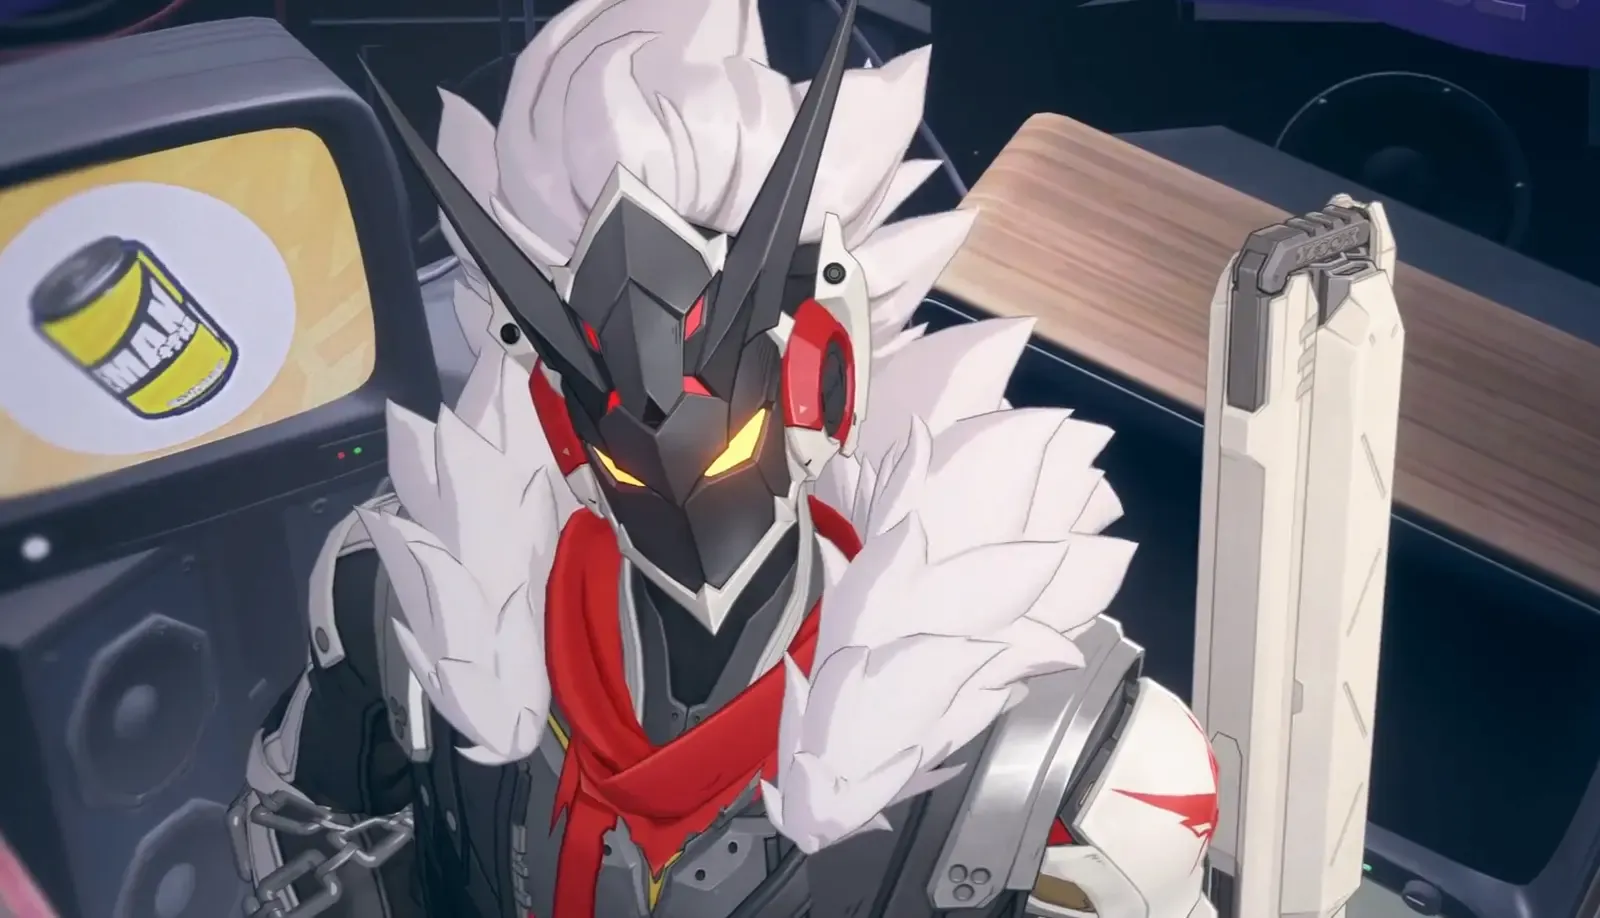
Zenless Zone Zero Starlight Billy: Signature W-Engine & Disc Guide
Rev up your damage with the ultimate Starlight Billy Build Guide for Zenless Zone Zero! Master this S-Rank Physical...
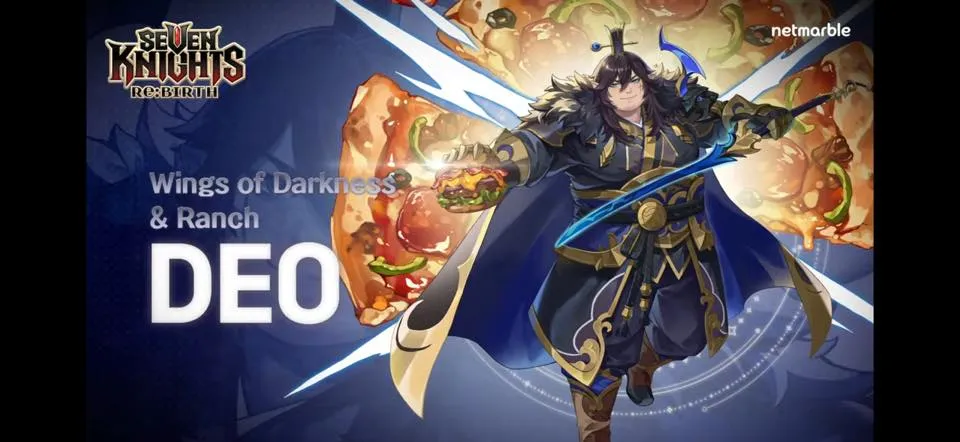
Seven Knights Re:Birth
Master the New April 2026 Update
Dive into the massive Seven Knights 4/2 Patch Update! Discover everything you need to know about the new Legendary hero...
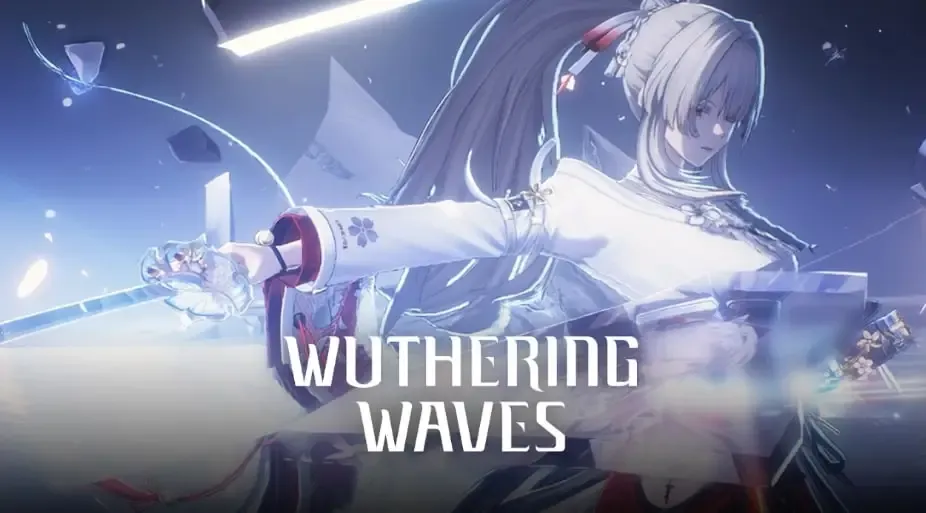
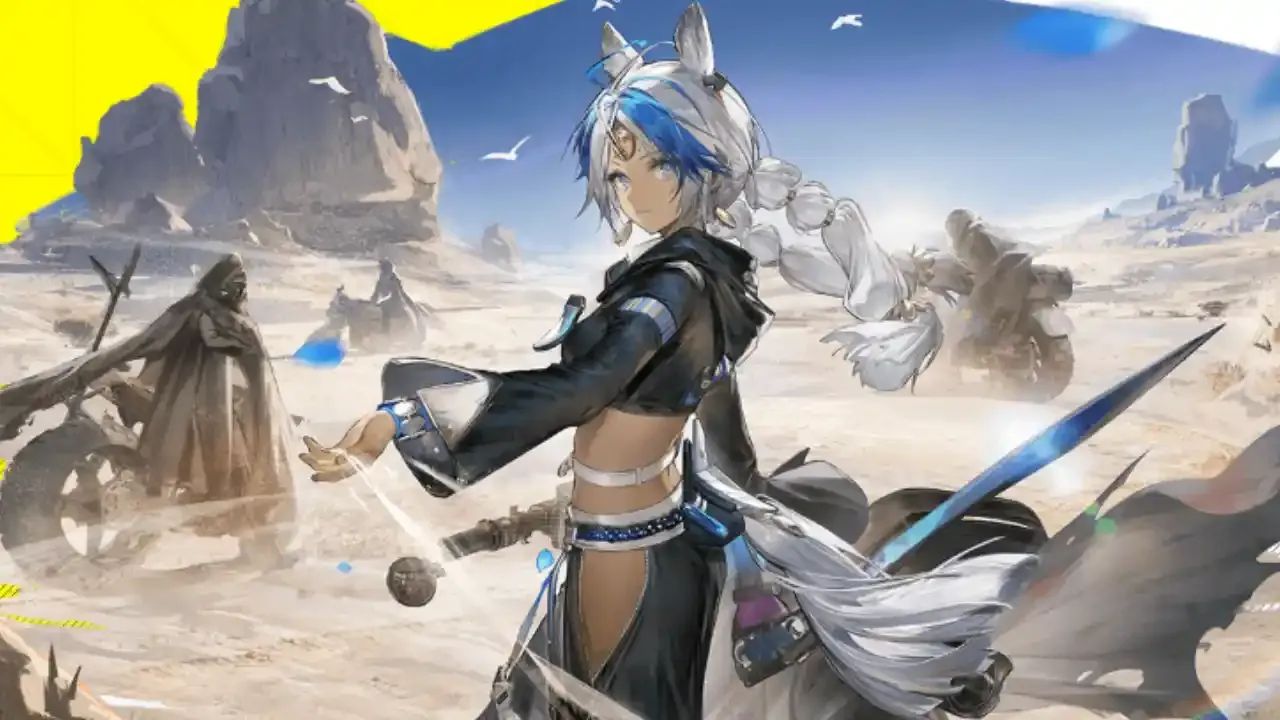
Wuthering Waves
WuWa 3.3 Leaks: 2nd Anniversary Banners, New Map, and Skins
Get the ultimate Wuthering Waves 3.3 Anniversary Guide! Discover the latest drip marketing for new 5-star Resonators...
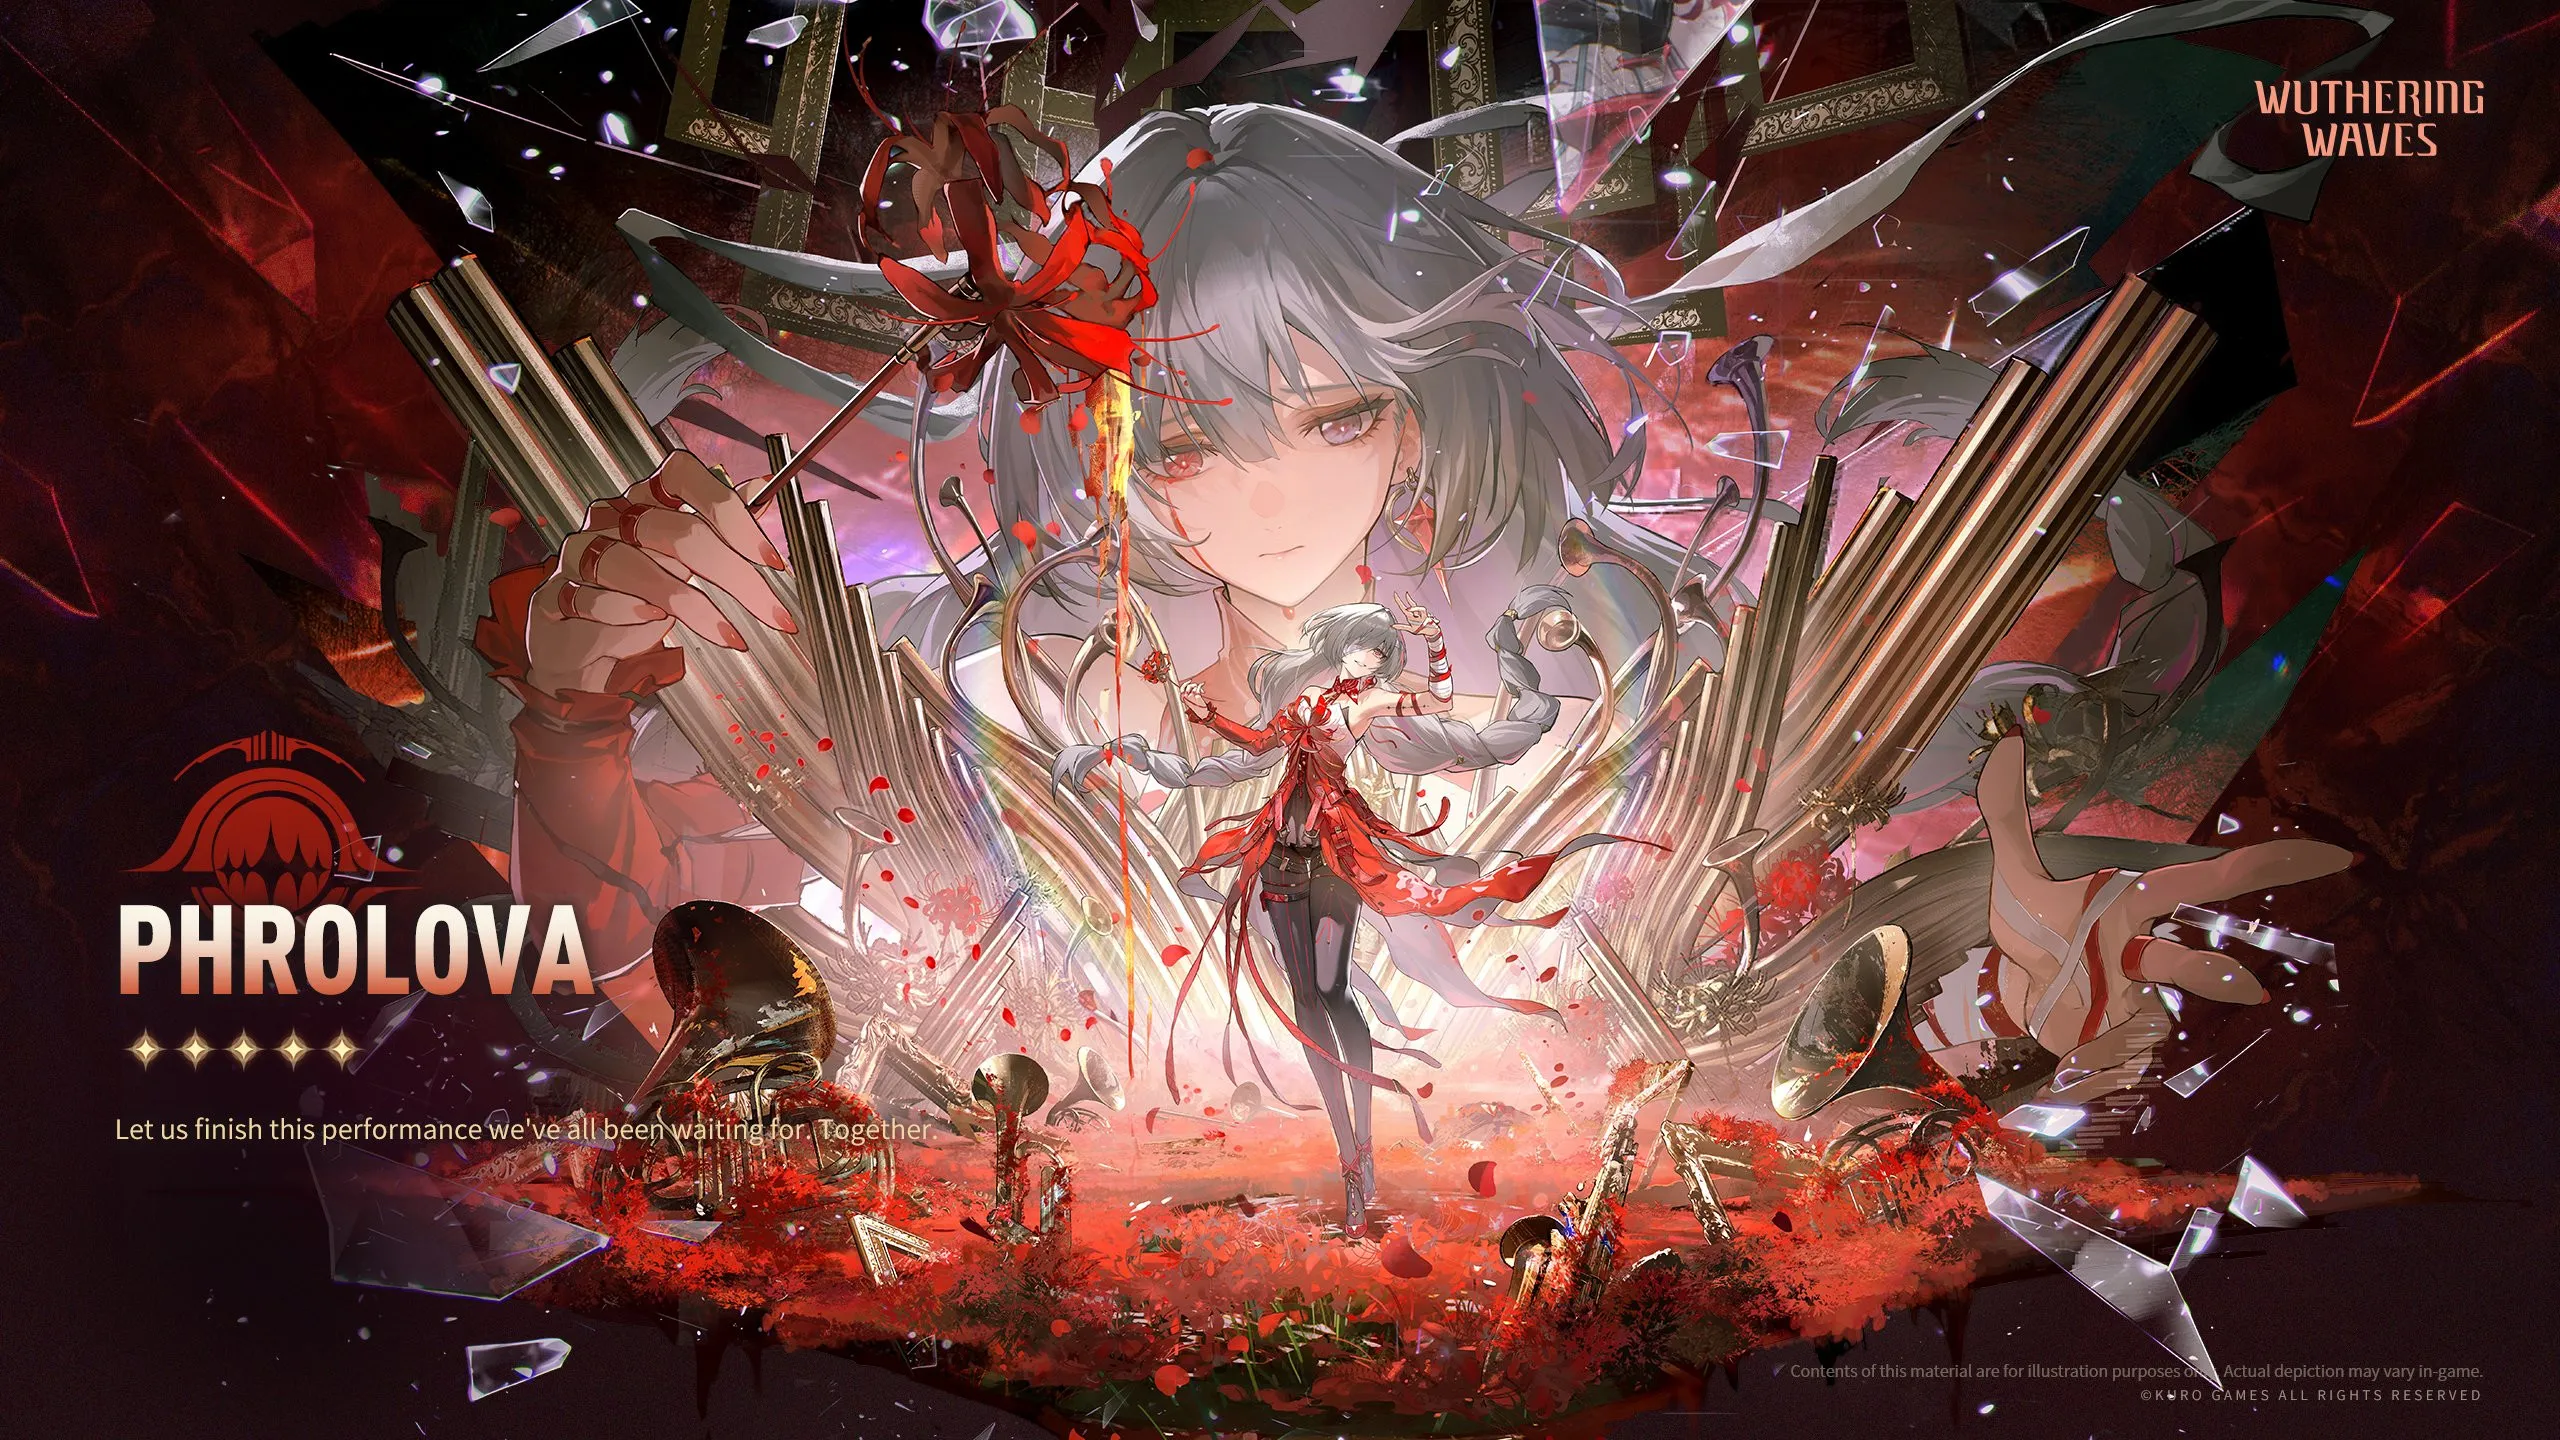
Wuthering Waves
Phrolova Build: Maximize Havoc DPS
Master the ultimate Phrolova Build in Wuthering Waves! Discover her best weapons, optimal echo sets, priority stats,...

BLEACH: Soul Resonance
Leak Alert: Shunsui Kyoraku and Unohana Bleach Soul Resonance Info
Grip your Zanpakutō! Our Bleach Soul Resonance Banner Guide covers the current Soi Fon rotation and the massive 2026...
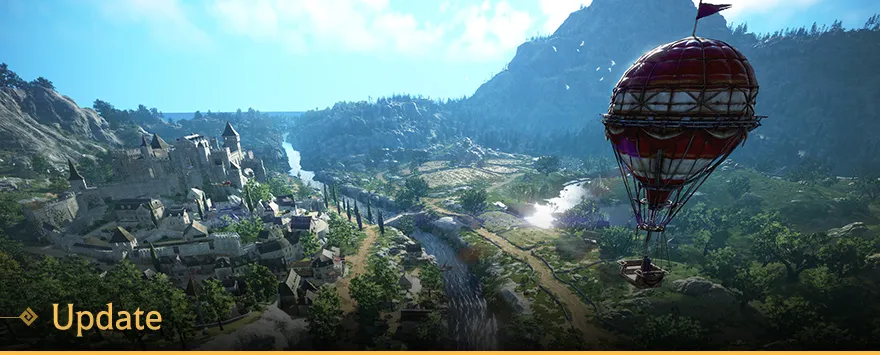
Black Desert Online
Detailed Black Desert Update April 2026
Dive into the most exhaustively detailed April 2026 Black Desert Update guide available! Explore the exact percentage...

PUBG Mobile
Best Evolving Universe Loadouts: Level Up Your Specialization 🔫
Dominate Erangel with our PUBG Mobile Evolving Universe Mode Guide! Learn how to master the five specializations, rank...
Epic Seven
Complete Breakdown of Epic Seven's Update
Dive into the massive Epic Seven NEW ERA Update! Discover the mathematical depths of the Imprint Circuit, explore the...
Arknights: Endfield
Arclight Mastery Guide: How to Optimize High-Voltage Combat in Endfield
Master the lightning with our definitive Arclight Build Guide for Arknights: Endfield. This comprehensive update covers...
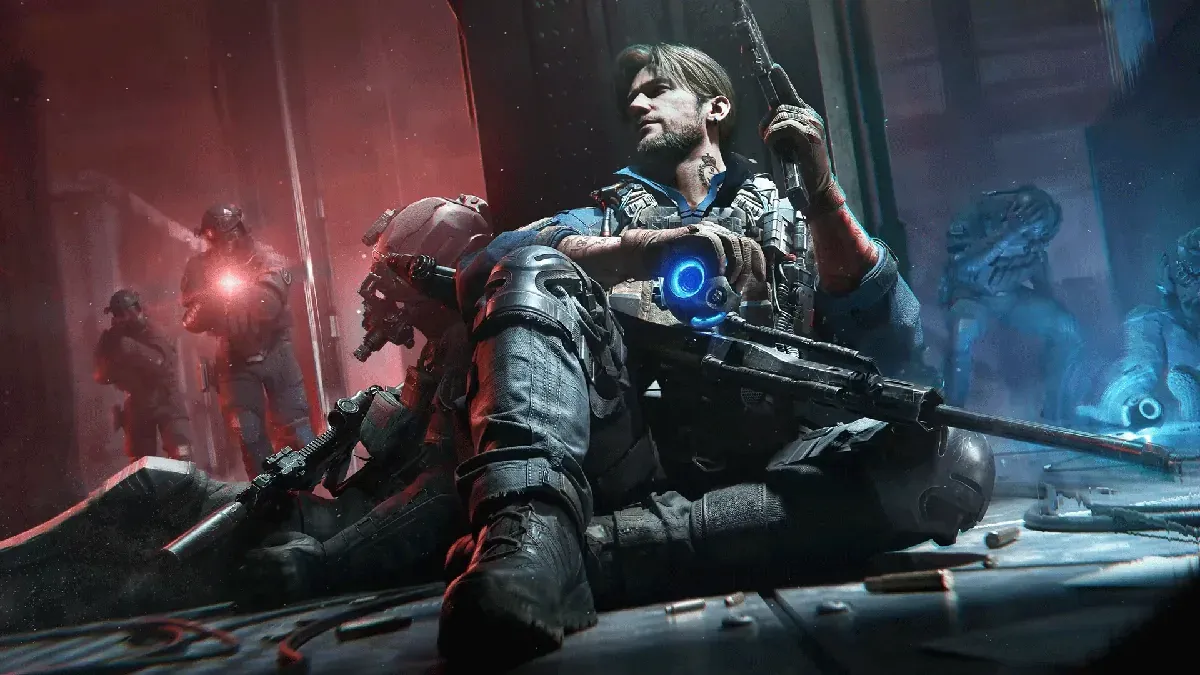
Delta Force
Delta Force Season 9 Info: Mastering Morse’s New Recon Kit 📡
Get the latest Delta Force Season 9 Info on the upcoming Recon Operator, Morse! Discover her high-tech tracking...

Blood Strike
BloodStrike Update: Is the New Emma Eternal Skin Worth It?
✨ Divine Radiance: Everything You Need to Know About the New Eternal Emma "Luxie" Skin The 2nd Anniversary of...

Blood Strike
Is Alondra OP? BloodStrike 2nd Anniversary Update Guide
🚀 Is Alondra Too OP? The Definitive Guide to Dominating BloodStrike’s New Meta 🛑 The BloodStrike community is currently...
Showing 481 of 495 from 920 Results