
News
Punishing: Gray Raven
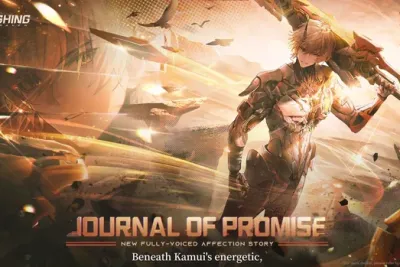
Kamui: Aeternion Fire & Plasma Beam DPS Guide: Punishing Gray Raven
Unleash the heat with Kamui: Aeternion in Punishing: Gray Raven! Our 2026 build guide covers the best Shakespeare and...
Mongil:Star Dive
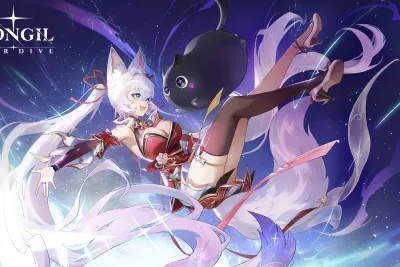
Mongil: Star Dive Redeem Code
Claim your free Compass of Promise and Starlight Crystals! Check out the latest Mongil: Star Dive redeem code list for...
Mobile Legends: Bang Bang
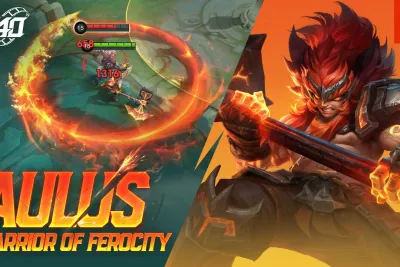
How to Play Revamped Aulus: Best Jungle Build and Combos
The King of the Axe returns! Our April 2026 MLBB Aulus Revamp guide breaks down his massive skill rework, including the...
Neverness to Everness
Neverness to Everness Redeem Code
Claim your free Annulith and Beetle Coins! Check out the latest Neverness to Everness redeem codes for April 2026....
Honkai Star Rail
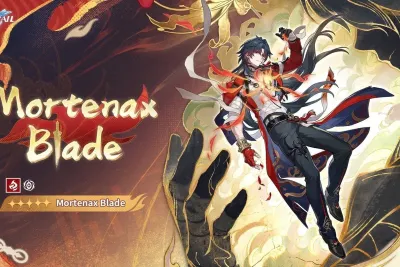
HSR 4.3 Mortenax Blade Ascension & Trace Materials List
Harness the hellfire with Mortenax Blade, the new 5-star Fire Nihility character in Honkai Star Rail 4.3! Our complete...
Mobile Legends: Bang Bang
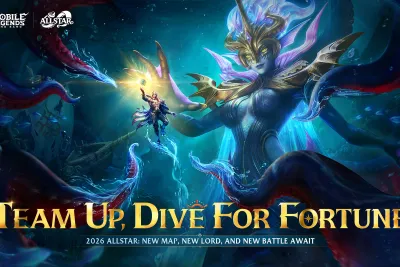
MLBB All-Star 2026: New Ling, Pharsa & Yu Zhong Skins Guide 🌊
Dive into the MLBB All-Star 2026 "Rolling Tides" event! From April 30 to June 30, explore the new underwater Dreadsea...
The Seven Deadly Sins: Grand Cross
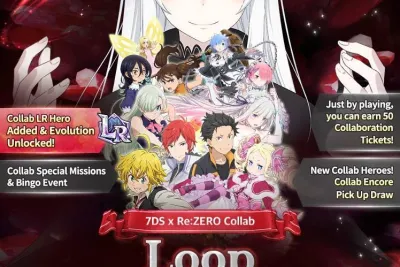
7DS x Re:ZERO : New Heroes and LR Evolution
Dive into the massive 7DS x Re:ZERO collab update featuring the return of fan-favorite characters, new LR Evolutions...
Valorant
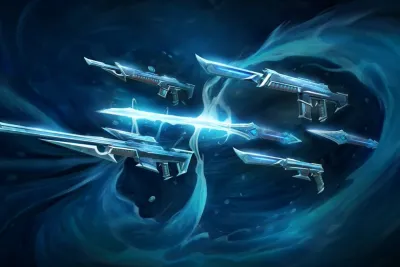
How to Get the Narukami "Thunder God" Melee in Valorant 🌩️
Strike like lightning with the Valorant Kuronami 2.0 bundle! Arriving April 30, 2026, this premium collection features...
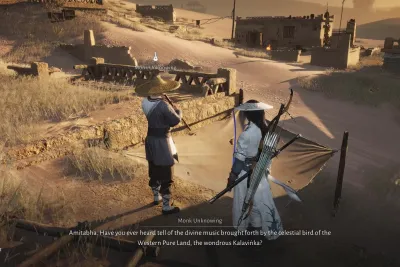
Where Winds Meet
Flute of the Tides Quest Guide for Where Winds Meet
Unlock the powerful Flute of the Tides Mystic Skill with our comprehensive Where Winds Meet guide. Discover how to...
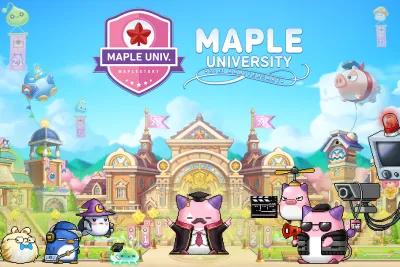
MapleStory Global
MapleStory Maple University: Campus Life & Special Lecture Buffs
Celebrate 21 years of adventures with the MapleStory Maple University update! Discover the best ways to earn Campus...
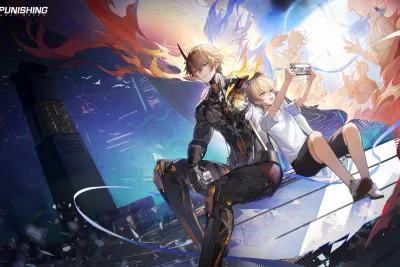
Punishing: Gray Raven
Master The Dying Sun Update in Punishing Gray Raven
Dive deeper into the highly anticipated Punishing: Gray Raven update, The Dying Sun. Explore the intricacies of Kamui...
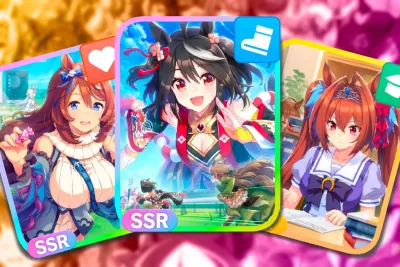
Umamusume: Pretty Derby
Umamusume: Pretty Derby April 2026 Spotlight Scout Guide 🐎
The cheers are roaring in Umamusume: Pretty Derby! Discover the new Spotlight Scouts featuring [Run & Win] Nice Nature...

Mongil:Star Dive
Mongil: Star Dive Daisy Build Guide: Best Earth Healer Meta 🌿
Master the flower fields with Daisy, the premier 4-star Earth Support in Mongil: Star Dive! Our April 2026 build guide...
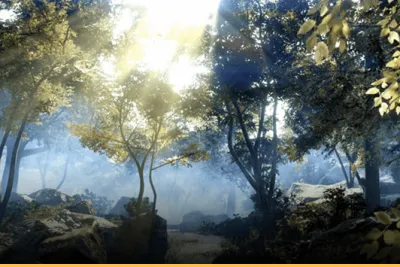
Black Desert Online
BDO April 2026 Update: Altar of Blood & Solare
The latest Black Desert Online update is here to test your limits! Dive into the hardcore Abyssal Illusion difficulty,...
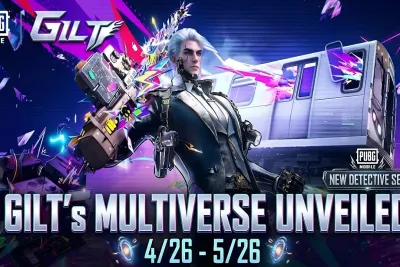
PUBG Mobile
Pyrotechnic Chroma AMR: New Level 7 Upgradeable Skin
Step into the future with the PUBG Mobile Multiverse Detective Set! Explore the dual-form Gilt outfit, the stunning...
Showing 421 of 435 from 923 Results