
News

Chaos Zero Nightmare
Unstoppable Chaos Zero Nightmare Sereniel Build Guide
Stop struggling in the endgame! Discover the broken, meta-shifting Chaos Zero Nightmare Sereniel Build that melts boss...
Call of Duty: Mobile
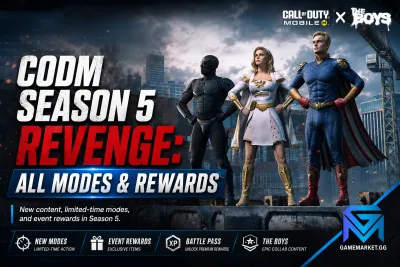
CODM Season 5 Revenge: All Modes & Rewards
Prepare for ultimate revenge with the launch of Call of Duty Mobile Season 5. Experience the epic crossover with The...
Mobile Legends: Bang Bang
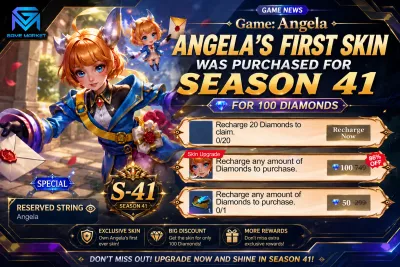
First Purchase Angela Season 41 Leak
The brand new Angela Season 41 Leak reveals an exciting upcoming First Purchase skin in Mobile Legends. For just 100...
Zenless Zone Zero
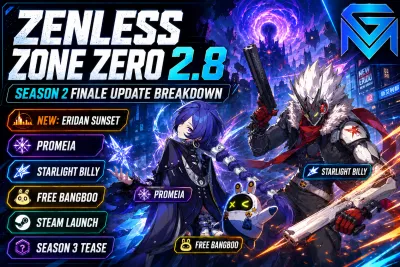
Zenless Zone Zero 2.8 — Season 2 Finale Update Breakdown
Zenless Zone Zero Version 2.8 "New: Eridan Sunset" launched on May 6, 2026 as the grand finale of Season 2 — and it's...
EFootball
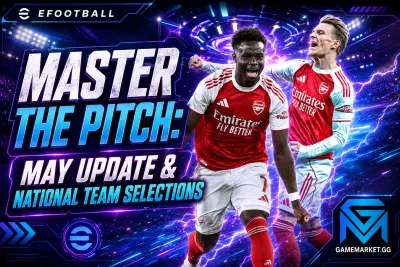
Master the Pitch: May Update & National Team Selections
Dive into the massive late May 2026 eFootball update! Discover the latest POTW cards, the highly anticipated Spanish...

Neverness to Everness
Best Skia Build NTE: Fang Thrust & Shadow Hound Setup
Master shadow manipulation with our definitive Skia build guide for Neverness to Everness (NTE)! Learn how to optimize...
Neverness to Everness
The Best Adler Build Guide
Welcome to the ultimate Adler build guide for Neverness to Everness ! Discover the exact details needed to optimize...
Arena Breakout
Loot League: Strategies for Arena Breakout
Prepare for the ultimate extraction challenge! Discover everything you need to know about the new Loot League mode in...
Genshin Impact
Genshin Impact Codes May 2026 — All Active 6.6 Codes
All active Genshin Impact redeem codes for Version 6.6 Luna VII in one place — with rewards, expiry dates, and...
Genshin Impact
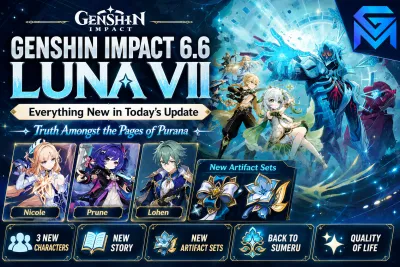
Genshin Impact 6.6 Luna VII — Everything New in Today's Update
Genshin Impact Version 6.6 "Luna VII — Truth Amongst the Pages of Purana" launched today, May 20, 2026 — and it's one...
Umamusume: Pretty Derby
Master the Sprint: King Halo Cheerleader Training Guide
Master the Late Surger strategy with our Umamusume King Halo Cheerleader build guide! Discover her ideal stats, support...
Epic Seven
Everything New in Epic Seven May 2026 — Summer Season, Codes & More
Epic Seven's May 14 update is live alongside the launch of the World Arena Summer 2026 Season, the E7 Masters 2026...
Honkai Impact 3rd
Honkai Impact 3rd v8.8 Update & May 2026 Codes
Honkai Impact 3rd's v8.8 "Adrift in the Sea of Data" update is live — bringing a new S-rank AstralOp, a fresh main...
Arena Breakout
Arena Breakout Cyberpunk 2077 Collab Returns!
Wake up, operators! The highly anticipated Arena Breakout Cyberpunk 2077 collaboration officially returns tomorrow....
Neverness to Everness
Fast Neverness to Everness Bond System Guide
Level up your characters quickly and unlock exclusive rewards with our in-depth look at the Neverness to EvernessBond...
Showing 331 of 345 from 924 Results