Wuthering Waves Boss Guide: Vibration Strength & Damage Windows
By John Ganang 27 August 2026, 08:00 WIB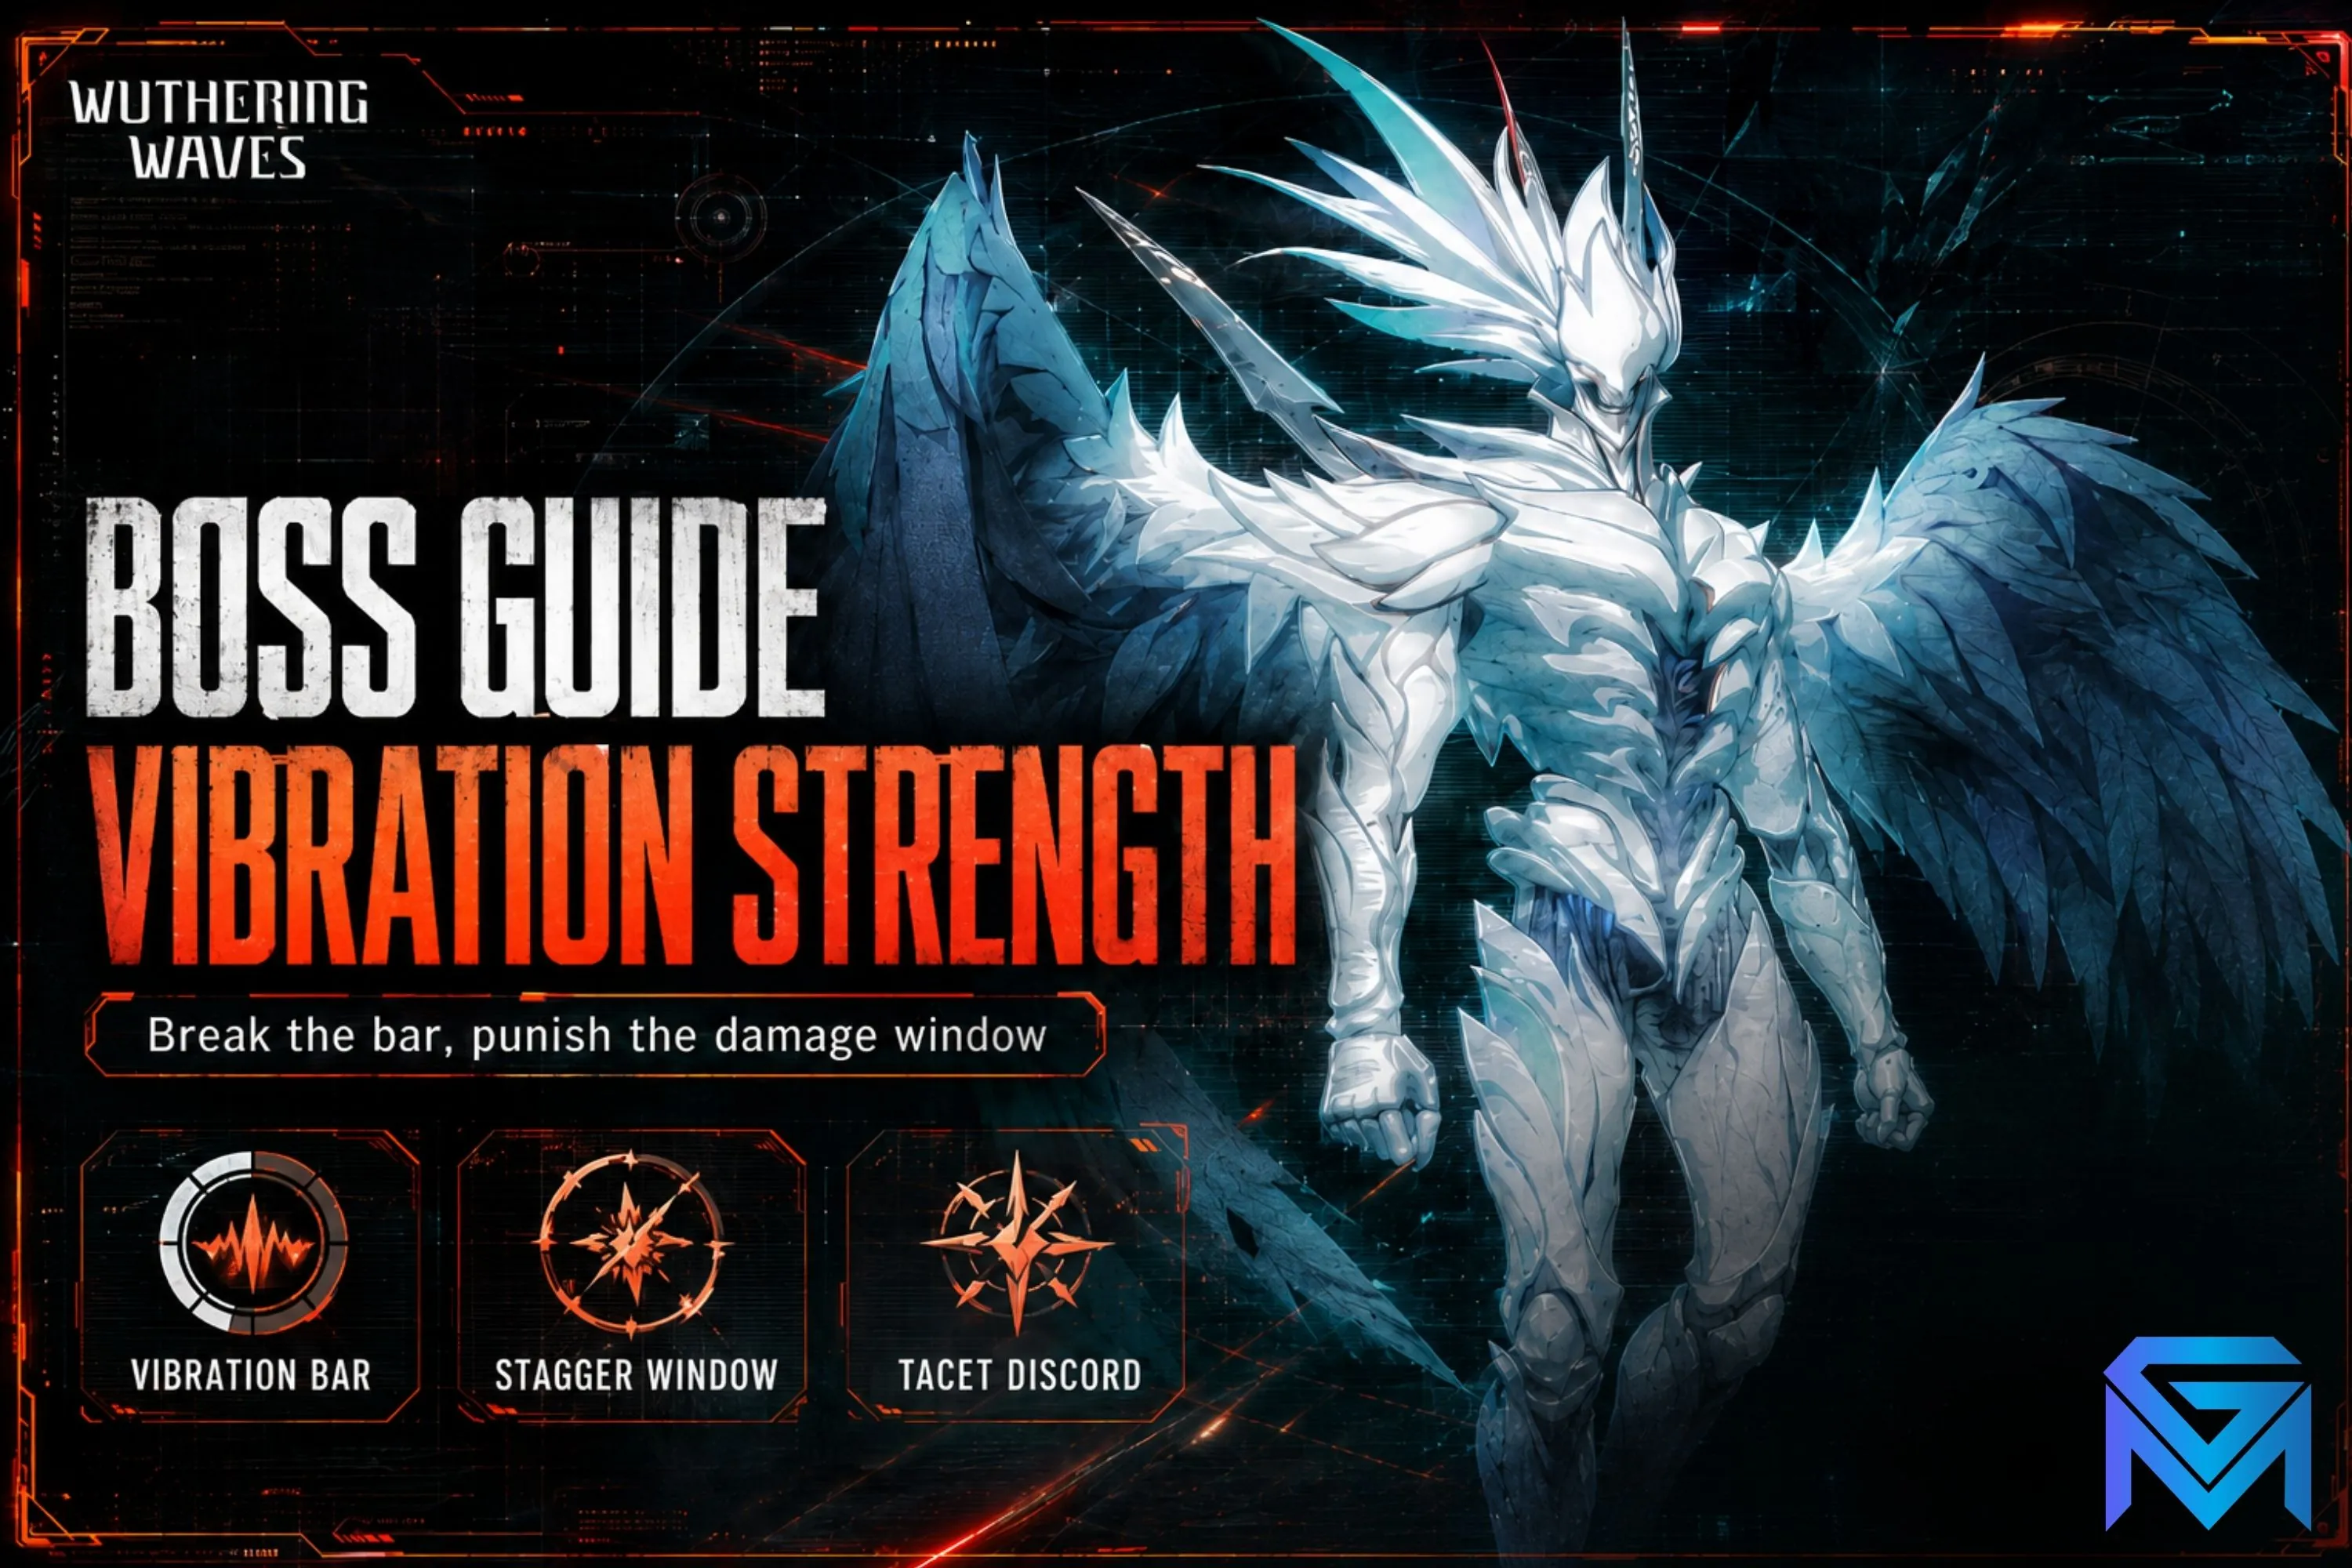
Most Wuthering Waves boss fights are not lost to a damage shortfall; they are lost to bad timing. Bosses carry a Vibration Strength bar that suppresses incoming damage while it holds, so the fight is really a race to break that bar and dump your rotation into the short Immobilized window that follows. For the detail behind that, see Wuthering Waves Waveplate Explained.
That single idea reframes almost everything players try when a Tacet Discord feels impossible. Levelling a Resonator ten more times raises the numbers on your screen, but those numbers are being taxed the whole time the shield is up. Learning where the untaxed window opens is worth more than a full ascension, and it costs nothing but attention. Everything below builds on that: what the bosses are, what the bar does, which actions break it, and how to spend the window you buy.
What are Tacet Discord bosses in Wuthering Waves?
Tacet Discords are the corrupted creatures that make up the game's enemy roster, and they are sorted into four ranks: Common, Elite, Overlord and Calamity. The bosses players mean when they say "boss" are the Overlord-class field bosses and the Calamity-class Weekly Challenge bosses, because those are the two ranks that drop upgrade materials.
The rank is not just a difficulty label; it determines what the fight is worth. Overlord-class bosses sit in fixed lairs around the open world, can be re-fought as often as you like, and drop the Resonator ascension material tied to that specific creature. Feilian Beringal yields Roaring Rock Fist, Lampylumen Myriad yields Sound-Keeping Tacet Core, Impermanence Heron yields Gold-Dissolving Feather, and so on down the roster. Because each boss is welded to one material, your farming target is chosen for you the moment you decide which Resonator you are levelling.
Calamity-class bosses are the weekly tier, and they are gated rather than grindy. They drop Weapon Molds, Forte upgrade materials, and the game's Cost 4 Echoes, which are the strongest Echoes available and the reason most players show up at all. Kuro Games has added new Overlord and Calamity encounters with almost every major version since launch, so any fixed roster list ages quickly; treat the class system as the stable part and the names as the part that keeps growing. If the vocabulary here is new, the Wuthering Waves beginner's guide to Resonators, Echoes and Astrite covers the surrounding systems in order.
What is Vibration Strength and why does it blunt your damage?
Vibration Strength is the white bar that appears beneath a boss's health bar, and it functions as a damage-reduction shield rather than a second health pool. While it is intact, damage you deal to the boss's actual HP is reduced, which is why a fight can feel like hitting a wall even with a well-built team.
This is the mechanic that makes Wuthering Waves boss fights read so differently from the enemies you clear on the way to them. A field mob dies to whatever you throw at it, so players build the habit of mashing basic attacks and skills off cooldown. Against a boss that habit is actively expensive, because every one of those hits is landing at a reduced rate while you could instead be spending the same seconds draining the bar that is causing the reduction. The bar is not an obstacle in front of the damage phase; it is the damage phase, and treating it as the objective rather than an annoyance is the difference between a three-minute fight and a ninety-second one.
Two details matter for planning. First, the bar does not stay broken. Once the Immobilized state expires the boss recovers and the shield comes back, so a fight against a high-HP Calamity target is a sequence of break-and-punish cycles rather than one big opening. Second, the bar is not uniform across the roster: some encounters have a comparatively soft bar that a single well-timed sequence can strip, while others are built to eat several. Expect to learn each boss's tempo rather than to carry one timing across all of them.
Which actions drain Vibration Strength fastest?
Four categories of action do outsized damage to the bar: parries, dodge counters, Intro Skills, and Resonance Liberations. All of them are reactive or transitional inputs rather than raw attack presses, which is the game's way of telling you that the shield is broken by playing the combat system, not by out-statting it.
Parrying is the fastest of the four. A well-timed counterattack does not just chip the bar, it interrupts the boss's own attack flow and forces it off balance, so a short run of clean parries can strip a bar that would take a long stretch of basic attacks to dent. Sword-using Resonators tend to parry most reliably because their attack animations are short and their reach keeps them at a workable distance, and a handful of Resonators such as Taoqi and Jianxin have parry behaviour built directly into their Resonance Skill. That is a build consideration, not just an execution one: if a specific boss keeps beating you, swapping in a Resonator with a forgiving parry is a legitimate answer.
Dodge counters are the safer version of the same idea. Attacking immediately after a dodge deals heavy Vibration damage, and because it can be chained repeatedly through a boss's combo it gives you a rhythm to hold when a parry window looks unreadable. Intro Skills contribute every time you swap in on a triggered Concerto, which means an ordinary rotation is already draining the bar if you are swapping on cue instead of standing on one character. Resonance Liberation takes a chunk out of both the bar and the health pool at once, so it is the one input you may want to hold rather than fire on cooldown. The mechanical detail behind all of this, including parry timing and swap rhythm, is broken down in the Wuthering Waves combat guide to parry, dodge and rotation basics.
What happens during the Immobilized window?
Breaking the bar Immobilizes the boss: it stops moving, stops attacking, and takes noticeably more damage from every source for a short, fixed duration shown as a rapidly draining yellow line where the white bar used to be. This is the only stretch of the fight where your damage lands unreduced against a target that cannot move out of it.
Because the window is short and visible, it should be treated as a resource you are spending rather than a lucky break. The practical consequence is that your rotation ordering changes: instead of firing Resonance Liberation the moment it comes up, you hold it until the bar is nearly gone so that the Liberation either finishes the break or lands inside the window it opens. The same logic applies to any burst effect your team carries, including Outro effects that buff the incoming character. A team that arrives at the break with everything on cooldown wastes most of what it just earned.
The window is also your safest healing opportunity, which matters more on Calamity fights where attempt count is limited. Nothing is coming at you while the boss is down, so a player who is low can top up without giving away damage they would otherwise have dealt, and a player who is healthy can commit to a long animation they would never risk against an active boss. Deciding which of those two you need, in the first half-second of the window, is most of what separates a comfortable clear from a scrappy one.
Why do parries and dodge counters out-damage raw attacking?
The reactive inputs that break Vibration Strength also deal damage scaled to the boss's own HP rather than purely to your attack stat, which is why they hit hard against exactly the targets where your normal damage is being suppressed. That damage is applied to the Vibration bar first while it is active, so a successful parry is doing double duty.
This is the part players most often miss, and it explains a result that otherwise looks contradictory: an under-levelled account executing parries cleanly can beat a boss faster than a better-built account that never reacts. Percent-based damage does not care much about your gear, so it acts as a floor under low-investment accounts and a bonus on top of high-investment ones. It also means the advice "come back when you're stronger" is often wrong. If the fight is failing because the bar never breaks, another ten Resonator levels change very little, whereas a swap to a Resonator whose Skill parries for you changes the fight immediately.
There is a real limit to this. Percent damage carries you through the shield phase, but the boss's remaining health still has to come off, and that part does scale off your build. So the honest split is that execution determines whether you get windows at all, and investment determines how much of the health bar each window removes. Neither substitutes for the other, and diagnosing which one you are short on is the first thing to do after a failed attempt.
How do you raise damage output against a boss specifically?
Boss damage is won by aligning your strongest effects with the Immobilized window and by fixing the stats that are actually limiting you, in that order. Rotation alignment is free and immediate; stat repair costs Waveplates and days, so it should follow rather than lead.
On the rotation side, the sequence that works for most teams is to open with the sub-DPS to build Concerto, swap in on an Intro Skill so the swap itself pressures the bar, hold Resonance Liberation until the bar is close to empty, and then commit your full damage rotation into the Immobilized state. Bosses with long telegraphed attacks give you additional parry openings between cycles, so the fight settles into a loop rather than a scramble. Against Calamity bosses with limited weekly attempts this loop is worth rehearsing on a field boss first, where a failed attempt costs nothing.
On the build side, the highest-leverage fix is usually your Echo set rather than character level, because Echo main stats and set effects control both your damage type and your ability to sustain a rotation. Element matters more than it looks: bosses are typed, and while Wuthering Waves does not punish off-element damage the way some games do, matching your damage type to what your Echo set amplifies is the difference between a set doing its job and doing half of it. The Wuthering Waves Echo guide to Cost, main stats and Tuning covers which main stats to chase and how Tuning actually resolves, which is the part that determines whether a Cost 4 Echo is a real upgrade or a slot you are wasting.
What do bosses drop, and what does it cost to claim?
Fighting a boss is free; claiming its rewards costs Waveplate ×60 for both Overlord-class field bosses and Calamity-class Weekly Challenges. Weekly Challenge rewards can only be claimed three times per week, while field bosses can be claimed as often as your Waveplate balance allows.
That split shapes how a week is planned. Waveplate regenerates on a timer and caps, so the binding constraint on field-boss farming is how often you spend rather than how well you fight, and letting the meter sit full is the most common quiet waste in the game. Calamity bosses are the reverse: the three weekly claims are the scarce thing, and they should go to whatever your account is genuinely blocked on rather than to whichever boss is closest. Weapon Molds and Forte materials from those fights unlock ceiling that no amount of field farming replaces.
Echo drops sit on top of both. Bosses drop the Overlord and Calamity Echoes that anchor most builds, and the game gives you a limited number of enhanced drop rate chances each week that meaningfully improve your odds of a Cost 4 Echo. Kuro Games has never published exact drop percentages, so treat any specific figure you see quoted as a community estimate rather than a fact; what is documented is that the enhanced chances exist, that they refresh weekly, and that spending them on the Cost 4 Echoes your team actually needs is strictly better than spending them on whatever you happened to be farming. The Wuthering Waves Echo farming guide to efficient grinding goes into how to sequence that against your Data Bank level, which governs what can drop in the first place.
Which bosses should you actually prioritise?
Prioritise by the material you are blocked on, not by difficulty or proximity. Because each Overlord boss is tied to one Resonator ascension item, the correct farming target is fully determined by which Resonator you are pushing next, and farming anything else is storing materials for a decision you have not made.
The practical order for most accounts is to clear the ascension wall on your main damage dealer first, since that unlocks both higher level caps and the Forte upgrades that raise every multiplier in the kit at once. Once that character is no longer capped, the bottleneck usually shifts to Echoes rather than ascension materials, and the boss you visit changes accordingly to whichever one drops the Cost 4 Echo your set is missing. Weekly Calamity claims should be reserved for the Weapon Mold and Forte materials that field bosses cannot provide.
Two habits are worth building. Fight the boss whose pattern you have not learned while your account is comfortable, rather than meeting it for the first time when you urgently need its drop. And check what a boss drops before committing Waveplate, because the roster grows with each version and the encounter nearest your teleport point is rarely the one you need. That discipline is what turns boss farming from a chore into the fastest route through a progression wall, which is where this started: the fights are winnable at lower investment than most players assume, provided you are spending the windows rather than waiting for the numbers to save you.
Where does boss practice pay off outside the open world?
Every habit that breaks a Vibration Strength bar transfers directly to the game's timed endgame modes, where the clock is the real opponent. Tower of Adversity and the rotating challenge modes score you on clearing before a timer expires, and both are populated with the same Overlord-class enemies you have been practising against.
The transfer is specific rather than vague. In a timed mode you cannot afford to wait out a shield, so the parry and dodge-counter reflexes that shorten a field fight by a minute are worth several floors of scoring. Rotation discipline transfers too, because holding Liberation for the break is the same decision whether you are farming a material or chasing a clear. Players who learn bosses purely by out-gearing them tend to hit a wall the moment a timer is attached, and they usually diagnose it as a build problem when it is an execution one.
This is also where the difference between an account that looks strong and one that performs shows up. A roster full of levelled Resonators clears the open world regardless of how it is piloted; timed content asks whether you can produce damage inside a window you created on purpose. That skill is the one thing on your account that does not come from Waveplate.
Where to Find Wuthering Waves Hourly Services and Boosting
On GameMarket.gg you can book an hourly Wuthering Waves session with a verified player.
If you would rather have the grind handled while you focus on the fights themselves, browse the available Wuthering Waves boosting services on GameMarket.gg, where exploration boosting listings currently make up the bulk of what sellers offer. If timing your swap into a boss's damage window is still the sticking point, GameMarket.gg's character swap timing and rotation guide breaks down how Outro and Intro Skills line up against exactly this kind of Vibration Strength window.
GameMarket.gg is a trusted digital marketplace for everything gaming-related. We serve the gaming community by providing secure access that enhances every gaming journey.





![Wuthering Waves Accounts Starter SEA|UL 20|Rank 2|4 Char Limited [Phrolova+Sign],Jiyan,Hiyuki,Lynae|Mc Male|TakeMail WW422B](https://img.gamemarket.gg/products/emzfiswa/wuthering-waves-accounts-sea-ul-20-rank-2-4-char-limited-phrolova-sign-ji-grh-thumbnail.webp "SEA|UL 20|Rank 2|4 Char Limited [Phrolova+Sign],Jiyan,Hiyuki,Lynae|Mc Male|TakeMail WW422B")

![Wuthering Waves Accounts Starter SEA|UL 48|Rank 5|3 Char Limited [Hsin RC6]+Sign,Chisa,Iuno|Mc Male|Check SS WW517B](https://img.gamemarket.gg/products/lb6vky3v/wuthering-waves-accounts-sea-ul-48-rank-5-3-char-limited-hsin-rc6-sign-ch-c4i-thumbnail.webp "SEA|UL 48|Rank 5|3 Char Limited [Hsin RC6]+Sign,Chisa,Iuno|Mc Male|Check SS WW517B")
![Wuthering Waves Accounts Mid-Game SEA|UL 57|Rank 6|3 Char Limited [Hsin RC6]+Sign,Chisa Rc1,Iuno|Mc Female|Check SS WW518B](https://img.gamemarket.gg/products/u8deackn/wuthering-waves-accounts-sea-ul-57-rank-6-3-char-limited-hsin-rc6-sign-ch-flm-thumbnail.webp "SEA|UL 57|Rank 6|3 Char Limited [Hsin RC6]+Sign,Chisa Rc1,Iuno|Mc Female|Check SS WW518B")