
News
Reverse: 1999
Reverse: 1999 Sotheby Build — Best Psychubes, Resonate & Team Comps
Sotheby stands as one of Reverse: 1999's most enduring premium supports — a 6-star Plant Afflatus healer and Poison...
Honor of Kings
Honor of Kings Jungle Pathing & Objective Control Guide
In Honor of Kings, the jungler holds the steering wheel. No other role influences the early game as heavily, sets the...
Zenless Zone Zero
Ultimate Zenless Zone Zero Polychrome Guide for F2P Players
Master your pulls with our ultimate Zenless Zone Zero Polychrome Guide for Version 3.0! Discover how F2P players can...

GameMarket
How to Turn Your Gaming Skills Into Real Income on GameMarket.gg
You don’t need to own rare accounts or resell in-game items to make money.If you’re good at playing — that’s already an...
Zenless Zone Zero
Best Teams for ZZZ Shiyu Defense 3.0: Crush Miasmic Bosses
Dominate the Zenless Zone Zero 3.0 Shiyu Defense reset! Discover comprehensive enemy breakdowns for Critical Nodes 4...
Mobile Legends: Bang Bang
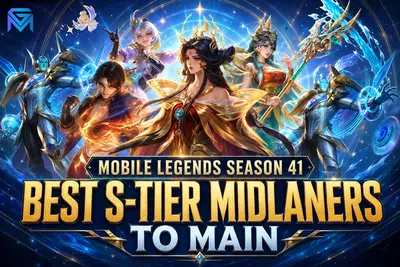
Mobile Legends Season 41 Best S-Tier Midlaners to Main
Dominate the battlefield with the top 5 strongest midlaners in Mobile Legends: Bang Bang Season 41! Master the Patch...
Genshin Impact
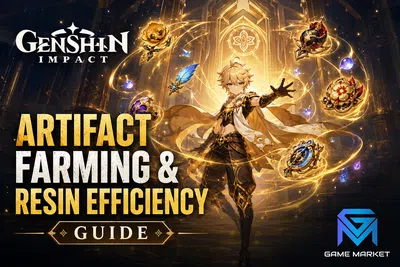
Genshin Impact Artifact Farming & Resin Efficiency Guide: Stop Wasting Your Resin
Every Genshin Impact player eventually learns the hard truth: characters do not make your account strong — artifacts...
Clash of Clans
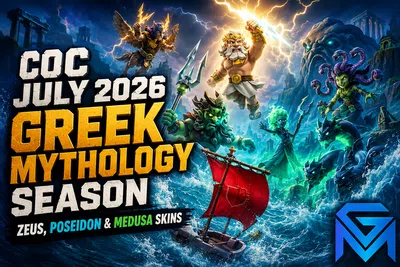
CoC July 2026 Greek Mythology Season — Zeus, Poseidon & Medusa Skins
Clash of Clans July 2026 Season launches July 1 with an Ancient Greek mythology theme — Supercell officially teased the...
Genshin Impact
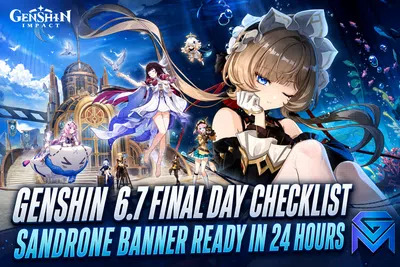
Genshin 6.7 Final Day Checklist — Sandrone Banner Ready in 24 Hours
Genshin Impact Version 6.7 launches in just 24 hours, going live July 1, 2026 — and the next day is the most critical...
Wuthering Waves
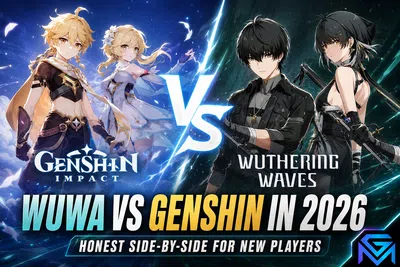
WuWa vs Genshin in 2026 — Honest Side-by-Side for New Players
Wuthering Waves and Genshin Impact dominate the open-world gacha conversation in 2026 — and new players keep asking the...
Blood Strike
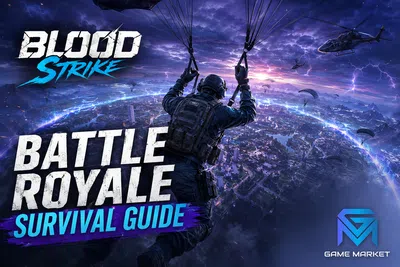
Blood Strike Battle Royale Survival Guide: Landing Spots, Rotations & Zone Control
Winning a Blood Strike battle royale match is not just about aim — plenty of cracked shooters die in the first two...
Fortnite
Mongraal Icon Cup Guide: How to Unlock Free Outfits
The British mechanical prodigy officially enters the Hall of Fame! Discover the hidden lore easter eggs, dynamic...
Brawl Stars
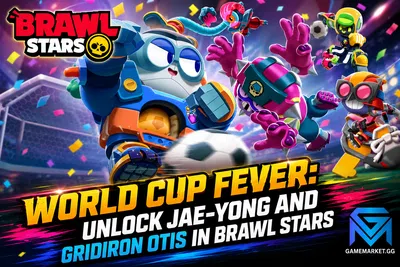
World Cup Fever: Unlock Jae-yong and Gridiron Otis in Brawl Stars
Starr Park transforms into a hypercharged football battleground! Experience the historic Brawl Stars x adidas crossover...
EFootball
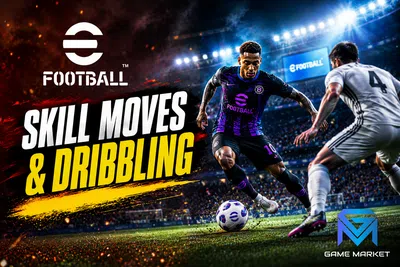
EFootball Skill Moves & Dribbling Tutorial: Beat Any Defender
Dribbling is the heartbeat of attacking play in eFootball . The ability to glide past a defender, create half a yard of...
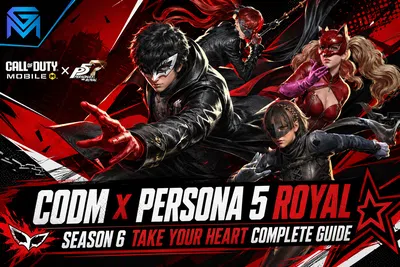
Call of Duty: Mobile
CODM x Persona 5 Royal — Season 6 Take Your Heart Complete Guide
Activision officially confirmed Call of Duty: Mobile Season 6 "Take Your Heart" launches on July 1, 2026 at 5 PM PT —...
Showing 151 of 165 from 923 Results