
Where Winds Meet News

Where Winds Meet
Where Winds Meet Update 1.4 Introduces Hexi Region and New Bosses
🌏 Where Winds Meet Update 1.4 Expands the Jianghu With Hexi The Where Winds Meet Update 1.4: Home Afar arrives as one...
Where Winds Meet
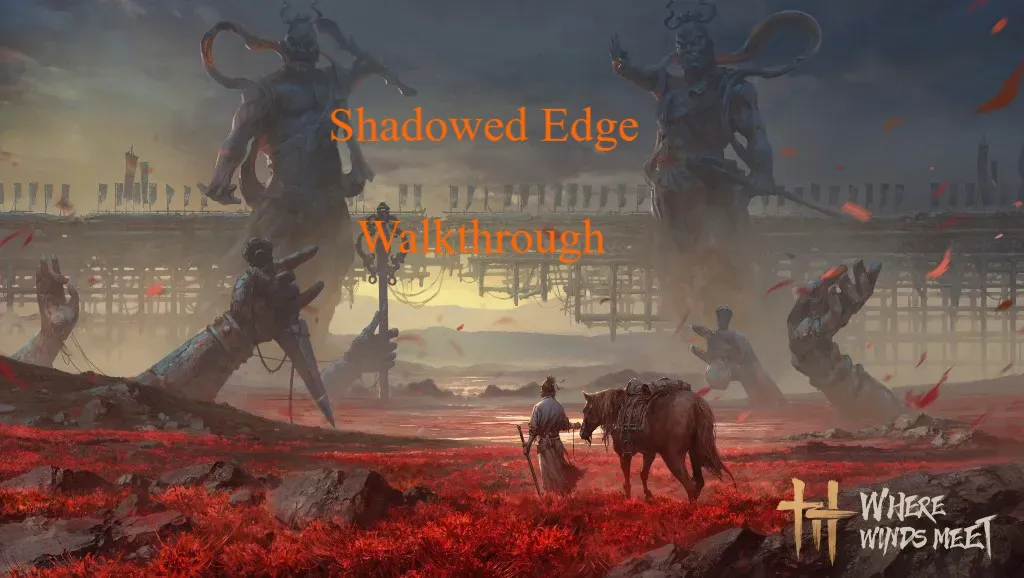
Where Winds Meet Shadowed Edge Full Walkthrough
🗡 Where Winds Meet Guide: Shadowed Edge (Veiled Blades) Walkthrough This Shadowed Edge Guide covers Jianghu Legacy 04...
Where Winds Meet
Where Winds Meet Tiny Adventure Full Strategy Guide
🐭 Where Winds Meet Tiny Guide: Full Stealth and Contortion Breakdown This Tiny Guide covers the entire Tiny Adventure...

Where Winds Meet
Where Winds Meet Boss Guide: Drunk Martial Artist Mechanics Explained
📘 Where Winds Meet Guide: Drunk Martial Artist, Explained Properly This Guide is written for players who want to farm...
Where Winds Meet
Where Winds Meet Guide to Beating Coffin Master Consistently
📘 Where Winds Meet Guide: How to Beat Coffin Master Reliably This Guide focuses on defeating Coffin Master, one of...

Where Winds Meet
Where Winds Meet 1.3 Update Explained: Guild League, 3v3, Events
🔥 Where Winds Meet’s 1.3 Update Turns the Spring Festival Into a Schedule Where Winds Meet 1.3 arrives under the banner...
Where Winds Meet
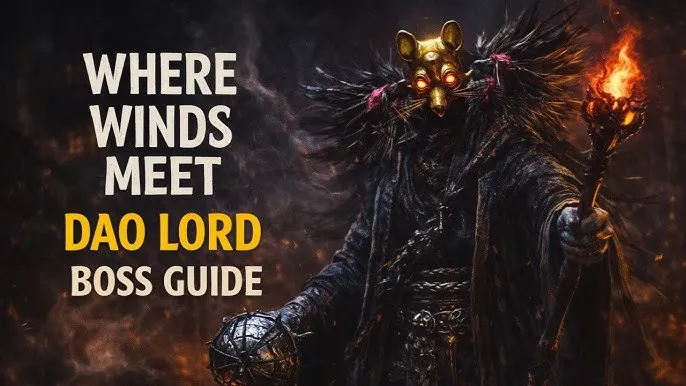
Where Winds Meet: Dao Lord Location and Fight Breakdown
🗿 Dao Lord Is a Multi-Target Boss That Punishes Tunnel Vision Dao Lord is a high-difficulty Campaign Boss in Where...
Where Winds Meet
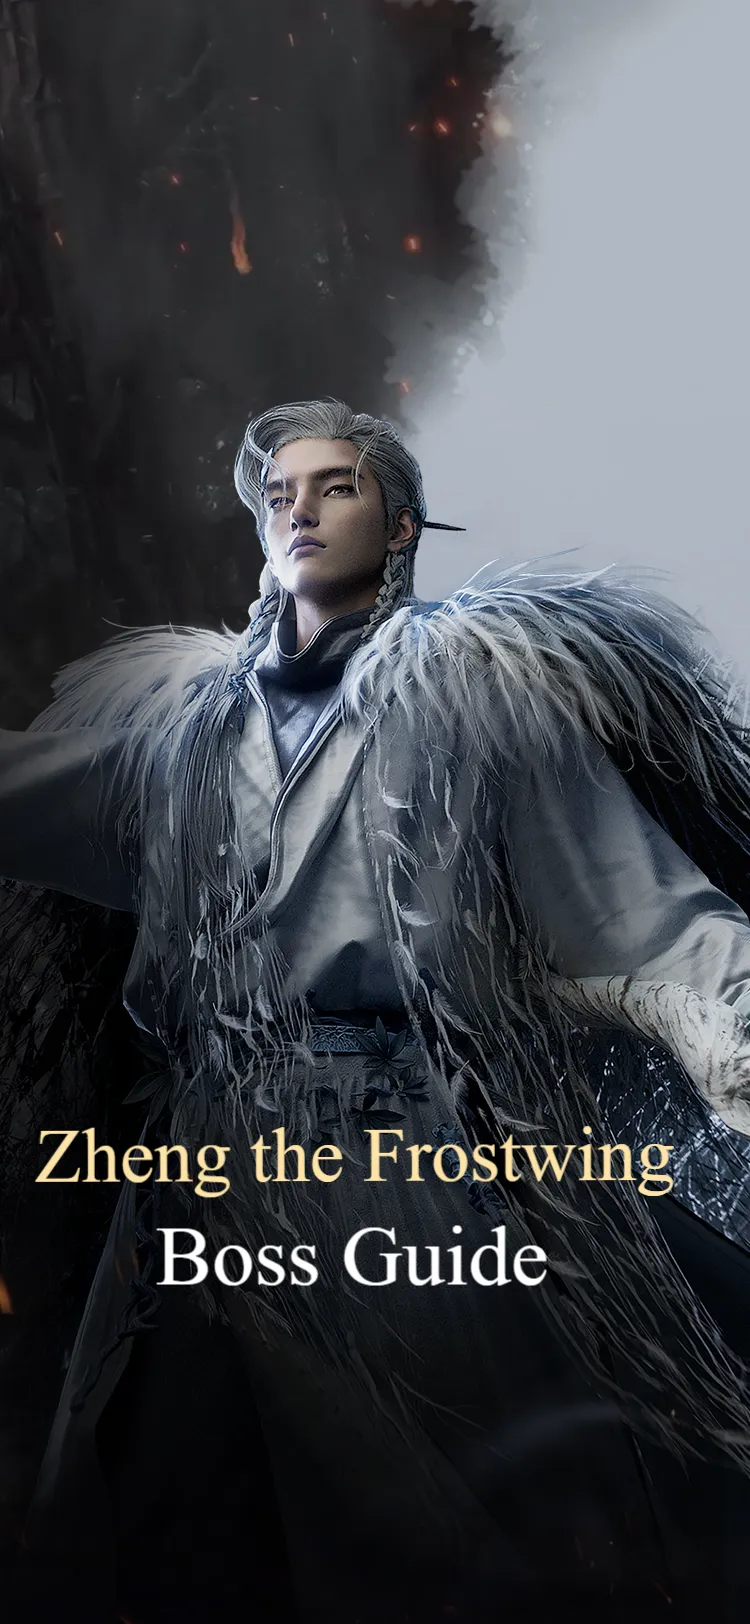
Where Winds Meet Zheng the Frostwing Campaign Boss Complete Guide
❄️ Zheng the Frostwing Is a High-Skill Campaign Boss Built Around Parry Mastery Zheng the Frostwing is one of Where...
Where Winds Meet
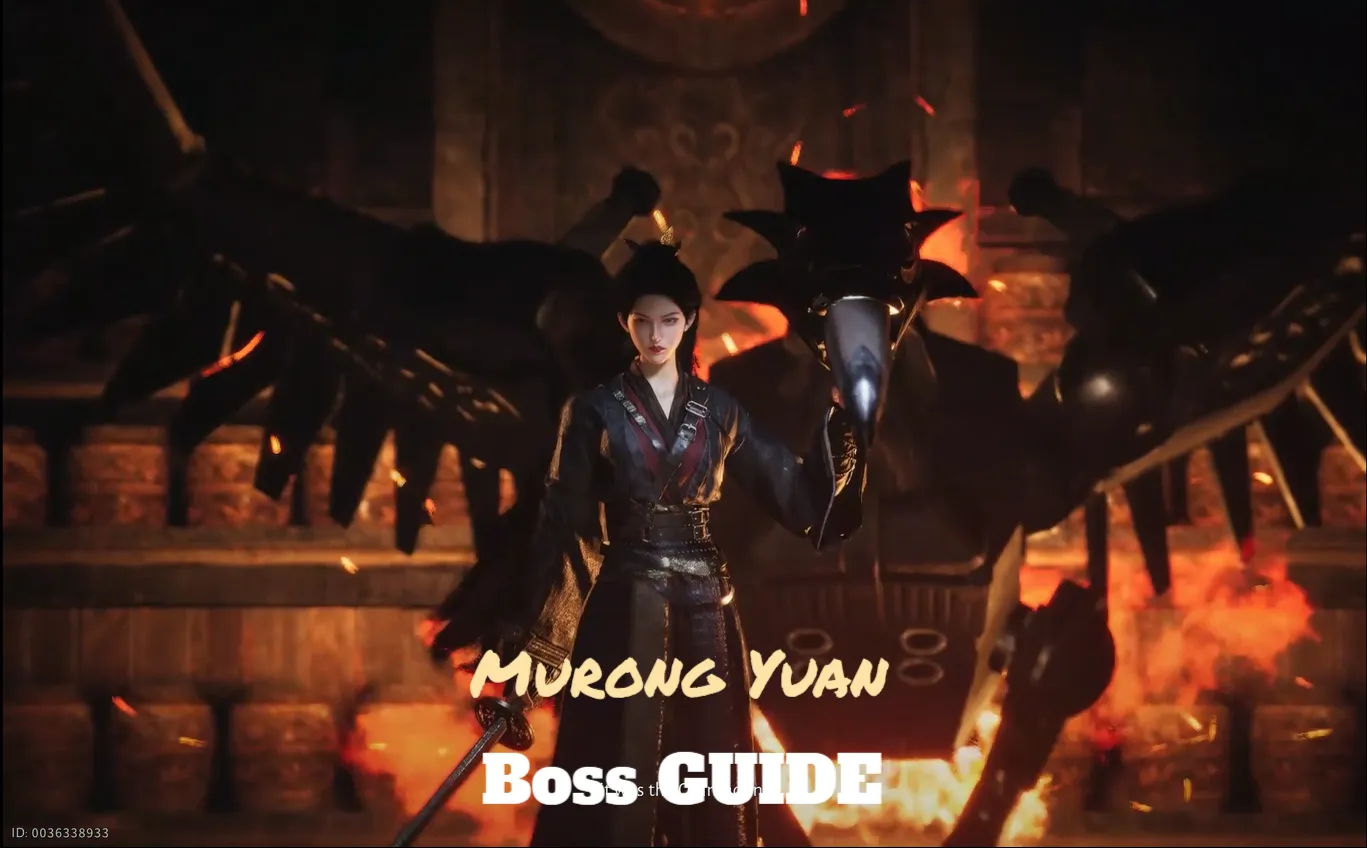
How to Beat Murong Yuan in Where Winds Meet
⚔️ Murong Yuan Is a Precision Test That Punishes Impatience Murong Yuan is one of Where Winds Meet’s most mechanically...
Where Winds Meet
Gambit Beneath the Shimmer Walkthrough, Puzzles, and Bosses
🧭 Gambit Beneath the Shimmer Is Where Winds Meet’s Most Ambitious Legacy Quest Gambit Beneath the Shimmer is a Jianghu...
Where Winds Meet
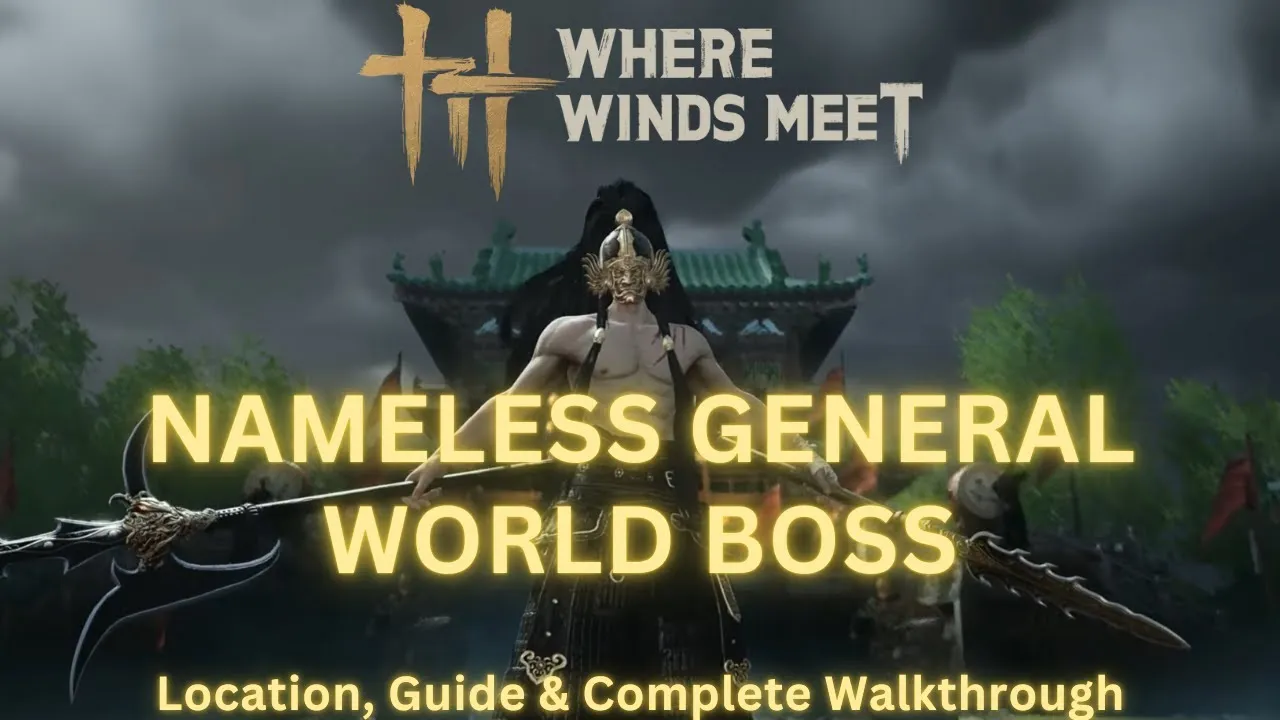
Nameless General Explained: World Boss Mechanics and How to Win
⚔️ Nameless General Is One of Where Winds Meet’s Toughest World Bosses The Nameless General is a high-difficulty World...
Where Winds Meet
Where Winds Meet Version 1.2 Brings Fresh Jianghu Adventures
🌀 Where Winds Meet Version 1.2 “Live to Game” Live With Expanded Jianghu Content NetEase and Everstone Studio have...

Where Winds Meet
Beat Taiping Mausoleum Fast: Chapter-by-Chapter Targets and Tips
🏛️ Taiping Mausoleum Is a Real Endgame Checkpoint — And It Has 10 Chapters If you’ve been cruising through Where Winds...
Where Winds Meet
How Endgame Works in Where Winds Meet: Modes, Gear, Progression
🌬️ Where Winds Meet Endgame Is Bigger Than You Think — Here’s What Opens After the Story In Where Winds Meet, endgame...
Where Winds Meet
Roaring Sands’ Ultimate Test: Strategy Guide for the River Master Campaign Boss
🌊 Who (and Where) Is the River Master? The River Master is one of Where Winds Meet’s toughest Campaign Bosses, rated at...
Showing 16 of 30 from 35 Results