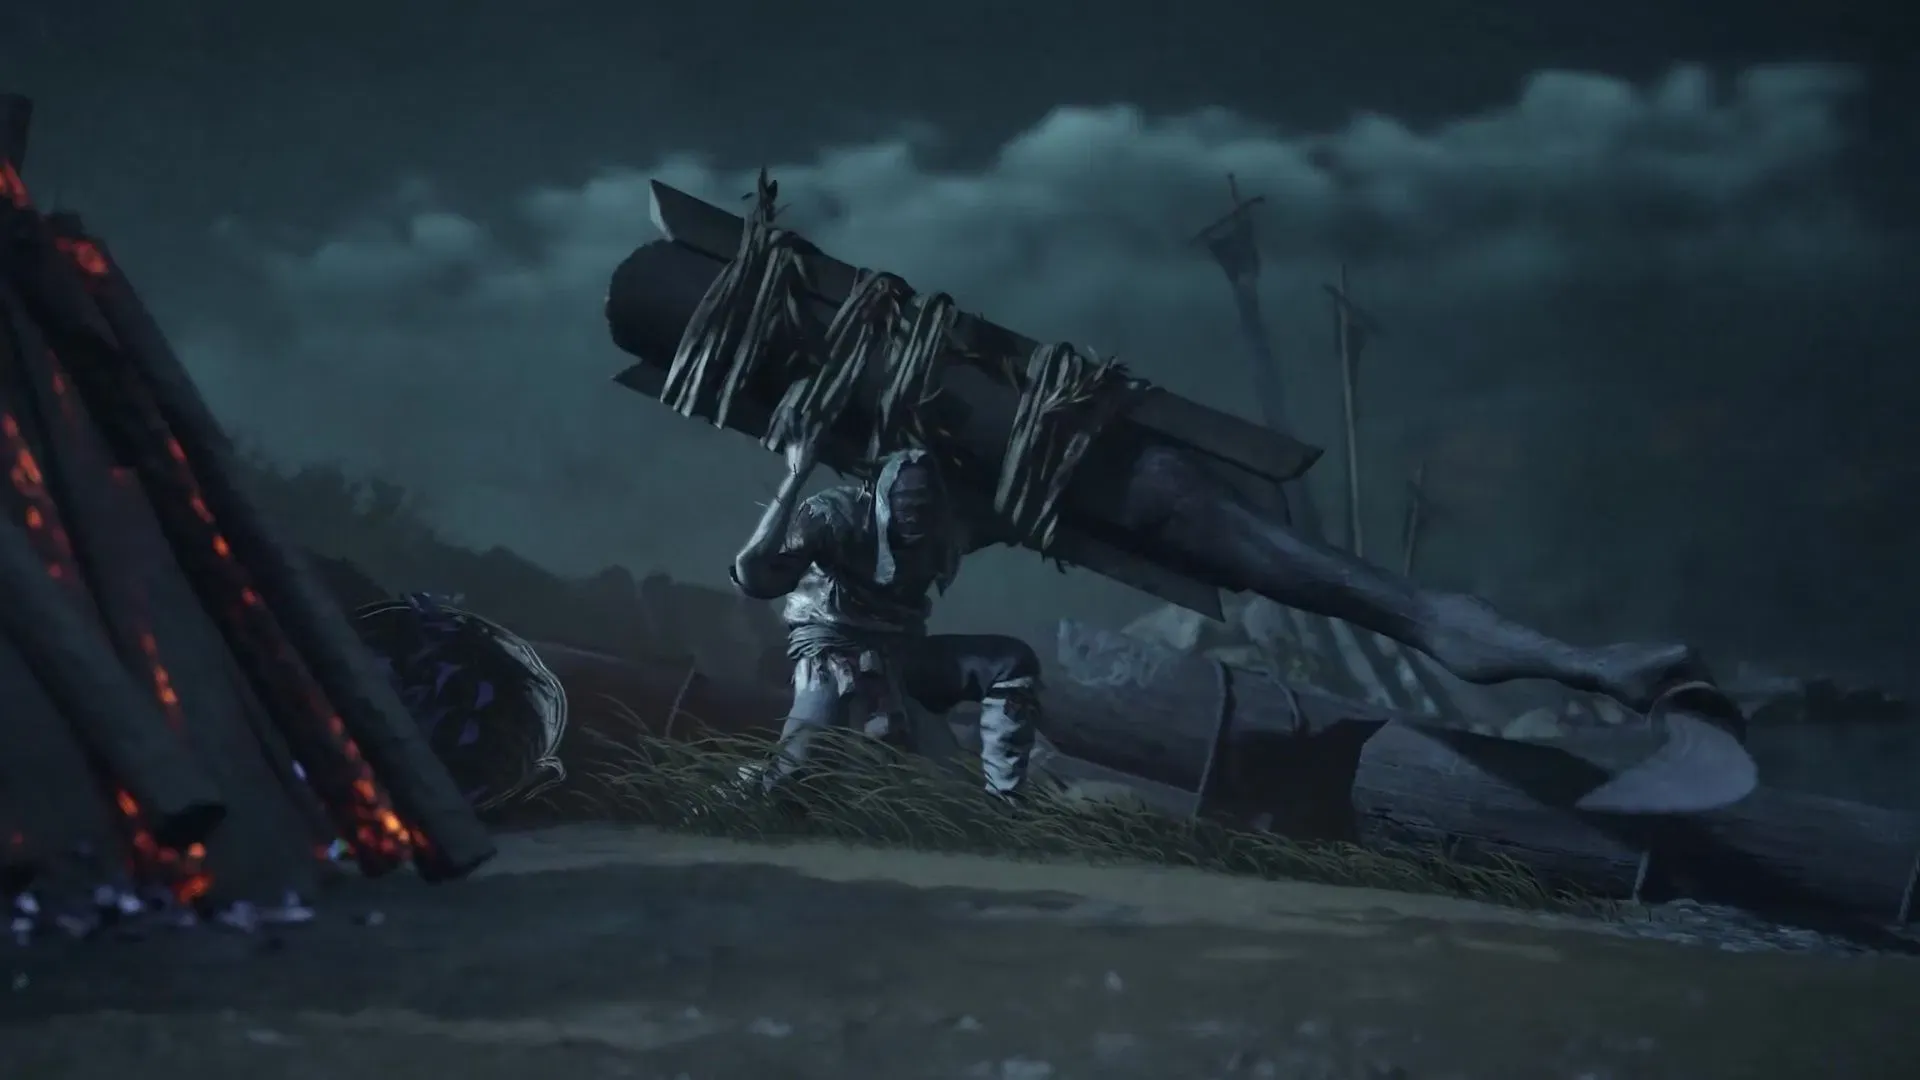
Where Winds Meet Boss Guide: Drunk Martial Artist Mechanics Explained
By GameMarket Team 11 February 2026, 09:04 WIB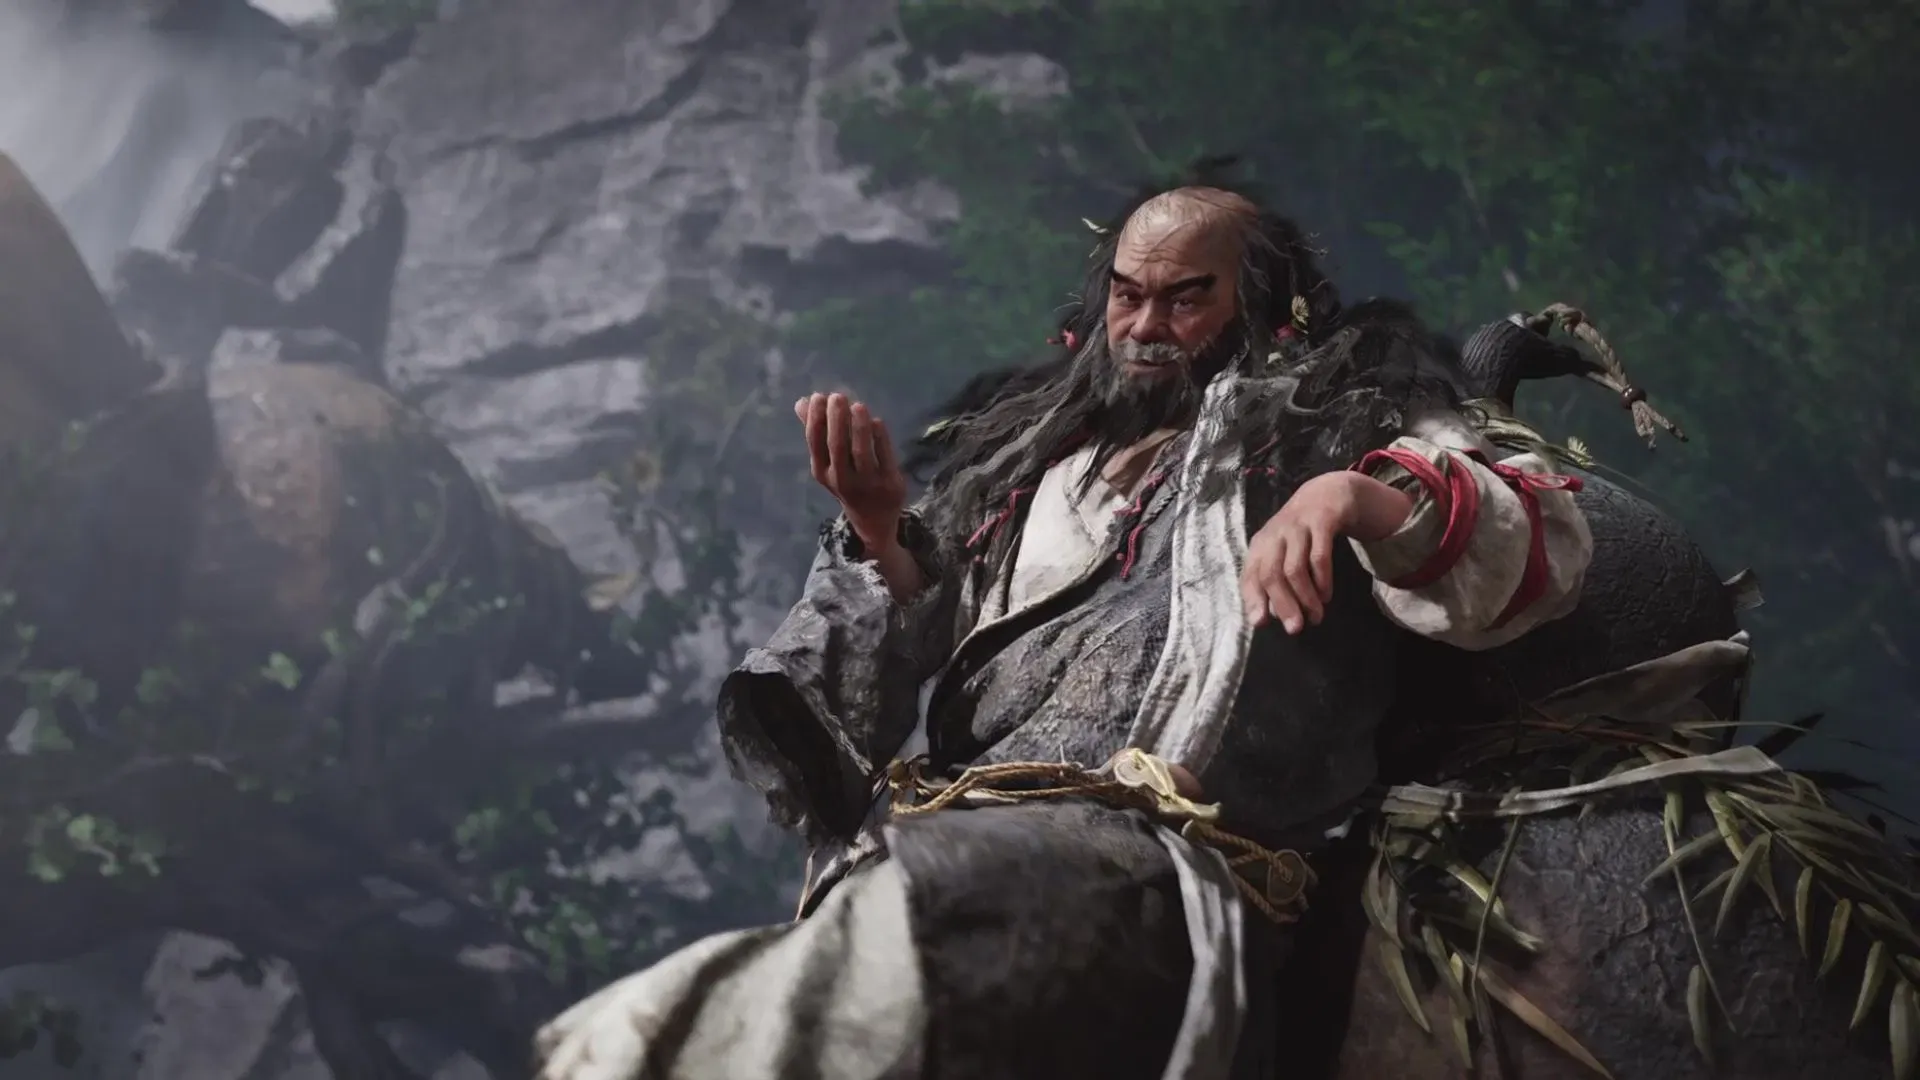
📘 Where Winds Meet Guide: Drunk Martial Artist, Explained Properly
This Guide is written for players who want to farm the Drunk Martial Artist, not just survive him once. While his animations look sloppy and unpredictable, the fight is extremely consistent once you understand how his attack chains, downtime windows, and environmental hazards are meant to interact.
The real test here isn’t damage or reaction speed — it’s situational awareness under visual disruption. Intoxication, fire spread, and delayed follow-ups are all designed to break player rhythm, and learning to stay calm inside that chaos is the key to mastery.
🧭 Location, Arena Shape, and Why It Matters
The Drunk Martial Artist is located on a small islet in the Grand Canal area of Kaifeng, northwest of the Southeast Camp boundary stone.
This arena has three important traits:
-
Limited space once fire spreads
-
No elevation escape — you must manage ground hazards
-
Alcohol pools persist, creating delayed danger
Early positioning decides whether Phase 2 is manageable or miserable. Fighting near the center early gives you far more room later when fire begins to chain across spilled alcohol.
⚔️ Core Fight Logic (What the Game Is Testing)
Before breaking down moves, understand the design intent:
-
Phase 1 teaches timing and restraint
-
Phase 2 punishes poor positioning memory
-
The boss wants you to:
-
wait
-
read
-
respond
-
disengage
-
If you treat this like a DPS race, the arena will eventually kill you.
🥋 Phase One: Why Players Get Hit Here
Phase 1 is forgiving, but it sets traps for later mistakes.
The Hidden Rule of Phase One
If you rush his recovery too early, you train yourself into habits that Phase 2 will punish.
Phase One Attacks — What Actually Matters
Gourd Toss Chain
The explosion at the end is harmless if you’re patient. Most damage taken here comes from stepping in before the blast resolves.
Gourd Slam / Reeling Double Slam
The second slam exists purely to catch greedy players. Always assume there is a follow-up unless you clearly see him pause.
Whirling Hangover
This attack teaches you two things:
-
Spins are bait — ignore them
-
The real punish is the red-glint slam at the end
If you parry that slam cleanly, you get one of the safest damage windows in the fight.
Drunken Rush
This is a spacing check. If you’re too far, you’ll panic dodge. If you’re too close, you’ll eat the follow-up. Stay mid-range.
🧠 Intoxication: Why It Kills People Later
Intoxication does not kill you directly.
It kills you by:
-
distorting depth perception
-
delaying reaction confidence
-
making players over-dodge
The correct response to intoxication is slower play, not panic cleansing or aggression.
If you’re intoxicated:
-
disengage
-
reset camera
-
wait for a clean opening
🔥 Phase Two: The Arena Is the Boss Now
Phase 2 is where most wipes happen, not because of damage, but because players lose safe ground.
Reveler’s Firestorm — The Turning Point
This move decides the rest of the fight.
If it ignites alcohol:
-
fire spreads wider
-
future attacks become lethal
-
movement options shrink rapidly
Rule: Never fight near spilled alcohol once Firestorm has occurred.
Phase Two Attacks — Real Threat Assessment
Blazing Rain
Unparryable, unavoidable area denial. Treat it as a repositioning command, not an attack.
Drunken Dragon’s Breath
Back-dodging is wrong here. Side-step or move behind him.
Drunkard’s Rampage
This is a patience check. Do not interrupt early. The final red-glint slam is the reward.
Riotous Revel Flurry
The best stagger opportunity in Phase 2 — but only if you save focus for the last hit.
Bottoms-Up (Grab)
This exists to punish tunnel vision. If you see the red cue, abandon offense immediately.
🧠 Advanced Survival Rules (This Is the Difference)
If you want consistent clears:
-
Never fight in burning zones
-
Never punish until you see a clear recovery
-
Never chase damage through intoxication
-
Always reset after fire spreads
Winning here is about space control, not execution speed.
🎁 Rewards and Why This Boss Is Worth Mastering
Drunk Martial Artist drops:
-
Inner Way Note Custom Chests
-
Echo Jade
-
Medicinal Tales
-
Large EXP and Coin rewards
Because the fight is learnable and repeatable, this boss becomes a reliable progression anchor once mastered — especially for Inner Way tuning and exploration progression.
🗺️ Blueprint: How to Turn This Into a Farm Fight
Learning phase
-
Ignore speed
-
Focus on parry timing and spacing
-
Accept Phase 2 deaths
Stabilization phase
-
Reduce fire spread through better positioning
-
Identify which red-glint attacks you always punish
Farm phase
-
Minimal dodging
-
Controlled parries
-
Clean disengages
At this point, the fight becomes predictable.
Players looking to reduce learning time or stabilize clears faster can prepare optimized Accounts, refine timing and build choices with expert Hourly Services, or speed progression using trusted Boosting — especially useful while learning Phase 2 spacing.
The Drunk Martial Artist is chaos by design — but once you control the arena, the fight loses all its teeth.
GameMarket.gg is a trusted digital marketplace for everything gaming-related. We serve the gaming community by providing secure access that enhances every gaming journey.