Best Lacrimosa Build in Neverness to Everness — Full Breakdown
By GameMarket Team 4 June 2026, 11:35 WIB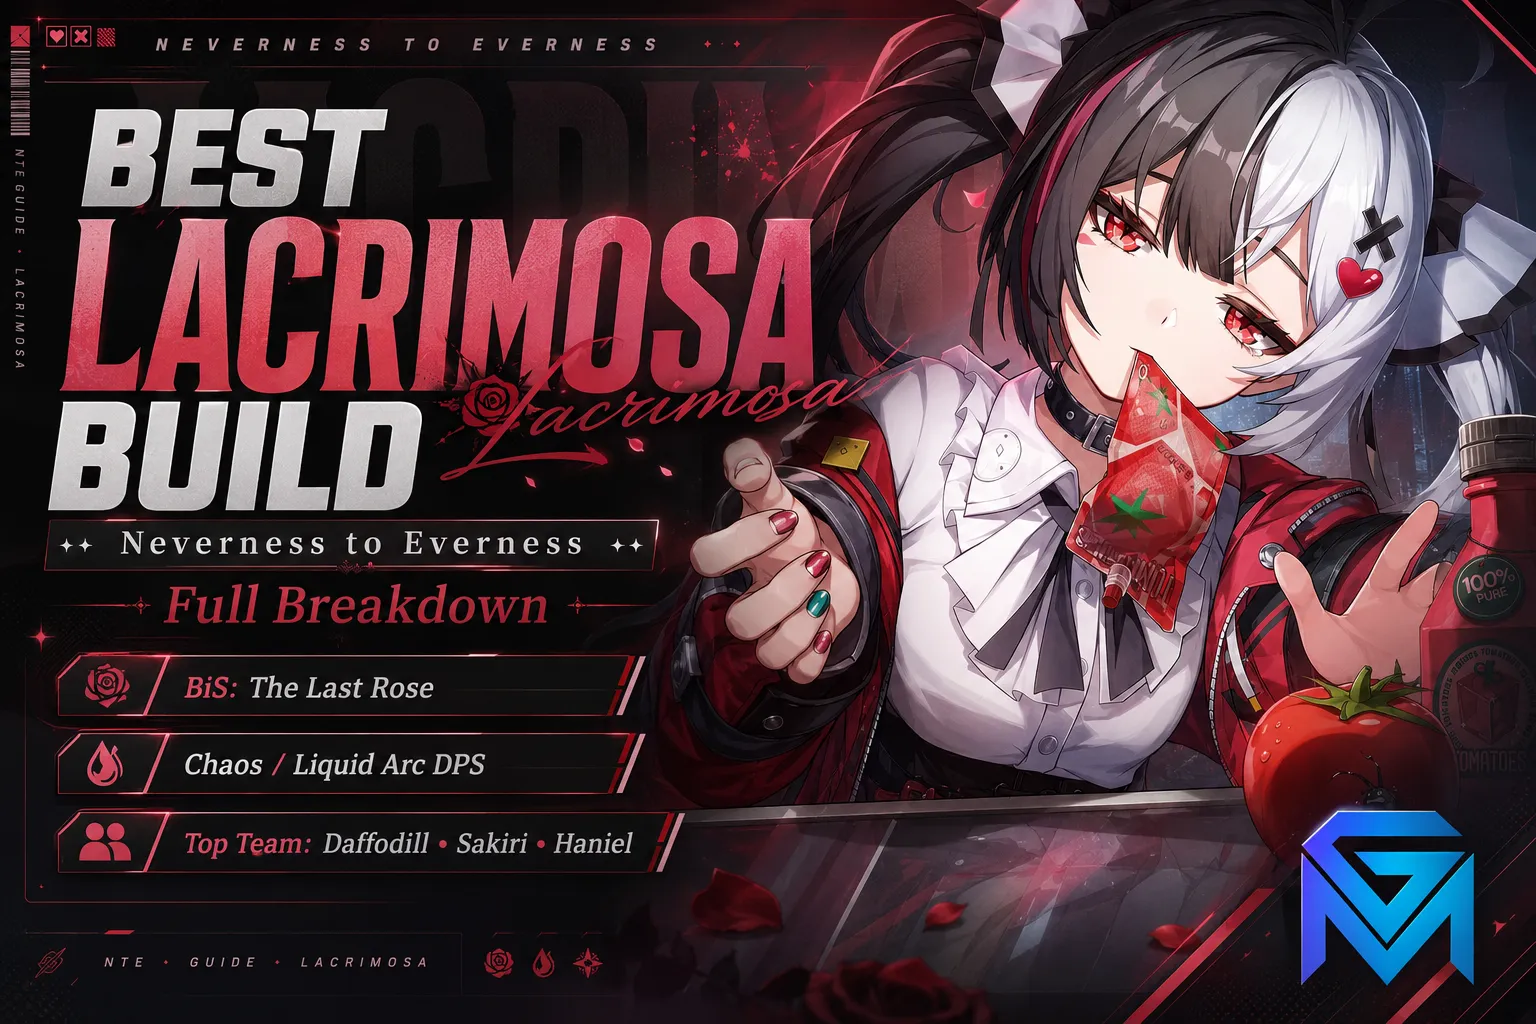
Lacrimosa is the headline character of Neverness to Everness Version 1.1 — and her dual-stance kit, Nightmare DoT stacking, copycat mechanic, and Discord burst potential make her one of the most mechanically interesting main DPS units in the game. Her banner is live until June 24, 2026. Here's the complete build: best weapons, gear priorities, team comps, and rotation tips to maximize her ceiling from day one.
✨ Who Is Lacrimosa?
Lacrimosa is the first limited S-Class Chaos character introduced in NTE, available on the Fading Reverie banner from June 3 to June 24, 2026. She is a Chaos / Liquid Arc main DPS designed around three core mechanics: dual-stance combat switching, Nightmare DoT stacking with explosive burst detonation, and a unique copycat ability that lets her use enemy skills mid-combat.
Her role is high-mobility sustained main DPS with reaction enabling. She excels in any team that breaks enemies efficiently — once enemies are broken, Lacrimosa's Discord reaction procs unlock her highest damage windows. She is particularly strong in endgame boss content where break management and reaction setups matter, and she can carry story content effortlessly as a generalist damage dealer.
⚔️ Understanding Lacrimosa's Kit
Lacrimosa's combat identity is built around four interlocking mechanics. Mastering the timing between them is the difference between average damage and the build's full ceiling.
Dual Stance — Frying Pan and Red Jelly: Lacrimosa switches between two combat stances:
- Frying Pan (Tomato Metal stance) — Melee form. Higher single-target damage, especially on the 5th hit detonation
- Red Jelly (Tomato Percussion stance) — Ranged form. Better mobility and safety, useful for kiting boss mechanics
Stance switching is built into her combo rotation rather than being a separate cooldown. Use Frying Pan for primary DPS windows and switch to Red Jelly for repositioning, ranged poke, or avoiding boss telegraphs.
Nightmare DoT Stacking: Lacrimosa's basic attacks stack Nightmare on enemies — up to 10 layers. The Nightmare debuff deals Chaos DoT damage over time, but the real power comes from detonation.
5th Hit Detonation: Lacrimosa's 5th basic attack hit detonates the stacked Nightmare layers for explosive burst damage. 5th hit in Frying Pan (melee) deals significantly higher damage than 5th hit in Red Jelly (ranged) — when possible, prioritize the melee 5th hit for max output. Critically: you can use the 5th hit immediately after using a normal attack after using your skill, which enables aggressive rotation chaining.
Copycat Ability — Steal Enemy Skills: By pressing and holding the Basic Attack button while aiming at an enemy, Lacrimosa can copy and use that enemy's skills. This mechanic transforms encounters where enemies have powerful telegraphed attacks — instead of just dodging them, you can steal and redirect them. The mechanic also opens up creative combat puzzles in endgame content where specific enemy skills become essential tools for clearing a fight.
🌹 Best Weapon — The Last Rose (Signature)
The Last Rose is Lacrimosa's signature weapon and her best-in-slot option by a significant margin. Available on the Nocturne Special weapon banner running alongside her character banner from June 3 to June 24, 2026.
Why it's BiS:
- Massive CRIT DMG bonus as long as Lacrimosa is dealing DOT damage to an enemy — which is essentially always while playing her kit correctly
- Passive: Extends the broken state of enemies they get hit — directly supports Discord reaction uptime, which is where Lacrimosa's highest damage windows live
- Stat scaling aligns with her CRIT-focused build identity
If you can't pull The Last Rose, look for A-Rank weapons with CRIT-focused passives or DoT amplification effects. Lacrimosa still functions without her signature — she just doesn't reach her ceiling. The Last Rose is the upgrade tier that separates "good" Lacrimosa from "exceptional" Lacrimosa.
📊 Stat and Awakening Priority
Build Lacrimosa around these stat targets:
- Crit Rate (50% minimum, 70%+ optimal) — Her detonation hits and reaction procs benefit enormously from consistent crits
- Crit DMG (180%+ target) — The Last Rose scales CRIT DMG further during DoT uptime; build for the bonus to actually apply
- Chaos Damage Bonus — Direct damage multiplier for her primary element
- Attack% on Disks — Standard offensive scaling for any main DPS
- Energy Recharge — Helpful for skill rotation tightness, especially in extended boss fights
For Awakenings, prioritize damage-amplifying nodes early and quality-of-life nodes (like stance-switch animation reduction) at higher levels. Specific Awakening trees become more impactful as your gear ceiling rises — first 4–6 levels are the highest ROI investment window.
👥 Best Team Compositions
Lacrimosa rewards specific support setups that enable her break and reaction mechanics. Two strong team templates have emerged early in the community theorycrafting:
Discord Burst Team (Optimal Endgame):
- Lacrimosa — Main DPS, on-field for stacking Nightmare and triggering Discord reactions
- Daffodill — Fast Breaker / Support. Breaks enemies quickly to enable Discord reaction windows for Lacrimosa
- Sakiri — DoT buffer who amplifies Lacrimosa's Nightmare damage output
- Haniel — Off-field buff aura provider for sustained team-wide damage
This composition is the current recommended setup for endgame boss content. Daffodill's rapid break uptime ensures Lacrimosa's Discord procs happen consistently, while Sakiri amplifies the DoT layer and Haniel provides background buffing. Fast character swaps keep all reactions rolling.
Scorch + Discord Hybrid (Alternative):
- Lacrimosa — Main DPS
- Baicang — Unique synergy partner. Swap to Baicang during Lacrimosa's bat form (a specific kit trigger) for extra attacks, enemy silence, super-jump mobility, and a team-wide 20% ATK buff
- Two flex slots for additional Breakers or supports
This composition leverages a specific Baicang interaction that the community discovered during the launch window. It's a strong alternative if you don't have the optimal Daffodill/Sakiri/Haniel setup or if you prefer combining Scorch and Discord reaction profiles.
🎯 Rotation and Playstyle Tips
- Always break the enemy first — Lacrimosa's Discord procs require broken targets to deal their highest damage. If your team can't break consistently, swap in a stronger Breaker before pulling Lacrimosa
- Prioritize Frying Pan 5th hits — Melee 5th hits deal significantly more damage than ranged. Use Red Jelly stance for repositioning, not for primary damage windows
- Use the 5th hit immediately after skill — A specific timing window lets you chain the 5th hit detonation directly after using your skill following a normal attack. This is her optimal burst window
- Hold Basic Attack to copycat — Don't forget the copy mechanic exists. In boss fights where enemies have telegraphed AoE attacks, copying and redirecting the attack often deals more damage than your normal rotation
- Stack 10 Nightmare layers before detonating — The detonation damage scales with stack count. Take the extra basic attack to fill all 10 layers before committing the 5th hit
- Discord uptime is your priority — Better than any single damage skill is keeping Discord reactions procing on broken targets. Team rotations should optimize for break uptime over raw skill spam
🔮 Should You Pull Lacrimosa?
Yes, for most Appraisers — particularly:
- New Appraisers who started playing during or after Hotori's banner. Lacrimosa is the first true Chaos main DPS available, and her kit will define endgame teams for the foreseeable future
- Players without a strong Chaos carry in their existing roster
- Theorycrafters who enjoy mechanical depth — her dual-stance, copycat, and detonation interactions reward investment
- Endgame-focused players who want to push the hardest content efficiently
Hold off if: your existing Chaos roster is already strong, you're saving aggressively for Chaos in Phase 2 (June 24), or your current team needs are filled by other elements. Remember NTE's no-50/50 + pity carryover system makes saving meaningful — every Riftcrystal you don't spend now carries directly into Chaos's banner.
🛒 Build Lacrimosa to Her Ceiling
Lacrimosa's full potential requires The Last Rose, optimized stats, and a properly built support team. Appraisers ready to maximize her ceiling can explore trusted Neverness to Everness Accounts with strong existing rosters ready for Lacrimosa integration, accelerate every Annulith source and material farming run with expert Neverness to Everness Hourly Services, or clear every piece of 1.1 endgame content effortlessly through reliable Neverness to Everness Boosting.
GameMarket.gg is a trusted digital marketplace for everything gaming-related. We serve the gaming community by providing secure access that enhances every gaming journey.

![Neverness to Everness Accounts GLOBAL ASIA|HL 8|TL 1|3 S-Class 2 Limited [Shinku,Nanally]+2 S-Class Selector Box|Selector](https://img.gamemarket.gg/products/fahabak3/neverness-to-everness-accounts-global-asia-hl-8-tl-1-3-s-class-2-limited-shinku-p6s-thumbnail.webp "GLOBAL ASIA|HL 8|TL 1|3 S-Class 2 Limited [Shinku,Nanally]+2 S-Class Selector Box|Selector ON|2 Glider|Male MC|Log Email|NTE1639")
![Neverness to Everness Accounts GLOBAL EU|HL 7|TL 1|3 S-Class 2 Limited [Shinku,Nanally]|4 Glider|Male MC+Skin|Log](https://img.gamemarket.gg/products/k1f2j9it/neverness-to-everness-accounts-global-eu-hl-7-tl-1-3-s-class-2-limited-shinku-na-nb3-thumbnail.webp "GLOBAL EU|HL 7|TL 1|3 S-Class 2 Limited [Shinku,Nanally]|4 Glider|Male MC+Skin|Log Email|NTE1638")
![Neverness to Everness Accounts GLOBAL SEA|HL 51|TL 39|11 S-Class 4 Lmt[(ShinkuA1+Skin,Lacrimosa,Hotori)+Sign,Nanally]|5](https://img.gamemarket.gg/products/ofdazj2v/neverness-to-everness-accounts-global-sea-hl-51-tl-39-11-s-class-4-lmt-shinkua1-zbd-thumbnail.webp "GLOBAL SEA|HL 51|TL 39|11 S-Class 4 Lmt[(ShinkuA1+Skin,Lacrimosa,Hotori)+Sign,Nanally]|5 Glider|Female MC+Skin|Email|NTE1636")
![Neverness to Everness Accounts GLOBAL SEA|HL 50|TL 37|9 S-Class 3 Limited [(Hotori A4,Lacrimosa,Nanally)+Outfit]+Signature|4](https://img.gamemarket.gg/products/jwwilbob/neverness-to-everness-accounts-global-sea-hl-50-tl-37-9-s-class-3-limited-hotor-37k-thumbnail.webp "GLOBAL SEA|HL 50|TL 37|9 S-Class 3 Limited [(Hotori A4,Lacrimosa,Nanally)+Outfit]+Signature|4 Glider|Male MC+Skin|Email|NTE1637")
![Neverness to Everness Accounts GLOBAL NA|HL 3|2 SSR [Fadia,Daffodill] +1 S-Class Selector Box|Overcast Canopy](https://img.gamemarket.gg/products/czjwzt2h/neverness-to-everness-accounts-global-na-hl-3-2-ssr-fadia-daffodill-1-s-class-aau-thumbnail.webp "GLOBAL NA|HL 3|2 SSR [Fadia,Daffodill] +1 S-Class Selector Box|Overcast Canopy Glider|Selector 46/50|Female MC|Email|NTE857")
![Neverness to Everness Accounts GLOBAL SEA|HL 42|TL 28|8 S-Class 3 Lmt[(ShinkuA1+Skin,LacrimosaA1)+Sign,HotoriA1]|4 Glider|2](https://img.gamemarket.gg/products/ph2lohaj/neverness-to-everness-accounts-global-sea-hl-42-tl-28-8-s-class-3-lmt-shinkua1-s-loi-thumbnail.webp "GLOBAL SEA|HL 42|TL 28|8 S-Class 3 Lmt[(ShinkuA1+Skin,LacrimosaA1)+Sign,HotoriA1]|4 Glider|2 Selector|Female MC|Email|NTE1634")