Endfield Guide: Stage 2 Agony Clear Strategy
By GameMarket Team 18 February 2026, 16:06 WIB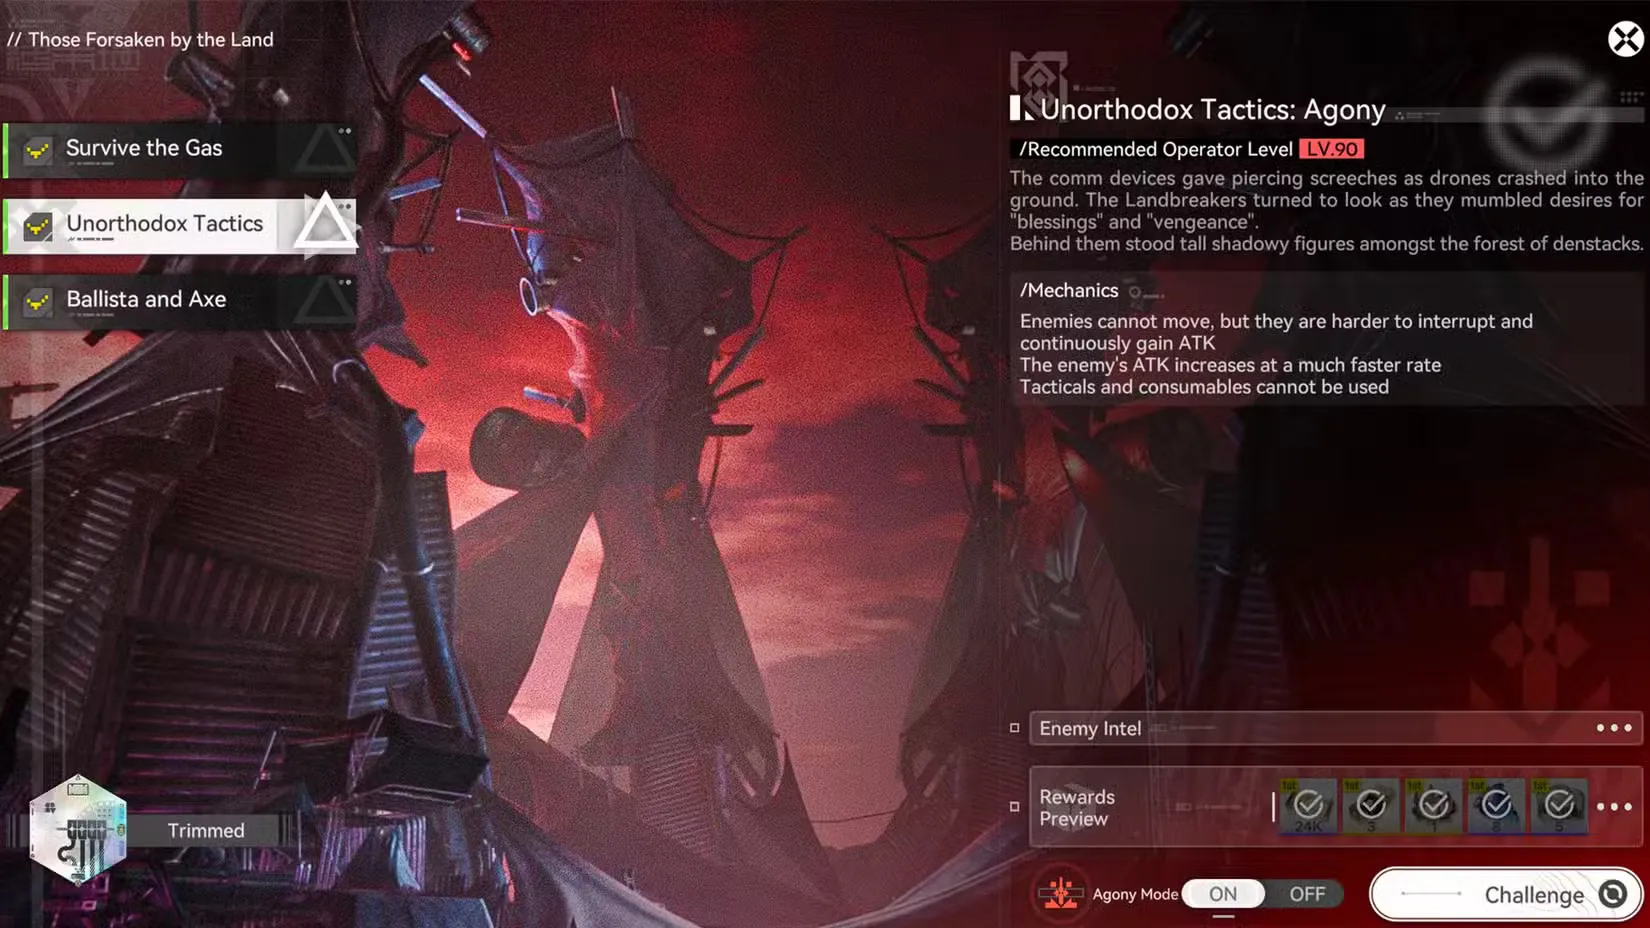
⚔️ Arknights Endfield Guide: Unorthodox Tactics Stage 2
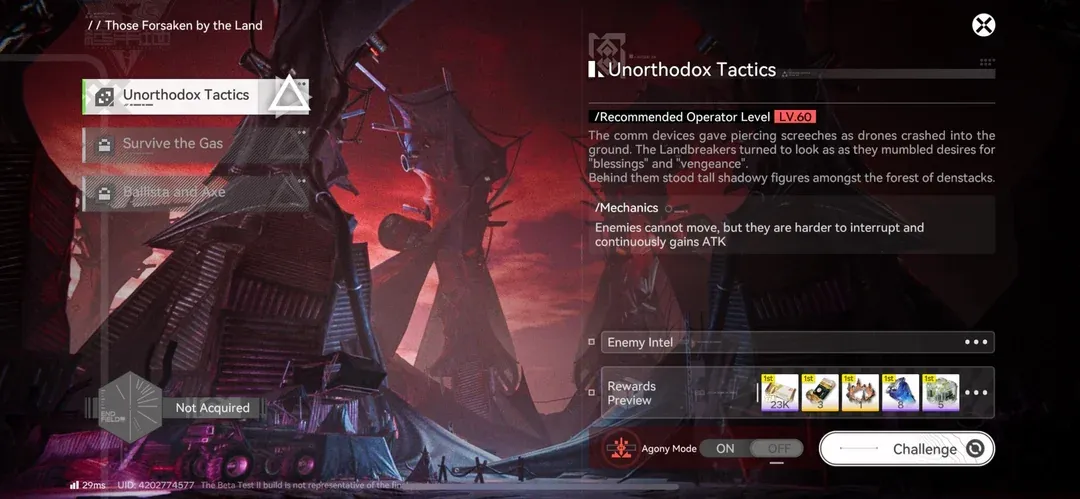
This Guide breaks down Unorthodox Tactics (Stage 2 of Those Forsaken by the Land) at a mechanical level—covering the immobile enemy mechanic, ATK scaling pressure, stagger control, mitigation planning, and optimal wave compression for both Normal and Agony Mode.
Stage 2 flips the formula from Stage 1. Instead of environmental pressure, this fight creates damage escalation pressure. Enemies don’t chase you—but the longer they live, the stronger they become. This transforms Stage 2 into a time-sensitive damage race where inefficient clears don’t feel dangerous at first… until a buffed enemy suddenly deletes your frontline.
🗺 Stage Overview
Recommended Levels
-
Normal: Lv. 60
-
Agony: Lv. 90
Core Mechanics
Normal Mode
-
Enemies cannot move
-
Enemies are harder to interrupt
-
Enemies continuously gain ATK
Agony Mode
-
ATK increases much faster
-
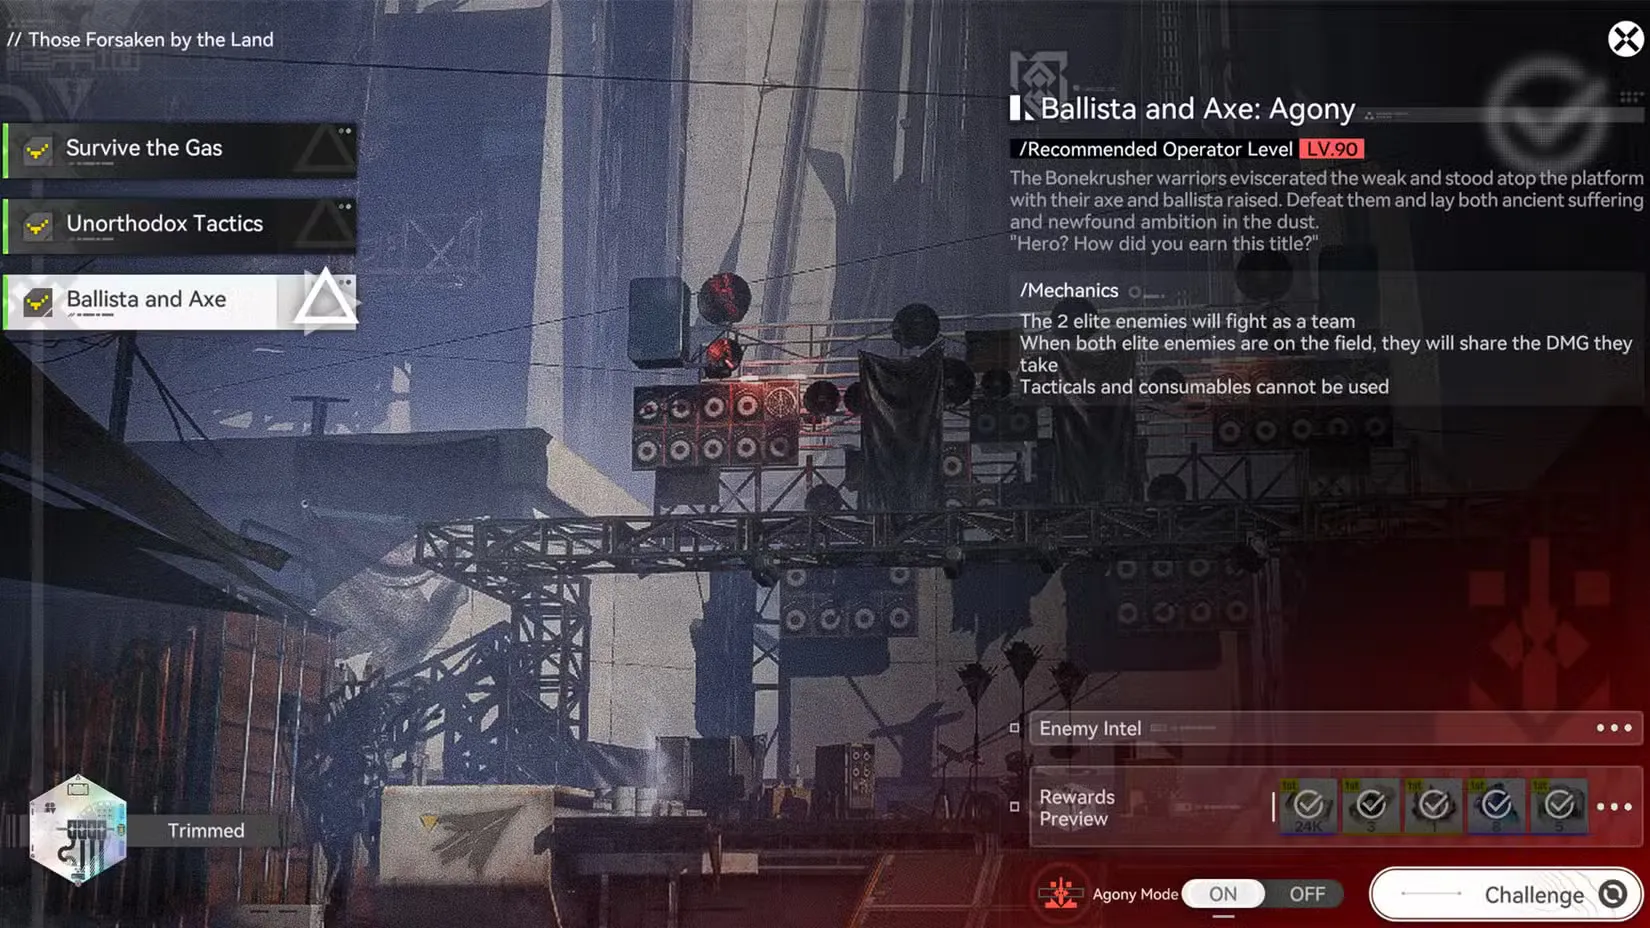
No Tacticals or consumables allowed
This stage is not about survival over time. It is about preventing exponential scaling.
🧠 Understanding the ATK Scaling Mechanic
Enemies gain ATK continuously.
What This Means in Practice
-
Early phase damage feels low
-
Mid-phase begins to spike noticeably
-
Late phase becomes lethal if enemies remain alive too long
In Agony Mode, the scaling curve is steeper. A delay of even 10–15 seconds can turn survivable damage into wipe-level burst.
This stage rewards front-loaded damage and clean AoE execution over slow, defensive play.
👥 Enemy Threat Analysis
🧟 Bonekrusher Ambusher / Elite Ambusher
-
Standard scaling threats
-
Dangerous only if left alive too long
-
Primary targets for early AoE bursts
🐍 Tunneling Nidwyrm (Primary Threat)
Why it matters:
-
Higher toughness
-
Gains ATK like all enemies
-
Becomes extremely dangerous if not burst quickly
-
Harder to interrupt due to stage modifier
This enemy determines whether the run stabilizes or collapses.
🔥 Best Team Archetypes
🌋 Laevatain Hypercarry (Most Reliable)
Laevatain / Wulfgard / Akekuri / Ardelia
Why It Dominates Stage 2
-
Enemies are immobile → perfect for AoE
-
Laevatain Ultimate hits entire formation
-
Melting Flame stacking accelerates burst timing
-
Akekuri ensures consistent SP cycling
-
Ardelia stabilizes damage intake
This team reduces enemy uptime, which directly reduces scaling risk.
⚡ Avywenna Premium Control Team
Avywenna / Perlica / Gilberta / Ardelia
Strengths
-
Thunderlance pierces stacked enemies
-
Gilberta grouping compresses hitboxes
-
High stagger potential enables Finishers
-
Strong SP generation through stagger cycles
Because enemies are stationary, Thunderlance pathing becomes extremely efficient.
🛠 F2P Physical Core
Endministrator / Chen Qianyu / Akekuri / Ardelia
Tactical Focus
-
Chain Combo Skills rapidly
-
Prioritize Nidwyrm burst windows
-
Maintain SP economy
-
Avoid prolonged fights
Replacement Options
-
Da Pan: Strong burst and Lift utility
-
Lifeng: Grouping utility (riskier without sustain)
🎯 How to Beat Unorthodox Tactics Stage 2
1️⃣ Use AoE Aggressively
Since enemies cannot move:
-
Every AoE has maximum efficiency
-
Positioning mistakes are minimal
-
You should aim to hit all enemies at once
Single-target focused rotations are inefficient here.
2️⃣ Group Even Closer for Burst Compression
Although enemies are already near each other:
-
Gilberta’s pull tightens hitbox overlap
-
Lifeng’s Ultimate compresses formation
-
Tighter clustering = better burst efficiency
This shortens fight duration and limits ATK scaling.
3️⃣ Kill Priority Order
-
Elite Ambushers
-
Remaining Ambushers
-
Nidwyrm (focus when burst window ready)
Do not split damage randomly.
4️⃣ Damage Mitigation Is Mandatory
Even with strong DPS, scaling damage will eventually hit.
Bring:
-
Shields
-
Healing
-
Defensive buffs
-
Susceptibility debuffs to shorten fight
Ardelia remains the safest sustain pick because she:
-
Heals reliably
-
Applies Physical & Arts Susceptibility
-
Maintains tempo
⚠ Agony Mode Adjustments
Agony increases scaling speed and removes consumables.
Key Adjustments
-
Burst earlier
-
Avoid defensive stalls
-
Hold interrupts for Nidwyrm
-
Keep team above 70% HP entering final wave
If enemies reach high ATK stacks, recovery becomes unlikely.
🧩 Advanced Optimization
Stagger Cycling
Because enemies are harder to interrupt:
-
Stack stagger damage early
-
Trigger Finishers for SP
-
Chain burst windows efficiently
Cooldown Planning
Do not waste Ultimate on first weak wave if:
-
It delays Nidwyrm burst
-
It leaves you exposed during scaling window
Time Efficiency Rule
Every second saved early prevents compounded scaling later.
Stage 2 punishes hesitation.
🗺 Blueprint: Consistent Stage 2 Clear
Step 1 — Select AoE-Focused DPS
Laevatain or Avywenna preferred.
Step 2 — Compress Enemy Formation
Group tightly before major burst.
Step 3 — Frontload Damage
Don’t let scaling stack.
Step 4 — Interrupt High-Risk Skills
Especially Nidwyrm.
Step 5 — Stabilize and Finish Cleanly
Avoid greedy finishers at low HP.
🎁 Stage 2 Rewards
Clearing Stage 2 (Normal or Agony) grants:
-
T-Creds ×24,000
-
Advanced Cognitive Carrier ×3
-
Mark of Perseverance ×1
-
Protohedron ×8
-
Arms INSP Set ×5
Agony provides the same base rewards with higher execution prestige.
Players looking to optimize clears for Unorthodox Tactics can strengthen their lineup with verified Accounts, refine execution timing through expert Hourly Services, or secure seasonal progression milestones via trusted Boosting to stay ahead in Umbral Monument rotations.
Stage 2 isn’t about surviving pressure—it’s about preventing it from ever building.
GameMarket.gg is a trusted digital marketplace for everything gaming-related. We serve the gaming community by providing secure access that enhances every gaming journey.