Arknights Endfield Guide: Survive the Gas Stage 1 Full Clear
By GameMarket Team 19 February 2026, 07:56 WIB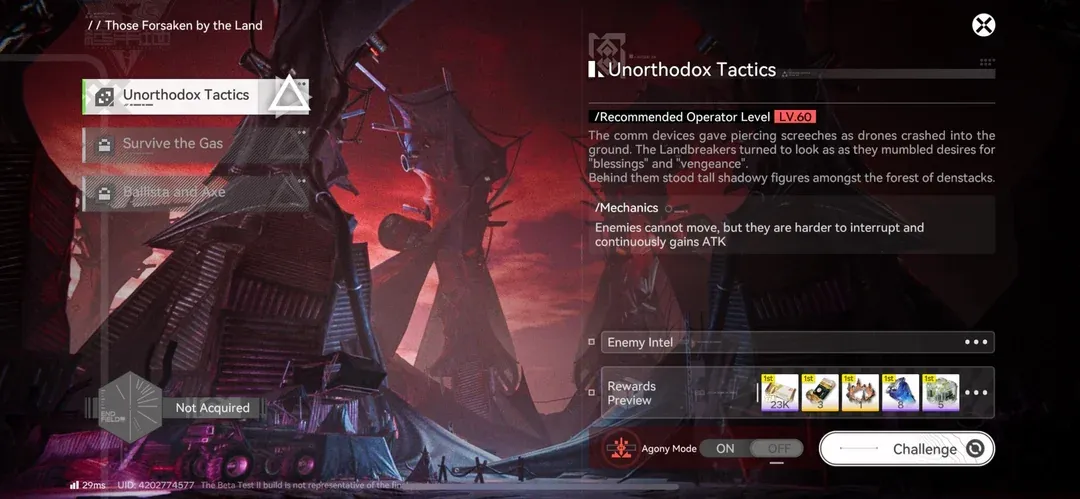
🌫 Arknights Endfield Guide: Survive the Gas Stage 1 Deep Strategy
This Guide breaks down Survive the Gas (Stage 1 of Those Forsaken by the Land) at a mechanical level—covering Mist scaling, healing math, wave pacing, interrupt timing, positioning, and how to prevent Siegeknuckles from snowballing the fight in both Normal and Agony Mode.
Stage 1 isn’t a DPS check—it’s a pressure check. The Mist constantly drains HP, which means every second you spend inefficiently clearing waves compounds into real risk. Teams that clear slowly or mistime interrupts don’t lose instantly—they lose gradually, until one Charged Skill pushes them over the edge.
🗺 Stage Overview
Recommended Levels
-
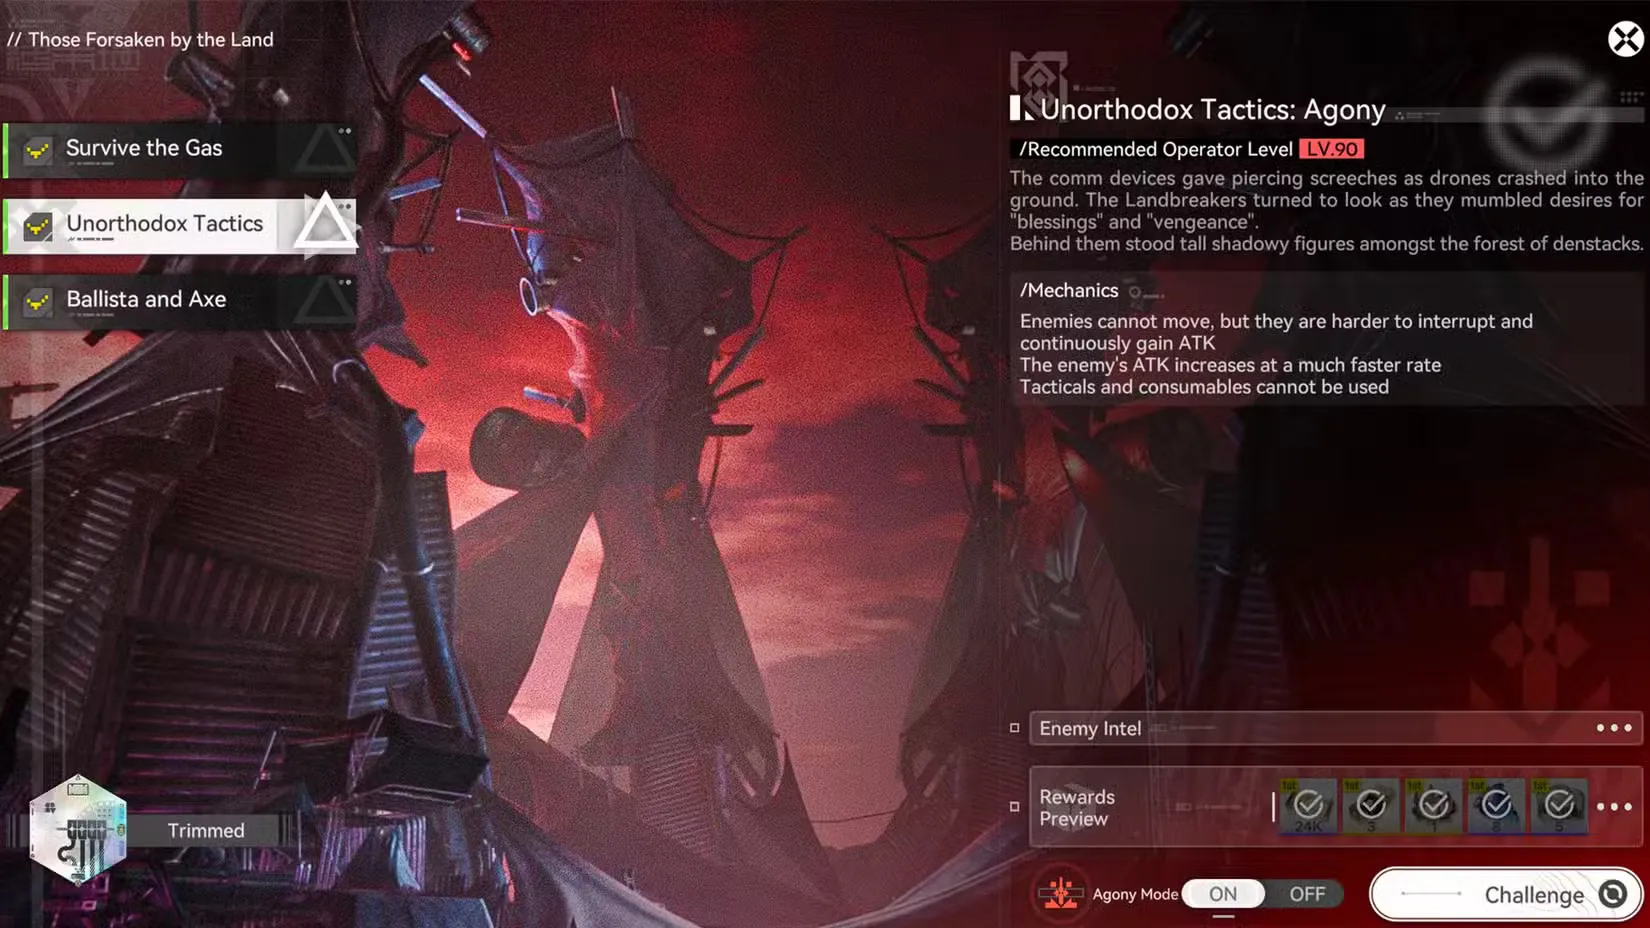
Normal: Lv. 60
-
Agony: Lv. 90
Core Environmental Effect
-
Constant Mist damage to all operators
-
Mist damage increases as waves progress
-
Healing on controlled operator distributes healing to team:
-
70% (Normal)
-
50% (Agony)
-
-
Agony: No Tacticals or consumables allowed
⚙ Mist Mechanic: What It Actually Means
The Mist is not burst damage—it’s attrition damage. That distinction matters.
Mist Impact Over Time
-
Early waves: manageable chip damage
-
Mid-stage: noticeable HP decay during ability animations
-
Final phase: Mist + boss burst overlap becomes lethal
Healing Distribution Insight
Healing the controlled operator spreads healing to teammates. This means:
-
Your active character should be the one receiving consistent heals
-
Swapping at low HP is risky because healing efficiency drops
-
In Agony Mode, the 50% shared heal means you cannot “passively recover” teammates without active attention
👥 Team Breakdown and Tactical Roles
🔥 Laevatain Hypercarry (Most Consistent)
Laevatain / Wulfgard / Akekuri / Ardelia
Tactical Breakdown
-
Laevatain: AoE wave deletion; reduces Mist exposure time
-
Wulfgard: Enables faster Melting Flame stacking
-
Akekuri: SP acceleration; critical for maintaining rotation tempo
-
Ardelia: Primary sustain; applies Physical + Arts Susceptibility
Why It’s Optimal
Wave speed directly reduces Mist uptime. Laevatain’s AoE compresses early waves, making the entire stage safer.
⚡ Avywenna Premium Control Team
Avywenna / Perlica / Gilberta / Ardelia
Tactical Breakdown
-
Gilberta: Enemy grouping specialist
-
Avywenna: Piercing Battle Skill; maximizes grouped damage
-
Perlica: Electric Infliction enables Combo triggers
-
Ardelia: Sustain + vulnerability
When to Use
-
You are confident in skill timing
-
You can consistently group early waves before they spread
🛠 F2P Physical Core
Endministrator / Chen Qianyu / Akekuri / Ardelia
Tactical Breakdown
-
Chain Battle + Combo skills
-
SP generation maintains pressure
-
Relies heavily on Ardelia sustain
Replacement Options
-
Pogranichnik: SP support alternative
-
Da Pan: Burst DPS substitute
-
Lifeng: Pull + susceptibility (higher risk due to lower sustain)
🧟 Enemy Threat Analysis
Most enemies have balanced resistances, meaning you don’t need strict elemental counters. Instead, you need clean wave control.
🛑 Primary Threat: Bonekrusher Siegeknuckles
Why It’s Dangerous
-
High burst damage
-
Strong Charged Skill
-
Can stagger and disrupt rotation
-
Overlaps with Mist tick damage
Charged Skill Response Options
-
Battle Skill interrupt
-
Combo Skill interrupt
-
Perfect dodge
Failure results in:
-
Stagger
-
HP drop during Mist tick
-
Time loss
🎯 Wave-by-Wave Execution Plan
Phase 1: Opening Waves (Enemies Spawn Spread Out)
Objective: Collapse the formation quickly.
-
Use grouping skills immediately
-
Avoid chasing enemies individually
-
Rotate AoE skills efficiently
-
Minimize idle repositioning
Mist Management Tip
Every second spent repositioning instead of clearing increases cumulative Mist damage. Speed = survivability.
Phase 2: Mid-Stage Pressure
Mist damage becomes noticeable.
-
Maintain healer uptime
-
Avoid unnecessary swaps
-
Keep SP generation stable
-
Avoid overcommitting cooldowns
This phase sets up your Siegeknuckles readiness.
Phase 3: Siegeknuckles Encounter
Priority Rules
-
Hold interrupts specifically for Charged Skill
-
Don’t dump cooldowns immediately
-
Maintain healing through burst windows
-
Avoid stagger chains
Safe Rotation Pattern
-
Bait Charged Skill
-
Interrupt immediately
-
Burst during recovery window
-
Heal during downtime
🔥 Agony Mode Differences (Critical Adjustments)
Agony removes consumables and reduces shared healing.
What Changes
-
You cannot panic-heal through items
-
Healing efficiency is lower
-
Positioning errors are more punishing
Agony Survival Checklist
-
Overvalue sustain
-
Prioritize interruption consistency over damage greed
-
Avoid HP trades
-
Keep team above 60% HP before Siegeknuckles
If two operators drop below 40% simultaneously, recovery is unlikely.
🧠 Advanced Optimization Tips
Optimize Active Operator
Keep your healer-friendly unit controlled to maximize shared healing.
Don’t Overheal
Excessive healing during low-pressure windows wastes cooldown timing for high-pressure moments.
Manage Combo Timing
Save burst skills for:
-
Large grouped waves
-
Siegeknuckles recovery window
Positioning Matters
Fighting in open space reduces stagger chaining from overlapping hits.
🎁 Rewards Overview
Clearing Stage 1 (Normal or Agony) grants:
-
T-Creds ×24,000
-
Advanced Cognitive Carrier ×3
-
Mark of Perseverance ×1
-
Protohedron ×8
-
Arms INSP Set ×5
Agony primarily increases difficulty prestige rather than changing loot.
🗺 Blueprint: Consistent Stage 1 Clear
Step 1 — Build for Sustain
Ardelia (or equivalent) is nearly mandatory.
Step 2 — Compress Early Waves
Faster wave clear = less Mist exposure.
Step 3 — Preserve Cooldowns
Don’t enter Siegeknuckles phase with nothing available.
Step 4 — Interrupt Reliably
Charged Skill failure is the most common wipe cause.
Step 5 — Stabilize Before Finishing
Don’t greed final damage if Mist has chipped your team low.
Players aiming to stabilize Agony clears can strengthen their roster with optimized Accounts, refine timing and rotation precision through expert Hourly Services, or push Umbral Monument progression with trusted Boosting to secure seasonal milestones efficiently.
Survive the Gas may be Stage 1—but it establishes the rule that defines the entire series: control the pressure, or the pressure controls you.
GameMarket.gg is a trusted digital marketplace for everything gaming-related. We serve the gaming community by providing secure access that enhances every gaming journey.