Arknights Endfield Guide: Stage 3 Boss Breakdown
By GameMarket Team 18 February 2026, 08:31 WIB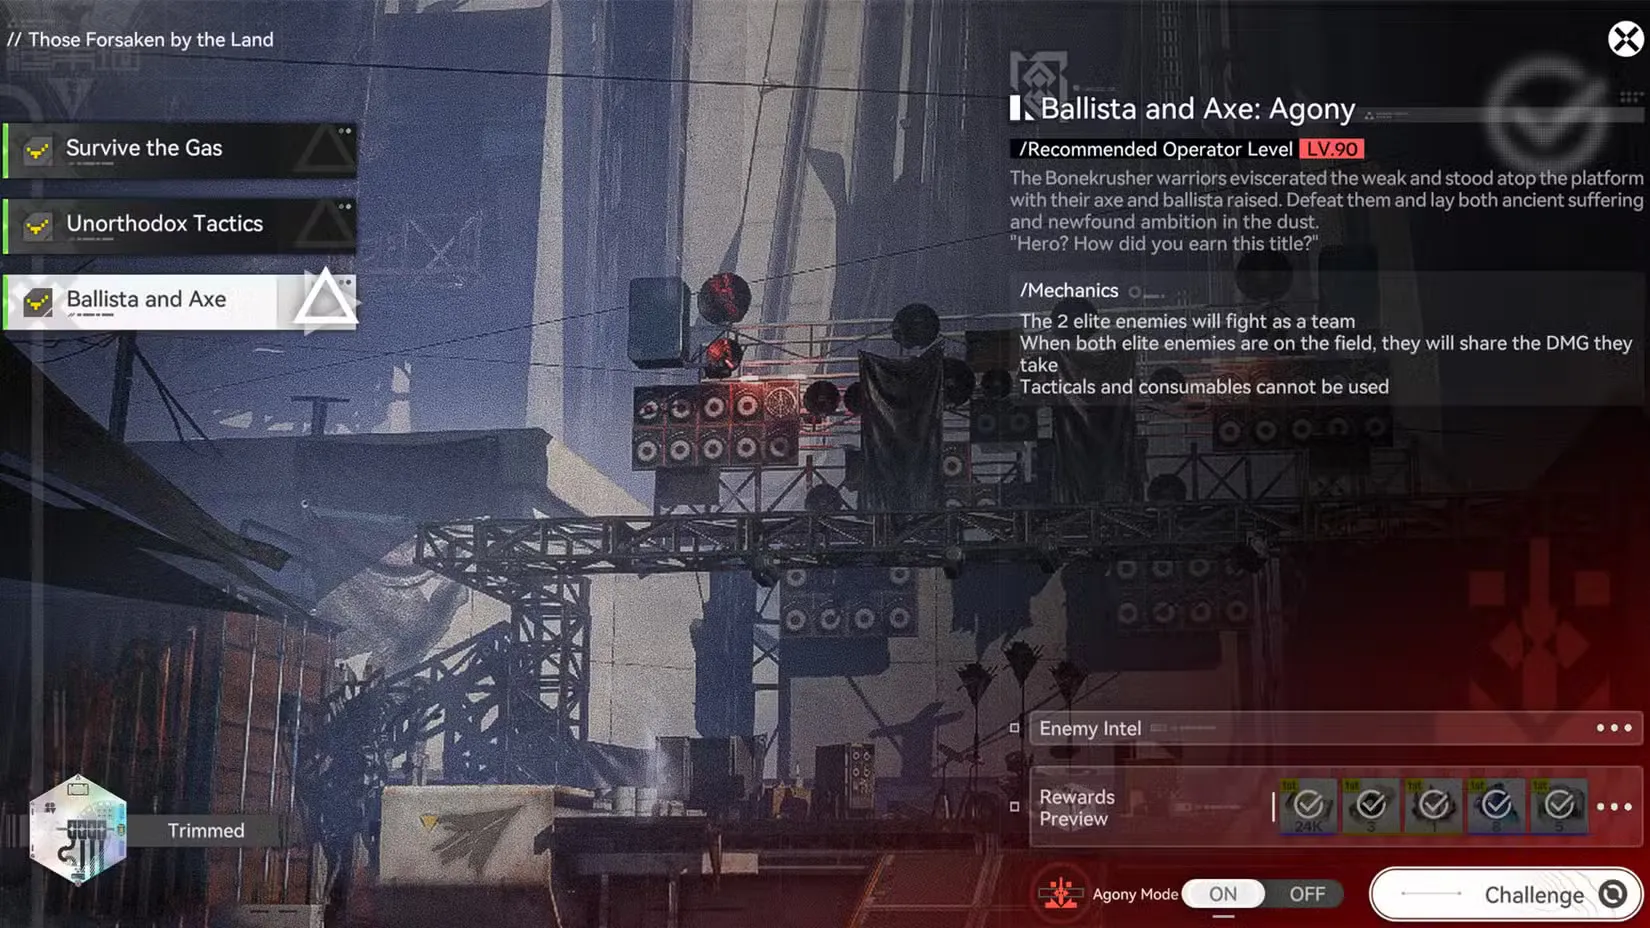
⚔️ Arknights Endfield Guide: Ballista and Axe Stage 3
This Guide breaks down Ballista and Axe (Stage 3 of Those Forsaken by the Land), covering elite coordination mechanics, shared HP pressure in Agony Mode, interrupt priorities, positioning control, and optimal burst timing for consistent clears.
Stage 3 shifts from scaling pressure (Stage 2) into coordination pressure. You’re no longer racing enemies that grow stronger—you’re fighting two elites that demand spatial awareness, interrupt discipline, and synchronized damage windows. In Agony Mode, where both elites share damage taken, the fight becomes less about target focus and more about AoE efficiency and boss alignment control.
🗺 Stage Overview
Recommended Levels
-
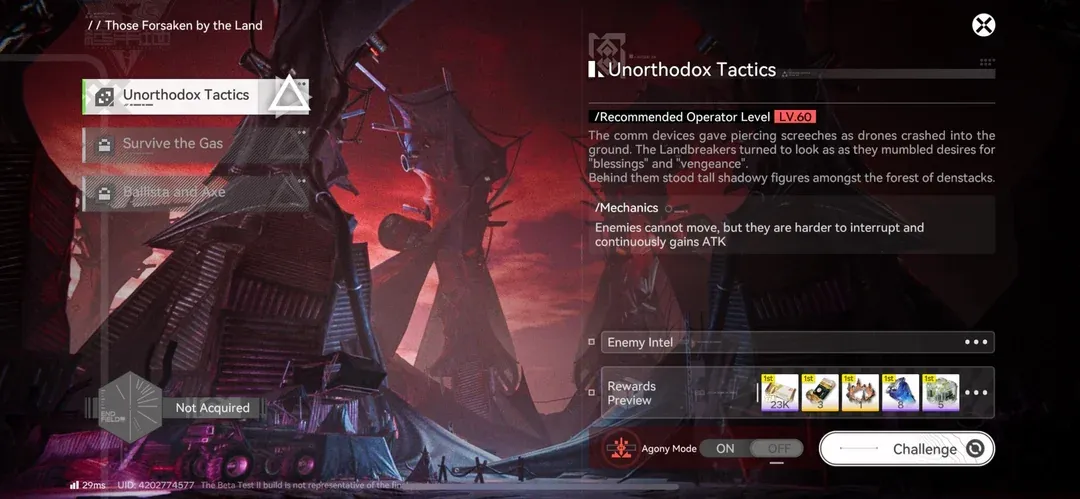
Normal: Lv. 60
-
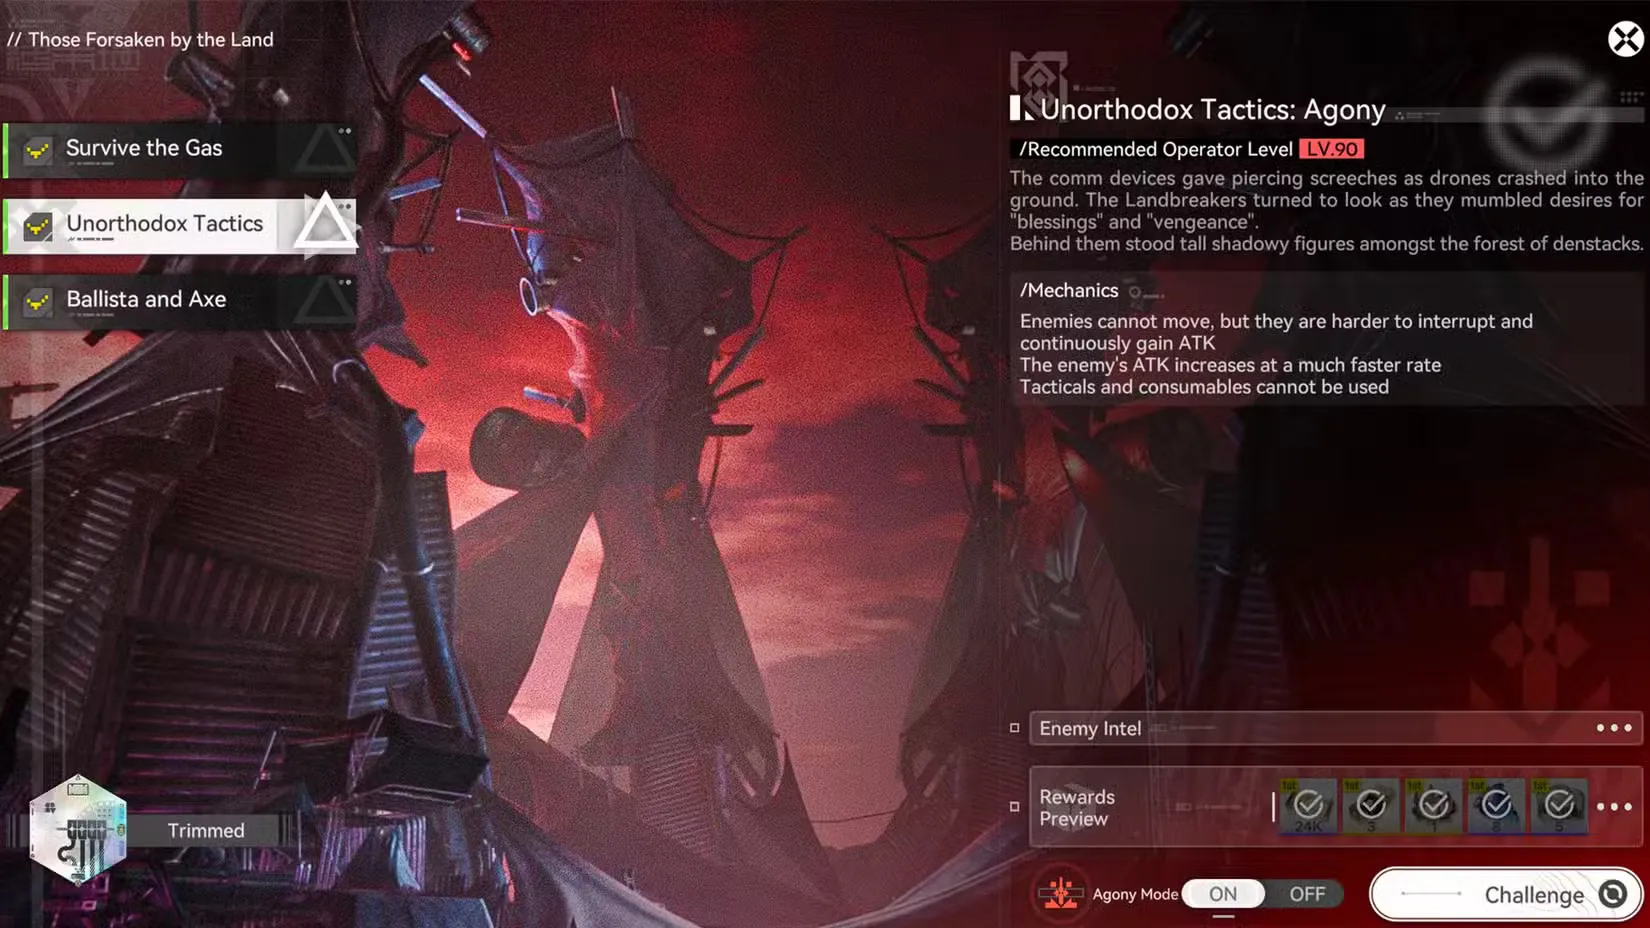
Agony: Lv. 90
Core Mechanics
Normal Mode
-
Two elite enemies fight simultaneously
Agony Mode
-
When both elites are active, they share damage taken
-
Tacticals and consumables disabled
This transforms Phase 3 into a positioning and burst synchronization check.
👥 Enemy Breakdown
🪓 Bonekrusher Executioner
-
Close-range bruiser
-
Grab mechanic
-
Jump reposition tool
-
High stagger susceptibility
🏹 Bonekrusher Ballista
-
Ranged artillery threat
-
Arrow Rain AoE denial
-
Ground DoT arrows
-
Forces repositioning
These enemies complement each other:
-
Ballista zones space
-
Executioner punishes poor positioning
🧠 Understanding the Shared Damage Mechanic (Agony)
When both elites are on the field:
-
Damage dealt to one applies to both
-
AoE becomes extremely valuable
-
Poor positioning reduces total DPS efficiency
This mechanic rewards:
-
Tight boss stacking
-
Wide-area burst skills
-
Coordinated Ultimate timing
It punishes:
-
Split focus
-
Off-screen boss control
-
Random positioning
🔥 Best Team Archetypes
🌋 Laevatain Heat Hypercarry (Most Stable Clear)
Laevatain / Akekuri / Wulfgard / Ardelia
Why It Excels
-
Wide AoE hits both elites
-
Strong burst during overlap windows
-
Consistent SP generation
-
Excellent sustain
In Agony Mode, Laevatain’s AoE pressure maximizes shared HP efficiency.
⚔ Physical Stagger Control Team
Endministrator / Pogranichnik / Chen Qianyu / Ardelia
Strengths
-
Strong stagger uptime
-
Multiple interrupt windows
-
Consistent burst chains
-
Safe rotational structure
Stagger chaining becomes extremely valuable in Phase 3.
🛠 F2P Core
Endministrator / Akekuri / Chen Qianyu / Ardelia
Key Requirement
Proper boss alignment before Ultimates.
Without alignment:
-
AoE loses shared HP efficiency
-
Ballista may fire off-screen
-
Executioner may interrupt burst
🧩 Phase-by-Phase Strategy
🏹 Phase 1 – Ballista Setup
Bait Arrows Away
Before the Executioner joins:
-
Move away from center
-
Force Ballista arrows to land off main combat area
-
Prevent persistent ground DoT zones in center
Poor early arrow placement complicates later phases.
🪓 Phase 2 – Executioner Control
Avoid the Grab
When arm lifts:
-
Move immediately
-
If too late → dodge on red eye flash
If grabbed:
-
Interrupt immediately with Battle Skill, Combo Skill, or Ultimate
-
Progress stagger bar while freeing ally
Grab mismanagement wastes DPS windows.
🌩 Phase 3 – Dual Elite Control (Core Difficulty)
This is the real fight.
1️⃣ Keep Both Elites in Frame
If one goes off-screen:
-
You lose visual cues
-
Arrow Rain may go un-interrupted
-
Jump attacks may break combos
Maintain lateral positioning.
2️⃣ Prioritize the Ballista
Why?
-
Arrow Rain creates persistent DoT field
-
Zoning ruins alignment
-
Harder to control when distant
Executioner naturally jumps toward you.
Ballista must be actively managed.
3️⃣ Stack the Bosses
Let Executioner jump toward Ballista.
Then:
-
Activate AoE Ultimate
-
Trigger Combo chains
-
Maximize shared HP efficiency
If separated:
-
Delay burst
-
Reposition first
⚠ Key Interrupt Priorities
🔴 Highest Priority: Arrow Rain
Red circle indicator → immediate interrupt.
If not interrupted:
-
Persistent DoT field
-
Space denial
-
Increased pressure
🟠 Secondary: Executioner Grab
Interrupt:
-
To free ally
-
To progress stagger
-
To preserve tempo
🛡 Survival Optimization
Because Agony removes consumables:
Bring:
-
Reliable healing (Ardelia preferred)
-
Shield or mitigation tools
-
Strong stagger options
Avoid:
-
Overcommitting during low HP windows
-
Casting Ultimates without boss overlap
🎯 Advanced Optimization
Boss Alignment Rule
Before using Ultimate:
-
Both elites within AoE radius
-
Ballista visible
-
Executioner not mid-jump
Stagger Cycling
Physical teams can:
-
Chain stagger windows
-
Lock elites in burst rotations
-
Prevent dangerous casts
Field Awareness
Arrow remnants remain.
Track safe zones.
🗺 Blueprint: Consistent Stage 3 Clear
Step 1 — Control Early Arrow Placement
Bait Ballista away from center.
Step 2 — Manage Grab Discipline
Interrupt or dodge cleanly.
Step 3 — Enter Phase 3 With Full Resources
SP stocked. Ultimates ready.
Step 4 — Stack Bosses
Force alignment before burst.
Step 5 — Prioritize Ballista
Maintain vision. Interrupt Arrow Rain.
Step 6 — AoE During Shared HP Window
Maximize dual damage efficiency.
🎁 Stage 3 Rewards
Clearing Ballista and Axe (Normal or Agony) grants:
-
T-Creds ×24,000
-
Advanced Cognitive Carrier ×3
-
Mark of Perseverance ×1
-
Protohedron ×8
-
Arms INSP Set ×5
Agony completion secures prestige and full seasonal progress.
Players preparing to master Ballista and Axe can strengthen their roster through optimized Accounts, sharpen execution timing with expert Hourly Services, or secure flawless Agony clears using trusted Boosting to stay competitive in Umbral Monument rotations.
Stage 3 doesn’t test raw damage—it tests control. Stack the bosses, manage interrupts, and the shared HP pool will collapse faster than either elite alone.
GameMarket.gg is a trusted digital marketplace for everything gaming-related. We serve the gaming community by providing secure access that enhances every gaming journey.