Version 6.7 DPS Tier List: Top Main Damage Dealers
By Dinar Ivanov 8 July 2026, 22:02 WIB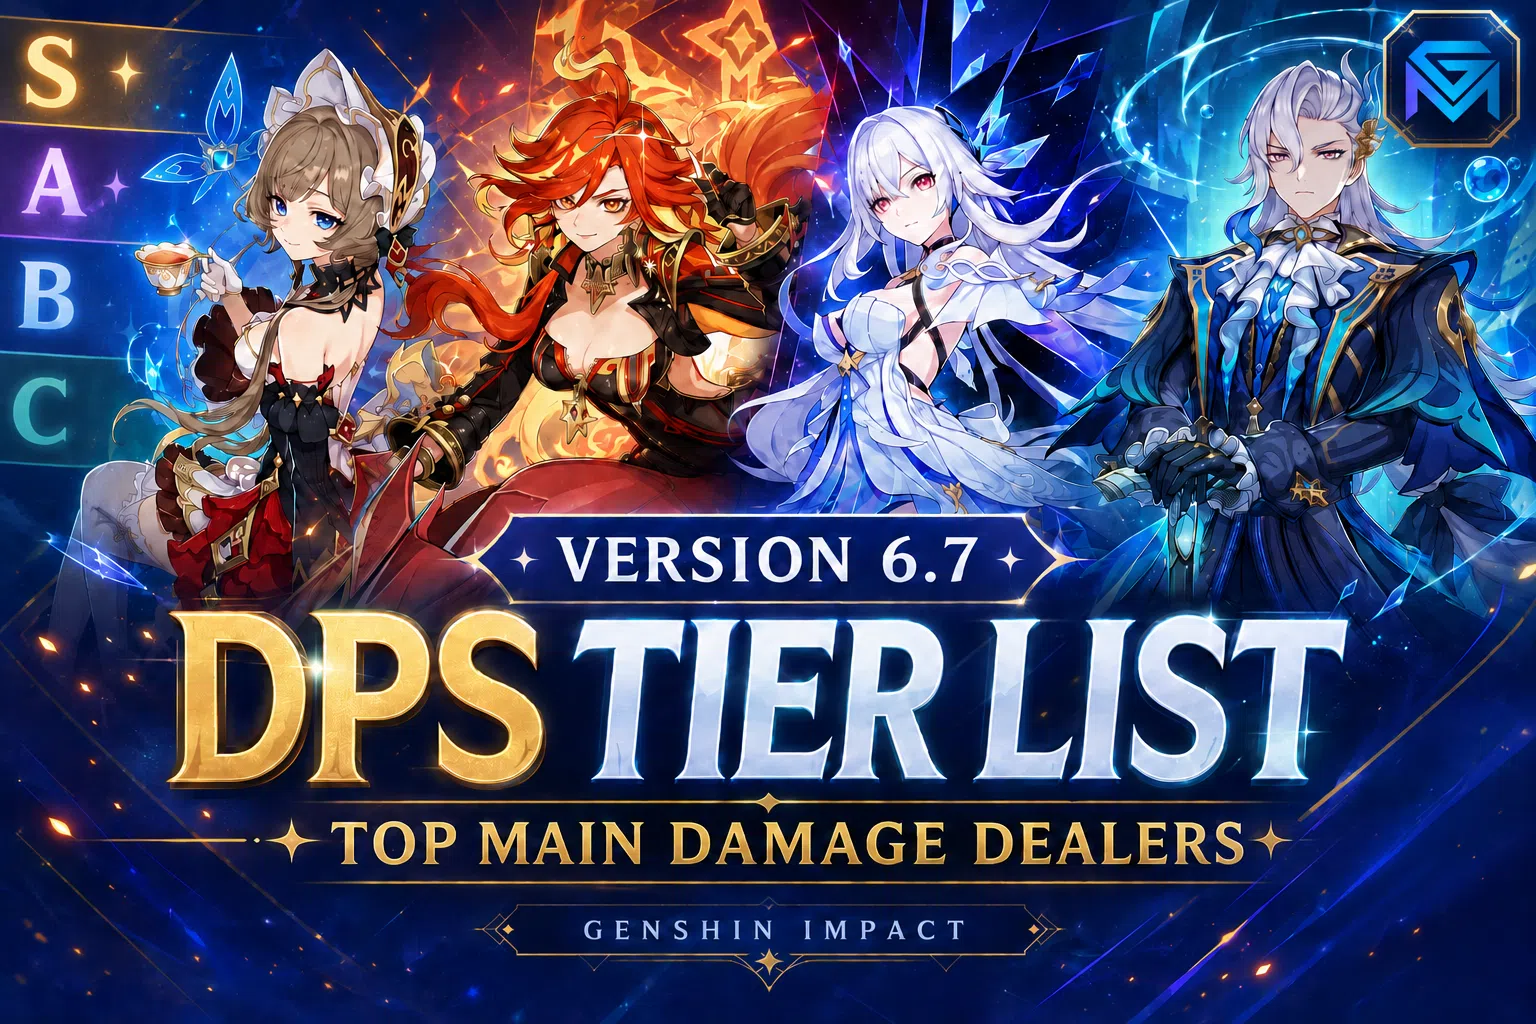
Dominate the lunar battlefields with our ultimate Version 6.7 DPS Tier List! Discover how the groundbreaking update redefines the endgame meta, shifting power toward new Stellar-Conduct reaction engines, and learn the best team compositions and artifact builds to maximize your daily farming.
🌙 Moonbound Chaos: The Definitive Version 6.7 DPS Tier List Update
The boundaries of the open-world map have shattered, and the meta is officially launching into an entirely new celestial territory. With the monumental arrival of the Version 6.7 "Luna VIII" update, the power hierarchy among active damage dealers has seen an absolute revolution. Introducing a brand-new lunar region and the cutting-edge Stellar-Conduct elemental reaction engine, this patch establishes a fierce new standard for endgame trials.
For players figuring out where to allocate their precious daily stamina resources and hard-earned premium currencies, this definitive Version 6.7 DPS Tier List ranks the strongest Main damage dealers dominating the July 2026 meta.
⚠️ Evaluation Metric: Every character on this tier list is strictly evaluated at base level (Constellation 0) utilizing standard, accessible, or craftable weapon options. Your real-world damage ceilings will scale dramatically if you possess high-tier duplicate unlocks or exclusive 5-star signature weapons.
👑 SS Tier — The Apex Predators of the Meta
These absolute powerhouses define the current competitive landscape. If they anchor your roster, prioritize maximizing their talent tracks immediately.
🌊 Neuvillette (Hydro — Catalyst)
Neuvillette remains the undisputed, ever-green juggernaut of on-field Hydro destruction. His primary combat engine relies on charging up continuous, map-clearing Charged Attacks fueled by specialized Sourcewater Droplets spawned from his Skill and Burst loops. Because this character's scaling links directly to a maximum HP pool, his built-in self-healing guarantees an unbreakable survival rate even when running entirely without dedicated defensive supports.
-
Talent Priority: Normal/Charged Attack > Elemental Skill = Elemental Burst
-
Artifact Set-in-Slot: 4-piece Marechaussee Hunter (effortlessly exploits his constant HP fluctuations to lock down a permanent 36% CRIT Rate). Alternate options include 4-piece Heart of Depth or Wanderer's Troupe.
-
Top-Tier Weapon Choices: Prototype Amber (exceptional F2P craftable option) or any Catalyst packing high HP% or CRIT substats.
-
Elite Team Compositions: Neuvillette / Furina / Kaedehara Kazuha / Columbina, Xilonen, or Mavuika.
❄️ Sandrone (Cryo — Claymore)
Making a monumental debut as a playable 5-star unit in Patch 6.7, "The Marionette" has completely hijacked the endgame meta. As the flagship damage engine for the brand-new Stellar-Conduct reaction systems, she transforms standard conductive fields into specialized Polestar Fields. These fields trap excess Cryo and Electro energy to continuously convert them into scaling critical strikes. Despite the lack of an extensive roster of dedicated support partners, her raw on-field multipliers, hovering tactical assault mech, and heavy artillery bursts comfortably place her at the pinnacle of clear speed records.
-
Talent Priority: Elemental Skill > Elemental Burst > Normal Attack
-
Artifact Set-in-Slot: 4-piece Finale of the Deep Galleries (tailor-made to optimize her unique mechanic loops).
-
Top-Tier Weapon Choices: Azurelight (Signature). F2P Alternatives include premium standard claymores or high-refinement craftable options.
-
Elite Team Compositions: Sandrone / Furina / Escoffier / Kaedehara Kazuha.
🌌 Skirk (Cryo — Sword)
This warrior continues to reign as a highly terrifying Freeze hypercarry. What sets this Abyssal fighter completely apart from traditional damage dealers is her absolute independence from basic Energy Recharge parameters. Her cataclysmic ultimate animations are driven entirely by a specialized, standalone resource meter known as Serpent's Subtlety rather than traditional energy pools, allowing her to completely bypass energy drain debuffs to unleash non-stop combat pressure.
-
Talent Priority: Normal Attack > Elemental Burst > Elemental Skill
-
Artifact Set-in-Slot: 4-piece Finale of the Deep Galleries. Alternate with Gladiator's Finale, or flex to Marechaussee Hunter when anchored by a health-draining support.
-
Top-Tier Weapon Choices: Azurelight (Signature). Highly competitive premium alternatives include Haran Geppaku Futsu or Mistsplitter Reforged.
-
Elite Team Compositions: Skirk / Furina / Escoffier / Kaedehara Kazuha (designed to unleash localized Void Rifts inside max Freeze shells).
🔥 Mavuika (Pyro — Claymore)
The absolute pinnacle of premium Pyro damage execution. This character functions as an incredibly flexible hypercarry capable of adapting into a dominant Main DPS or an overwhelming off-field Sub-DPS based entirely on your drafting needs. Powered by her specialized Fighting Spirit gauge, she entirely eliminates the need to roll for Energy Recharge stats on your gear, channeling every drop of her scaling into pure, unadulterated damage attributes.
-
Talent Priority: Elemental Burst > Elemental Skill > Normal Attack
-
Artifact Set-in-Slot: 4-piece Obsidian Codex (provides an effortless flat 40% CRIT Rate for on-field builds). If transitioning into an off-field Sub-DPS role, shift immediately to Scroll of the Hero of Cinder City.
-
Top-Tier Weapon Choices: A Thousand Blazing Suns (Best-in-Slot), Beacon of the Reed Sea, or Serpent Spine (exceptional high-value alternative).
-
Elite Team Compositions (Melt): Mavuika / Citlali / Xilonen / Bennett. (Vaporize): Mavuika / Furina / Xilonen / Bennett.
⚡ S Tier — Elite Competitors & High-Value Anchors
These carries remain completely elite, functioning as highly reliable, premier options capable of comfortably shattering the deepest floors of the Spiral Abyss, Imaginarium Theater, and Stygian Onslaught:
-
Columbina (Hydro): Unleashes massive, instantaneous single-target nuclear bursts designed to entirely erase boss health pools rather than relying on standard chip setups. She pairs beautifully with Mona, Sucrose, or Mavuika for devastating reverse-vape damage.
-
Arlecchino (Pyro): The premiere single-target executioner among the late-game Fatui antagonists. Her relentless on-field Pyro infusions deliver jaw-dropping scaling metrics against single high-HP targets.
-
Alhaitham (Dendro): The gold standard for reactive consistency. His high-frequency projections provide unparalleled application rates across premier Quicken, Aggravate, and Hyperbloom team shells.
-
Ineffa (Diverse): An incredibly versatile mechanical enabler whose high-frequency field adjustments instantly drag several legacy, lower-tier characters back into top-tier meta relevance.
-
The Reaction Vanguard (Varka, Durin, Lauma, Varesa, Chasca, Lohen): These flexible damage anchors continue to serve as incredibly reliable backbones for elemental-heavy teams, outputting solid numbers to comfortably clear endgame onslaught challenges.
🟢 A Tier — Highly Efficient Contenders
-
The Tactical Core (Kamisato Ayaka, Eula, Wanderer, Lyney, Hu Tao, Wriothesley, Xiao): While their baseline single-rotation spreadsheets may not look quite as flashy as the newly introduced Version 6.7 systems, these veteran hypercarries remain fully capable of steamrolling maximum-difficulty content. They simply demand precise support shells and highly optimized equipment sub-stats to keep pace with modern HP scaling.
🔵 B & C Tier — Positional Experts & Niche Picks
-
B-Tier Alternatives (Kamisato Ayaka, Chiori, Nilou, Tighnari, Kuki Shinobu, Baizhu, Shenhe): These units retain incredibly strong value but are strictly locked into highly specific, niche team formulations or require heavier stat optimization to compete.
-
C-Tier Specialists (Cyno, Sangonomiya Kokomi): Perfectly functional for driving standard baseline elemental reaction loops, but their overall team-wide damage ceilings are visibly restricted compared to newer options.
📝 Critical Rules for Perfect DPS Optimization
-
Prioritize Your Pillars: The most common account-building mistake is burning your daily stamina farming equipment for a shiny new Main DPS before their supporting cast is built. A hypercarry with perfect gear backed by a disorganized team will easily lose to a mediocre carry running alongside an elite, highly synergized support shell. Optimize in this exact sequence: Supports ➡️ Sub-DPS ➡️ Main DPS.
-
Audit Your Sub-Stats: Carefully evaluate the unique resource mechanics running inside individual character kits. With specific units scaling entirely on pure HP, and others utilizing independent combat gauges instead of standard Energy Recharge parameters, rolling for energy attributes on their gear is a complete waste of power. Clear those dead stats out of your equipment lines.
💎Fast-Tracking Account Optimization & Character Leveling
Perfecting elemental team synergies anchors the early progression of the update, especially for players investing in new characters. Travelers aiming to accelerate ascension farming can explore trusted Genshin Impact Accounts, optimize resin/stamina efficiency with expert Genshin Impact Hourly Services, or secure consistent boss clears through reliable Genshin Impact Boosting as farming rotations intensify.
GameMarket.gg is a trusted digital marketplace for everything gaming-related. We serve the gaming community by providing secure access that enhances every gaming journey.



![Genshin Impact Accounts Others ASIA |AR 35|1 Limited [Vesna]+Mizuki|QA Liyuee|MC Male|Check SS|TakeMail(GI1790Z)](https://img.gamemarket.gg/products/fpvy1aph/genshin-impact-accounts-asia-ar-35-1-limited-vesna-mizuki-qa-liyuee-mc-iwk-thumbnail.webp "ASIA |AR 35|1 Limited [Vesna]+Mizuki|QA Liyuee|MC Male|Check SS|TakeMail(GI1790Z)")
![Genshin Impact Accounts Mid Game ASIA|AR 56|6 Limit [Furina,Wrio,Columbina,Ineffa,Etc]+5 Std|4*5 WP|Check SS|2](https://img.gamemarket.gg/products/rfnywqok/genshin-impact-accounts-asia-ar-56-6-limit-furina-wrio-columbina-ineffa-e-bkz-thumbnail.webp "ASIA|AR 56|6 Limit [Furina,Wrio,Columbina,Ineffa,Etc]+5 Std|4*5 WP|Check SS|2 Skin|TakeMail(GI1789Z)")