Genshin Spiral Abyss Phase 2: Floor 12 & Cascading Moon
By Sir Ayup 16 September 2026, 14:00 WIB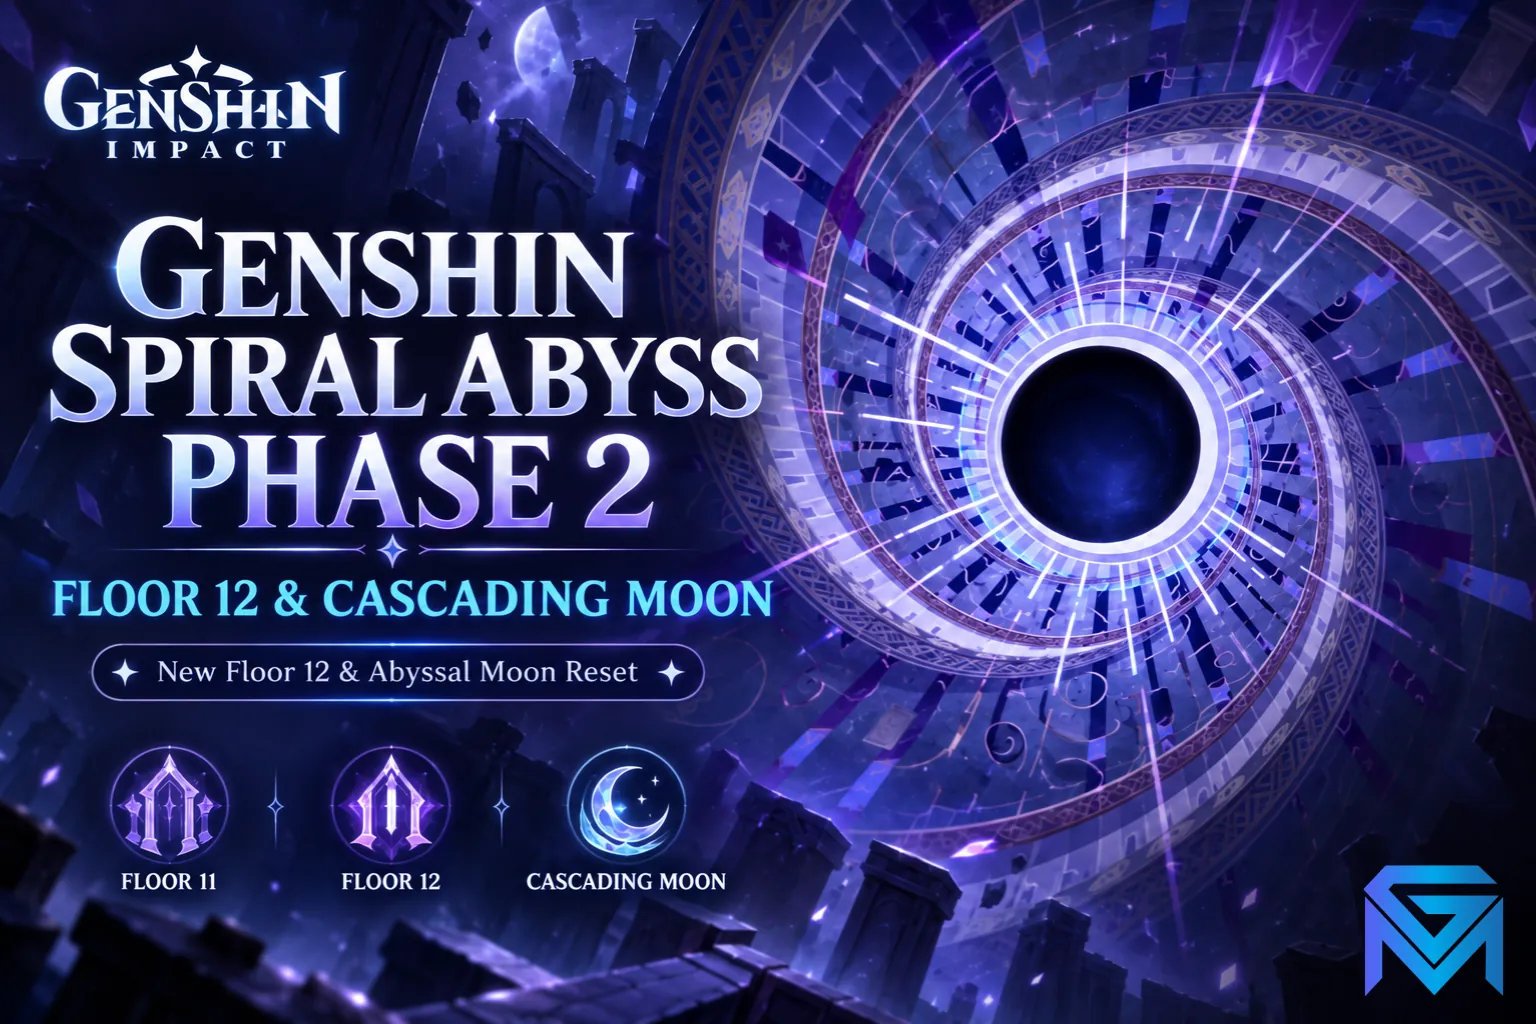
Spiral Abyss Phase 2 resets on 16 September, bringing new Ley Line Disorders across Floors 11 and 12, a refreshed enemy lineup, and a new Blessing of the Abyssal Moon called Cascading Moon.
The headline isn't the new reactions. It's that the older ones get the bigger numbers. Swirl and Electro-Charged both receive +200%, while Version 7.0's newer Stellar Swirl and Lunar-Charged receive +75%.
If your account hasn't transitioned into the new reaction systems, this cycle is built so you don't have to.
The short version
- Resets 16 September, replacing the Phase 1 cycle that began 16 August.
- Floor 11: +60% Anemo DMG and +60% Electro DMG for all party members.
- Floor 12 first half: Swirl +200%, Stellar Swirl +75%.
- Floor 12 second half: Electro-Charged +200%, Lunar-Charged +75%.
- Cascading Moon: Swirl or Stellar Swirl damage triggers a True DMG shockwave, once every 4 seconds.
- The enemy lineup hasn't been published. Check the in-game preview before locking teams.
What actually changes at reset
Four things shift on 16 September:
- Floor 11 Ley Line Disorders
- Floor 12 Ley Line Disorders
- The monster lineup on Floors 11 and 12
- The Blessing of the Abyssal Moon
Phase 1, which ran from 16 August, was built around Cryo, Pyro, Superconduct and Stellar-Conduct. Phase 2 moves entirely: Anemo-driven reactions in the first half, Electro and Hydro in the second.
Abyss resets follow server timing. Use the in-game countdown for your region rather than converting from someone else's schedule.
Floor 11 is the flexible one
All party members gain +60% Anemo DMG Bonus and +60% Electro DMG Bonus.
The key detail: this boosts direct elemental damage, not just reactions.
That makes Floor 11 considerably more forgiving than Floor 12. An Anemo carry benefits from the raw bonus. An off-field Electro damage dealer benefits equally. A reaction team using either element gets it too.
You don't need to force an archetype here. If your best two teams happen to contain Anemo or Electro, they're already suited.
Floor 12 first half: Swirl
Swirl DMG +200%. Stellar Swirl DMG +75%.
A 200% increase to standard Swirl is enormous, and it's the larger of the two numbers by a wide margin.
The team shape is straightforward: apply an element consistently, trigger Swirl with an Anemo character, and keep rotations short enough that reaction uptime never lapses.
Established Anemo enablers still do this job well — Kazuha, Venti, Sucrose and Jean have anchored Swirl teams since long before this reaction system existed, and a 200% multiplier doesn't care how old the character is. Newer Anemo units from recent versions may perform better; none of them are required.
Stellar Swirl gets the smaller +75%. It arrived with Version 7.0's Stellar Glimmer reaction system, where Anemo and Cryo under the right conditions create a Stellar Vortex that later detonates for Cryo damage.
If you already have a working Stellar Swirl team, this half rewards it. If you don't, the traditional Swirl bonus is nearly three times larger — there's no reason to rebuild.
Floor 12 second half: Electro-Charged
Electro-Charged DMG +200%. Lunar-Charged DMG +75%.
Hydro plus Electro is the core pairing, and the same logic applies: the older reaction gets the bigger multiplier.
The team shell is four slots:
- Reliable Hydro application — Xingqiu, Yelan, Furina and Kokomi all still do this.
- Reliable Electro application — Fischl, Raiden Shogun, Yae Miko and Beidou cover it.
- A sustain slot to keep rotations uninterrupted.
- A flex support or second damage dealer.
Electro-Charged rewards continuous application rather than burst windows. The reaction re-triggers as long as both auras persist, so the 200% multiplier pays most on teams that keep Hydro and Electro up simultaneously rather than alternating them.
Lunar-Charged's +75% is meaningful but secondary. As with the first half, it's there for accounts that already run it — not a reason to build toward it this cycle.
What Cascading Moon does
When a character deals Swirl or Stellar Swirl damage to an opponent, a shockwave is unleashed at that opponent's position, dealing True DMG. It can trigger once every 4 seconds.
Two things follow from the cooldown.
Don't restructure rotations to force extra Swirls. Four seconds is long enough that a normal rotation producing Swirl every few seconds already keeps the Blessing active. Chasing more triggers yields nothing.
It isn't limited to the first half. If a team can trigger Swirl or Stellar Swirl anywhere in the Abyss — including Floor 11, where Anemo is already boosted — the shockwave contributes there too.
True DMG ignores resistance, which makes it more valuable against high-RES enemies than a percentage buff would be.
Why 200% versus 75% matters
The gap between the old and new reaction bonuses is the design decision of this cycle.
It does not automatically make Swirl and Electro-Charged stronger overall. Character kits, scaling, team buffs, enemy resistance and reaction frequency all still apply, and a well-built Stellar Swirl team may outperform a mediocre traditional one.
What the numbers signal is that HoYoverse is keeping older teams viable inside an Abyss built around Version 7.0's newer systems.
Practical reading: build around the reactions your account can already trigger reliably. An account that never invested in Stellar Glimmer or Lunar reactions is not disadvantaged this cycle — it's being deliberately accommodated.
The enemy list isn't published
Ley Line Disorders are confirmed. The chamber-by-chamber enemy lineup is not.
Version 7.0's update details confirm that Floors 11 and 12 receive new monsters on 16 September, but they don't enumerate them.
That means any pre-reset enemy list — from leaks, datamines or community posts — is unverified. Treat it as such.
A reaction bonus can look perfect on paper and still fail in practice. Unfavourable resistances, shields, invulnerability windows and awkward enemy positioning all survive a good buff. Read the live enemy preview after reset before committing to either team.
What to check before entering
- Can your first team trigger Swirl or Stellar Swirl consistently? If not, that half isn't where your buff is.
- Can your second team maintain Hydro and Electro simultaneously? Alternating application wastes most of the Electro-Charged bonus.
- Do your rotations have the energy to run back-to-back chambers? Stalling between chambers costs clear time, and clear time costs stars.
- Have you read the actual enemy lineup? The Disorders tell you what's rewarded; the enemies tell you what's possible.
- Is one team clearly weaker? Prioritise the half that matches your existing roster rather than rebuilding both at once.
Treat Cascading Moon as bonus damage, not as the reason for your rotation.
Preparing your roster
Phase 2 rewards accounts with flexible reaction coverage across two separate teams — and artefact quality, talent levels and roster breadth are the slow half of Genshin Impact, not the clearing. Browse verified Genshin Impact accounts if you'd rather run the Abyss from a developed roster, speed up artefact and talent farming with Genshin Impact hourly services, or clear Floor 12 through Genshin Impact boosting before the cycle resets again.
GameMarket.gg is a trusted digital marketplace for everything gaming-related. We serve the gaming community by providing secure access that enhances every gaming journey.