
Zenless Zone Zero News

Zenless Zone Zero
How Many Pulls Can You Get in Zenless Zone Zero Patch 3.1?
Calculate your Zenless Zone Zero Version 3.1 pulls! Discover the full Polychrome count from permanent content, limited...

Zenless Zone Zero
Best Teams for Ramielle in ZZZ Version 3.1 Deadly Assault
Maximize your score in Zenless Zone Zero Version 3.1's Deadly Assault! Discover the best Ramielle team comps—from the...

Zenless Zone Zero
ZZZ Aria Build: Best W-Engines, Drive Discs, and Teams
Aria is back. The S-Rank idol carry returns on her Neon Angel rerun banner for Zenless Zone Zero's second anniversary,...
Zenless Zone Zero
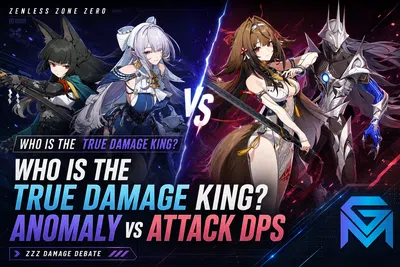
Who Is the True Damage King? ZZZ Anomaly vs Attack DPS
Pitting Crit-based carries against Disorder elemental build-ups! Dive into this ultimate ZZZ Anomaly vs Attack DPS...
Zenless Zone Zero
ZZZ 2nd Anniversary S-Rank Selector: Jane Doe or Lucia First?
Navigate the Zenless Zone Zero Version 3.1 2nd Anniversary celebration! Discover the best free S-Rank Agent and...
Zenless Zone Zero
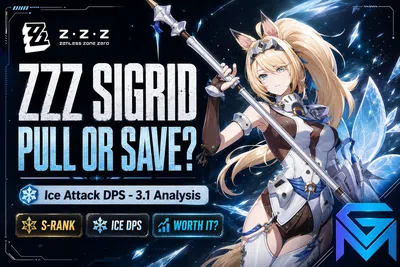
ZZZ Sigrid Pull or Save? Ice Attack DPS 3.1 Analysis
Sigrid is the S-Rank Ice Attack Agent arriving in Zenless Zone Zero Version 3.1, and she is one of the cleanest...

Zenless Zone Zero
ZZZ 3.1 Preview — Remielle Debut & Aria Rerun Coming July 29
The ZZZ 3.1 preview every Proxy has been waiting for is here: Zenless Zone Zero Version 3.1 "The Long Goodbye" goes...
Zenless Zone Zero
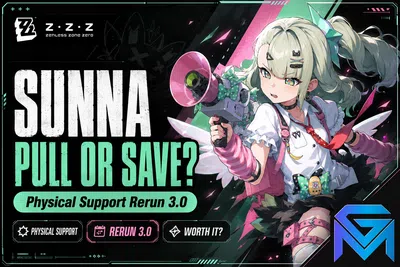
ZZZ Sunna Pull or Save? Physical Support Rerun 3.0 Analysis
The ZZZ Sunna pull analysis comes down to one question: does the S-Rank Physical Support returning on her first-ever...
Zenless Zone Zero
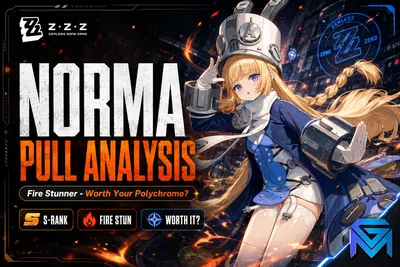
ZZZ Norma Pull or Save? Fire Stunner 3.0 Analysis
The ZZZNorma pull analysis Proxies have been waiting for is finally here: the Version 3.0 Phase 2 Fire Stunner opens...
Zenless Zone Zero
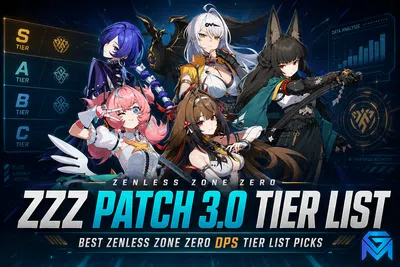
ZZZ Patch 3.0 Tier List: Best Zenless Zone Zero DPS Tier List Picks
Crush the endgame with the ultimate Zenless Zone Zero DPS Tier List for Version 3.0! Learn how top-tier damage dealers...
Zenless Zone Zero
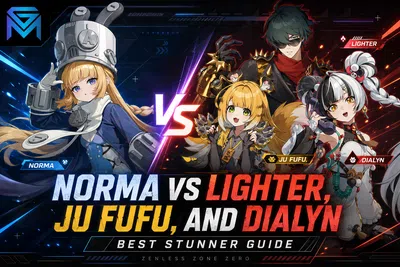
Norma vs Lighter, Ju Fufu, and Dialyn: Best Stunner Guide
Master the Zenless Zone Zero Norma meta! Discover how the upcoming S-Rank Fire Stunner compares to heavyweights like...
Zenless Zone Zero
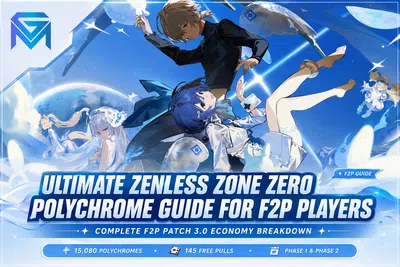
Ultimate Zenless Zone Zero Polychrome Guide for F2P Players
Master your pulls with our ultimate Zenless Zone Zero Polychrome Guide for Version 3.0! Discover how F2P players can...
Zenless Zone Zero
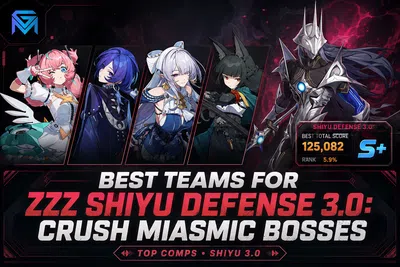
Best Teams for ZZZ Shiyu Defense 3.0: Crush Miasmic Bosses
Dominate the Zenless Zone Zero 3.0 Shiyu Defense reset! Discover comprehensive enemy breakdowns for Critical Nodes 4...
Zenless Zone Zero
ZZZ Norma Build Preview — Fire Stun Hat Turret Walkthrough
Norma arrives in <a...
Zenless Zone Zero
ZZZ 3.0 Pyrois — Free S-Rank Agent Build Strategy
Pyrois arrives in <a...
Showing 1 of 15 from 45 Results