
Tower of Adversity Hazard Zone — Complete WuWa Endgame Strategy
By GameMarket Team 18 June 2026, 12:33 WIB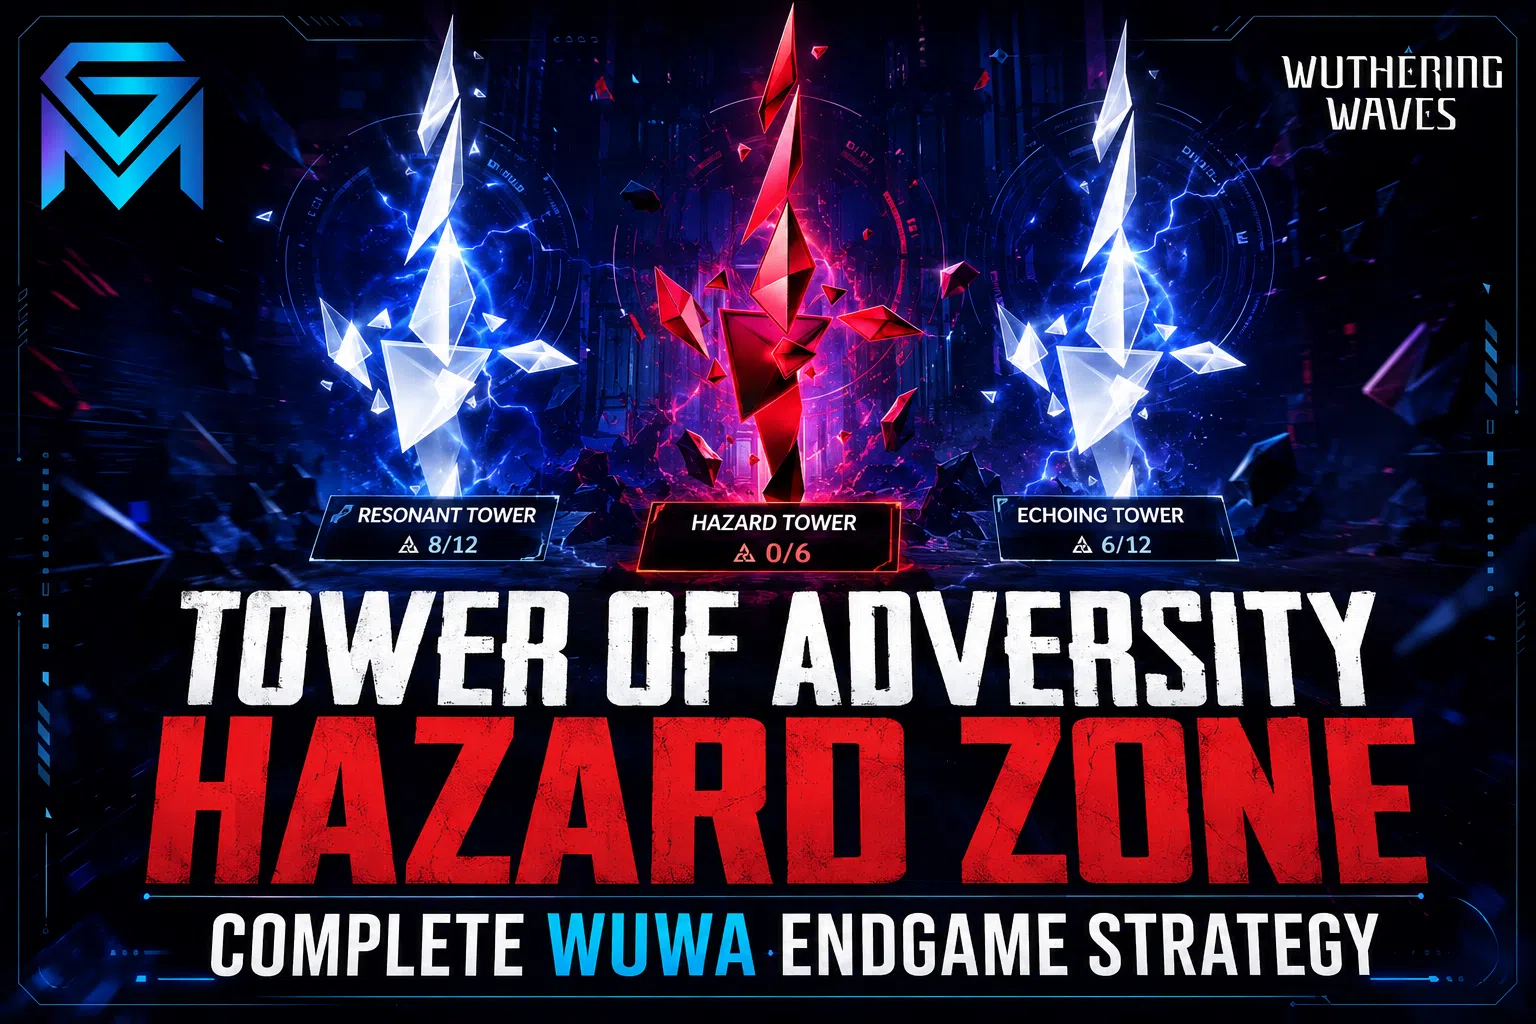
Tower of Adversity is Wuthering Waves' premier endgame mode — and for Rovers serious about pushing their roster's limits, mastering the Hazard Zone is where the real challenge lives. Refreshing on a bi-weekly cycle, the Hazard Zone delivers escalating boss encounters, restrictive team modifiers, and Astrite rewards that scale with completion. Here's the complete walkthrough for the current Tower of Adversity Hazard Zone — what to expect, how to build for it, and which characters dominate each tier.
🏰 What Is Tower of Adversity?
Tower of Adversity is Wuthering Waves' rotating endgame mode, similar to Genshin Impact's Spiral Abyss or Honkai: Star Rail's Memory of Chaos. The mode is divided into three tiers of difficulty:
- Stable Zone — Entry-level endgame, accessible for newer Rovers with basic team building
- Experimental Zone — Mid-tier challenge, requires properly built characters with optimized Echoes
- Hazard Zone — Highest difficulty, demands roster depth (multiple built characters) and execution mastery
The Hazard Zone is the focus for committed Rovers. Each floor presents specific enemy compositions, environmental modifiers, and time pressure that punishes one-dimensional roster builds. Clearing all Hazard Zone floors with maximum stars rewards substantial Astrite, Sealed Tubes, premium materials, and prestige.
⏰ Refresh Cycle and Reward Cap
Tower of Adversity refreshes its floor configurations on a bi-weekly cycle (every 2 weeks). The Hazard Zone specifically rotates its boss encounters and environmental modifiers, requiring Rovers to adapt team compositions to current enemy weaknesses.
Rewards per refresh cycle:
- First-clear Astrite rewards per floor (one-time per refresh)
- Star-based bonus rewards for higher completion ratings
- Premium materials for character ascension and weapon enhancement
- Sealed Tubes for Echo experience consumables
Plan your Hazard Zone push within the 2-week window. Missing a cycle means missing those Astrite rewards permanently for that rotation.
🎯 Hazard Zone Floor Mechanics
Each Hazard Zone floor presents:
- Two halves — Each floor requires clearing two separate enemy waves, each with its own team composition
- Time limit — Typically 3 minutes per half, scoring scales with remaining time
- Star rating — 3-star clears require fast completion + minimal damage taken
- Environmental modifiers — Elemental damage amplifiers, Resonance Liberation buffs, attack/skill damage boosts
- Restricted character pool — Same character cannot appear in both halves of a single floor
The restriction matters more than newer Rovers realize. To 3-star Hazard Zone consistently, you need at least 6 well-built characters — two complete teams of three. Single-team focus accounts struggle past the first few floors.
👥 Team Building for Current Hazard Zone
The optimal Hazard Zone team builds for current Version 3.4 leverage the strongest character combinations available:
Premier Glacio Team (post-Lucilla launch):
- Hiyuki (Main DPS)
- Lucilla (Sub-DPS / Chafe applicator) — see Lucilla Build Guide
- Chisa (Healing + DEF shred support)
Premier Aero Team (Cartethyia rerun ready):
- Cartethyia (Main DPS) — see Cartethyia Build Guide
- Ciaccona (Aero Sub-DPS amplifier)
- Aero Rover or Chisa (Aero debuffs)
Cyberpunk Collab Team (Hack mechanic):
- Lucy or Free Rebecca (Main DPS) — see Rebecca Build Guide
- Hack mechanic synergy partner
- Verina or Shorekeeper (Universal healer)
Heavy Attack Team:
- Augusta or Jiyan (Heavy Attack DPS)
- Mortefi (Heavy Attack amplifier)
- Verina or Shorekeeper (Healing + buffs)
Mix these teams across the two halves of each Hazard Zone floor based on enemy element weaknesses. Rovers running only one team archetype will hit walls past Floor 5 of Hazard Zone.
🛡️ Floor-by-Floor Strategy Tips
While specific floor configurations rotate bi-weekly, the strategic patterns remain consistent:
Early Floors (1-3):
- Single boss encounters with relatively standard mechanics
- Focus on burst damage windows to beat time limits
- Practice your rotation here — habits formed early carry through harder floors
Mid Floors (4-6):
- Multi-enemy compositions, group control matters more
- AoE-capable DPS (Cartethyia, Jinhsi) shine here
- Sustain becomes critical — undergeared healers struggle
Late Floors (7-10):
- Pinnacle boss encounters with phase mechanics
- Single-target DPS focus, sustained damage windows
- Whimpering Wastes-tier difficulty — full optimization required
- Element matching enemy weaknesses provides the largest performance boost
3-Star Clear Requirements:
- Complete within ~60-90 seconds of remaining time on the clock
- Take minimal damage during the encounter
- Avoid character deaths
- Specific star conditions vary by floor — read the modifier descriptions carefully
📊 Common Mistakes That Cost Stars
- Wrong element matching — Throwing Aero damage at Spectro-resistant bosses wastes precious seconds
- Single-team focus — Trying to use the same composition for both halves limits your performance ceiling
- Underleveled characters — Hazard Zone assumes Trace levels at 8+ and Echoes properly substatted
- Skipping environmental modifiers — Some modifiers triple damage of specific skill types; ignoring them is wasted score
- Poor flask/healer uptime — Sustained damage requires sustained sustain; skipping healer investment caps your ceiling
- Forgetting Resonance Liberation reset — Many Rovers forget that Resonance Liberation cooldowns don't carry between floors, but Energy DOES reset
💎 Reward Optimization
Per Hazard Zone refresh cycle, total Astrite rewards from full 3-star clears:
- Floor 1-5: Standard Astrite per clear (~50-100 each)
- Floor 6-8: Higher tier rewards (~100-150 each)
- Floor 9-10: Premium rewards (~200+ each)
- Full Hazard Zone clear: ~1,000-1,500 Astrite per bi-weekly cycle
That's 2,000-3,000 Astrite per month from Hazard Zone alone — equivalent to 12-19 pulls. Skipping Hazard Zone over a year leaves 24,000-36,000 Astrite on the table (potentially 2+ guaranteed 5-stars worth).
For F2P Rovers especially, Hazard Zone clearing is non-negotiable income.
💡 Pro Tips for Pushing Hazard Zone
- Practice rotations in Holographic Bosses first — Lower stakes, similar damage patterns
- Pre-build Resonance Liberation — Charge ultimates on weaker enemies in the run-up, save them for boss windows
- Use the trial team feature — Available for some characters during banners; try compositions before committing Echo resources
- Watch top community clears — YouTube channels like Wuwa Hub and Prydwen post clears with timestamps; copy proven strategies
- Don't punish yourself for 2-star clears — Many Hazard Zone floors are designed so that 2-stars are reasonable but 3-stars require near-perfect execution
- Reset attempts liberally — Failed run = no cost beyond your time. Restart immediately if the first 30 seconds aren't going well
- Update teams every refresh cycle — Floor mechanics change; recycling old teams loses stars
🔄 What Changes Between Refreshes
When Tower of Adversity rotates floor configurations, expect:
- Different boss encounters per floor (rotation pool of ~15-20 boss types)
- Updated environmental modifiers (different elemental amplifications)
- Adjusted star requirements (some refreshes are easier than others)
- New character recommendations based on current meta
Adapt accordingly — what cleared last refresh may not work this refresh. Reading floor modifiers carefully on each refresh is the single highest-impact habit for consistent Hazard Zone clears.
🎯 Should You Push Hazard Zone?
Push Hazard Zone if:
- You have at least 6 properly built characters across multiple elements
- You enjoy mechanical challenge and rotation optimization
- You want maximum Astrite income (F2P or not)
- You have time to learn new floor configurations every 2 weeks
Stick to Experimental Zone if:
- Your roster is still building (less than 6 built characters)
- You play casually and don't enjoy boss rush mechanics
- You're early in your account journey
- You don't have time to optimize team compositions per refresh
Experimental Zone rewards are still substantial — don't feel pressured into Hazard Zone before your roster supports it.
🛒 Push Tower of Adversity Effectively
Tower of Adversity Hazard Zone rewards consistent execution and roster depth — and Rovers ready to push for full 3-star clears can explore trusted Wuthering Waves Accounts with deep rosters and pre-built endgame teams, accelerate every Echo farm and material grind with expert Wuthering Waves Hourly Services, or clear every Hazard Zone floor through reliable Wuthering Waves Boosting.
GameMarket.gg is a trusted digital marketplace for everything gaming-related. We serve the gaming community by providing secure access that enhances every gaming journey.