New 3.0 Tower of Adversity Rotation: Best Teams & Tricks , Hazard and Echoing Towers
By GameMarket Team 8 January 2026, 13:03 WIB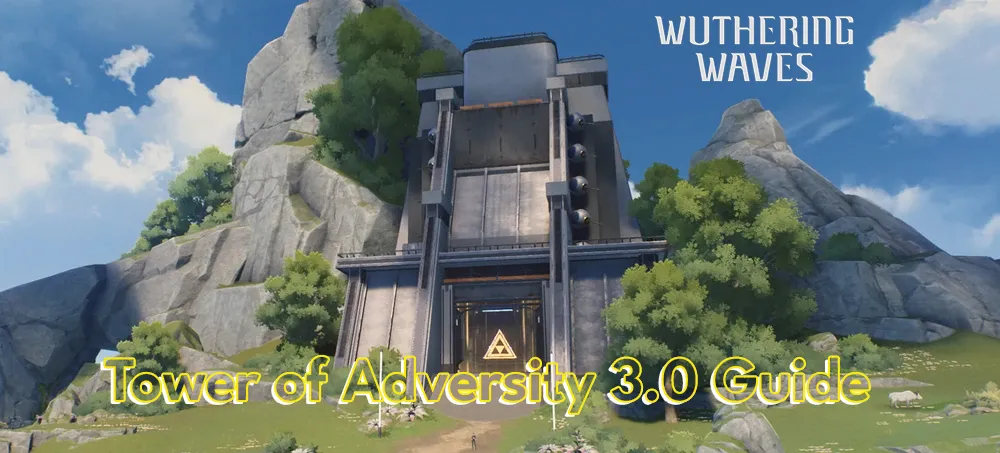
🗓️ Tower of Adversity 3.0 Rotation — Dates & Structure
The latest Tower of Adversity cycle in Wuthering Waves 3.0 runs from January 5, 2026 to February 2, 2026, giving you a full month to push scores, farm Crests, and fine-tune your clears.
As usual, ToA is split into three towers:
-
Resonant Tower (Left) – Echo-skill synergy & Havoc-friendly
-
Hazard Tower (Middle) – DEF shred, Negative Status bonuses & late-fight damage ramp
-
Echoing Tower (Right) – Intro Skill shields & Crit DMG stacking, tailored for Electro teams
This rotation is very condition-heavy: if you build around each tower’s buffs, fights melt. If you go in blind with the wrong elements, everything feels tanky and scuffed.
🎵 Resonant Tower (Left) — Echo Skill Fiesta
Hazard Zone Buffs
Resonant Tower’s Floor 4 is all about Echo Skill rotations:
-
Enemies’ Havoc RES -10%
-
Each Echo Skill cast:
-
+6% Attribute DMG for the whole team, up to 4 stacks
-
At 4 stacks, everyone gains +36% Crit DMG
-
Catch: the same Resonator with the same active Echo can’t keep re-triggering the buff. You’re rewarded for cycling different Echo Skills across your team, not spamming one.
Floor 4 Enemies & Gameplay
Floor 4 lineup:
-
Diurnus Knight
-
Fallacy of No Return
-
Spectro mobs in between
Key notes:
-
Both bosses have higher Spectro RES, so making Spectro your main DPS is a bad idea.
-
Fallacy of No Return has two forms and, when it Overclocks, gains high interruption resistance—burst windows matter more than stagger spam.
Think of this floor as an Echo-timing DPS check: you stack your Echo buff to 4, then dump all your biggest Forte skills and bursts in a tight window.
Recommended Roles & Units
The guide leans toward:
-
Havoc main DPS – strong into the -10% Havoc RES
-
Ranged or safe sub-DPS – for airborne / keep-away moments
-
Sustain – healer or shielder to stabilize longer boss fights
Sample cores mentioned:
-
Phrolova / Cantarella / Galbrena as damage and Echo abusers
-
Rover (Havoc) or Sanhua as on-field DPS
-
Verina, Shorekeeper, or similar sustain to keep you alive while ramping Echo stacks
⚠️ Hazard Tower (Middle) — Negative Status & Ramp Damage
Hazard Tower is split into two distinct behaviors:
-
Floors 1–2: DEF shred + Negative Status focus
-
Floors 3–4: long fights with massive damage scaling and Tune mechanics
Floors 1–2: Debuff & Burst
Buffs / Interference:
-
Enemy Spectro & Aero RES -10%
-
Enemy Fusion & Electro RES +10%
-
All Resonators ignore 25% of enemy DEF
-
Enemies with Negative Status take +20% DMG
Enemies:
-
Floor 1: Mech Abomination (Electro)
-
Floor 2:
-
Chasm Guardian (Havoc)
-
Nocturnus Knight (Havoc)
-
Inferno Rider (Fusion)
-
Takeaways:
-
Lean into Spectro / Aero damage; avoid committing your whole plan to Electro, Havoc, and Fusion here since many enemies resist those.
-
You really want at least one unit (or Echo) that can consistently apply Negative Status (DoTs, debuffs, etc.), so you keep that +20% damage taken online.
Recommended pieces include:
-
Cartethyia, Ciaccona, Chisa, Zani, Phoebe as flexible DPS / sub DPS
-
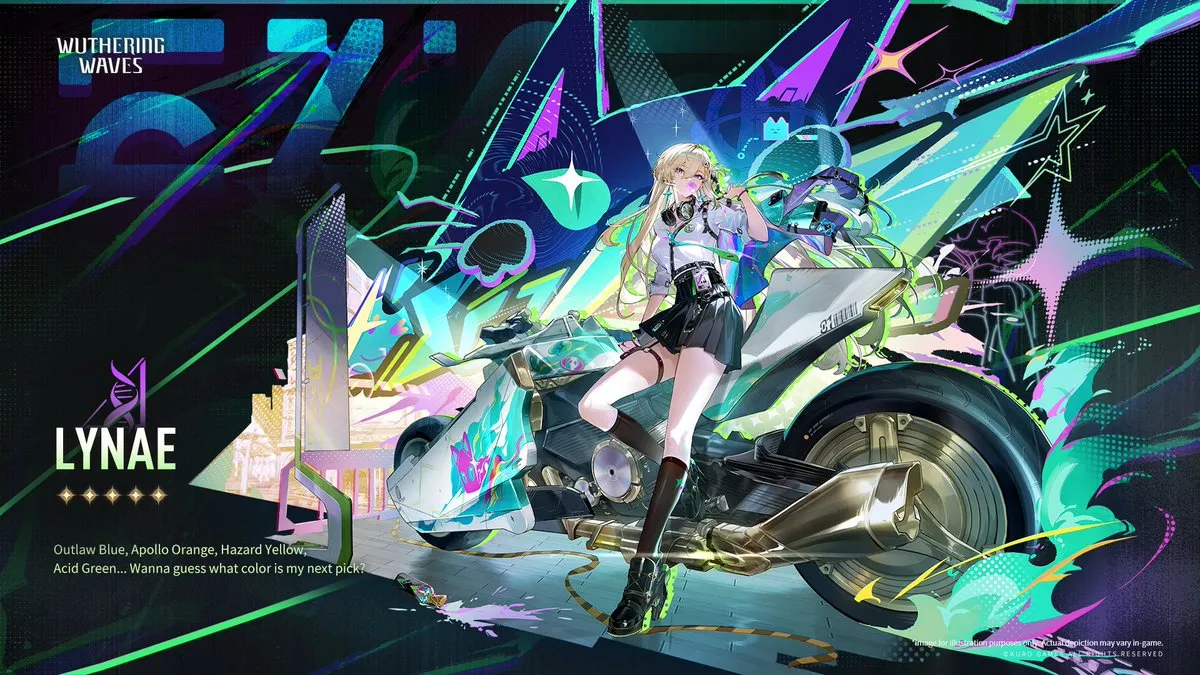
Iuno, Lynae, Jiyan, Mortefi, Carlotta, Zhezhi as damage / support picks for Spectro/Aero leaning comps
Gameplay tips:
-
Mech Abomination: bait the big spin & slam, dodge once, punish the end lag; don’t greed long strings.
-
The multi-boss Floor 2 is a tempo test: rotate debuffs constantly, save long cooldowns for when a target isn’t dashing or jumping, and use quick swaps to avoid getting clipped.
Floors 3–4: Long Fights, Tune & Shield Tech
Buffs / Interference:
-
After 60s, your total DMG starts going up +5% every 5s, up to +60%
-
Enemies gain +15% All-Attribute RES, but:
-
Resonators with a shield ignore this, and
-
Tune Rupture DMG removes the RES buff
-
-
Total DMG buff:
-
+10% when you cast a Tune Break skill, stacking up to 3 times
-
When any Resonator deals Tune Rupture DMG, the whole team gets +40% Total DMG for 30s
-
Translation: the tower wants a slow ramp into an explosive Tune window—don’t blow everything in the first 10 seconds.
Enemies:
-
Floor 3:
-
Stonewall Bracer (Physical)
-
Roseshroom (Havoc)
-
Nocturnus Knight (Havoc)
-
Dragon of Dirge (Fusion)
-
-
Floor 4:
-
Impermanence Heron (Havoc)
-
Crownless (Havoc)
-
These enemies are:
-
Generally unfriendly to Havoc DPS (many have high Havoc RES)
-
Dragon of Dirge is also tougher against Fusion
So you should:
-
Avoid making Havoc or Fusion your main carry here (unless they are overbuilt)
-
Bring:
-
(1) A Negative Status applier
-
(2) Someone with ranged / anti-air uptime
-
(3) Strong sustain for the long ramp
-
Suggested lineups include:
-
Iuno + Lynae + Shorekeeper + Augusta
-
Cartethyia / Ciaccona / Chisa paired with Zani, Phoebe, Changli, Brant, or Lupa as flex picks
Playstyle:
-
Survive the first minute cleanly; don’t force risky trades.
-
Once your DMG ramp & Tune buffs are stacked, that’s when you go for big Echo Skill strings and kill windows.
⚡ Echoing Tower (Right) — Intro Swaps & Electro Ramp
Echoing Tower in this rotation strongly favors Electro teams and quickswap / Concerto-style gameplay.
Hazard Zone Buffs
-
Enemies’ Electro RES -10%
-
Whenever a Resonator casts an Intro Skill, they gain a 3000 HP shield
-
When any Resonator gains a shield, they get +10% Crit DMG for 30s, stacking up to 5 times
So your game plan is simple:
Swap frequently → trigger Intro Skills → generate shields → stack Crit DMG → burst.
Floor 4: Lampylumen Myriad
Main enemy: Lampylumen Myriad (Glacio), with higher Glacio resistance.
Tips:
-
Don’t bring Glacio as your main DPS; you’ll feel your damage getting heavily gated.
-
Watch the Freeze meter — it fills from:
-
Lampylumen’s attacks
-
Ground fog
-
Ice Chrysalises
Step out to reset before you get hard-frozen.
-
-
When it dives with a downward slash, time dodges or parries for a safe punish window.
-
When it goes airborne, destroy the Ice Chrysalises to knock it down and unleash your burst.
Recommended picks:
-
Electro DPS / quickswap cores, such as Yinlin, Xiangli Yao, Iuno
-
Concerto / Intro-heavy teams, using frequent swaps to stack shields & Crit DMG
-
At least one ranged / anti-air unit to keep damage flowing when the boss is in the air
Suggested comps in the guide feature:
-
Jinhsi / Zhezhi / Augusta / Iuno cores
-
Electro-focused lines like Yinlin + Xiangli Yao + Shorekeeper, backed by sustain and off-field damage
🧠 Meta Takeaways — What This Rotation Teaches
This Tower of Adversity cycle is a masterclass in reading stage buffs:
-
Resonant Tower: rewards creative Echo Skill rotations and punishes Spectro-only builds
-
Hazard Tower:
-
Floors 1–2 favor Negative Status & Spectro/Aero
-
Floors 3–4 reward long, safe fights into massive ramp and Tune synergy
-
-
Echoing Tower: makes Intro spam & Electro DPS feel amazing
If you adapt your elements, Echo choices, and team roles to match each tower, 30/30 Crests becomes much more realistic—even if your account isn’t stacked with every 5★ in the game.
💡 Quick Player Tips
-
Build 3–4 real teams. Vigor and multi-floor demands mean one cracked team isn’t enough.
-
Read the buffs before you queue. If the tower says “Electro good, Glacio bad,” believe it.
-
Slot a debuffer or DoT unit in Hazard Tower to keep that +20% DMG vs debuffed enemies online.
-
Prioritize survivability in Hazard Floors 3–4; the longer you live, the harder your buffs scale.
-
Practice quickswap rotations for Echoing Tower – more Intros = more shields = more Crit DMG = faster clears.
Players ready to conquer Wuthering Waves’ Tower of Adversity 30 can browse verified Accounts to build their strongest rosters, book professional Hourly Services for strategy optimization and team planning, or use trusted Boosting services to overcome difficult floors with confidence.
GameMarket.gg helps Explorers stay ahead of event cycles, progression walls, and evolving combat metas.



![Wuthering Waves Accounts Starter SEA|UL 46|Rank 5|4 Char Limited [Hiyuki,Sigrika,Shorekeeper]+Sign,Rebecca|Mc Male|TakeMail](https://img.gamemarket.gg/products/78lh2gmt/wuthering-waves-accounts-sea-ul-46-rank-5-4-char-limited-hiyuki-sigrika-sh-eyx-thumbnail.webp "SEA|UL 46|Rank 5|4 Char Limited [Hiyuki,Sigrika,Shorekeeper]+Sign,Rebecca|Mc Male|TakeMail WW365B")